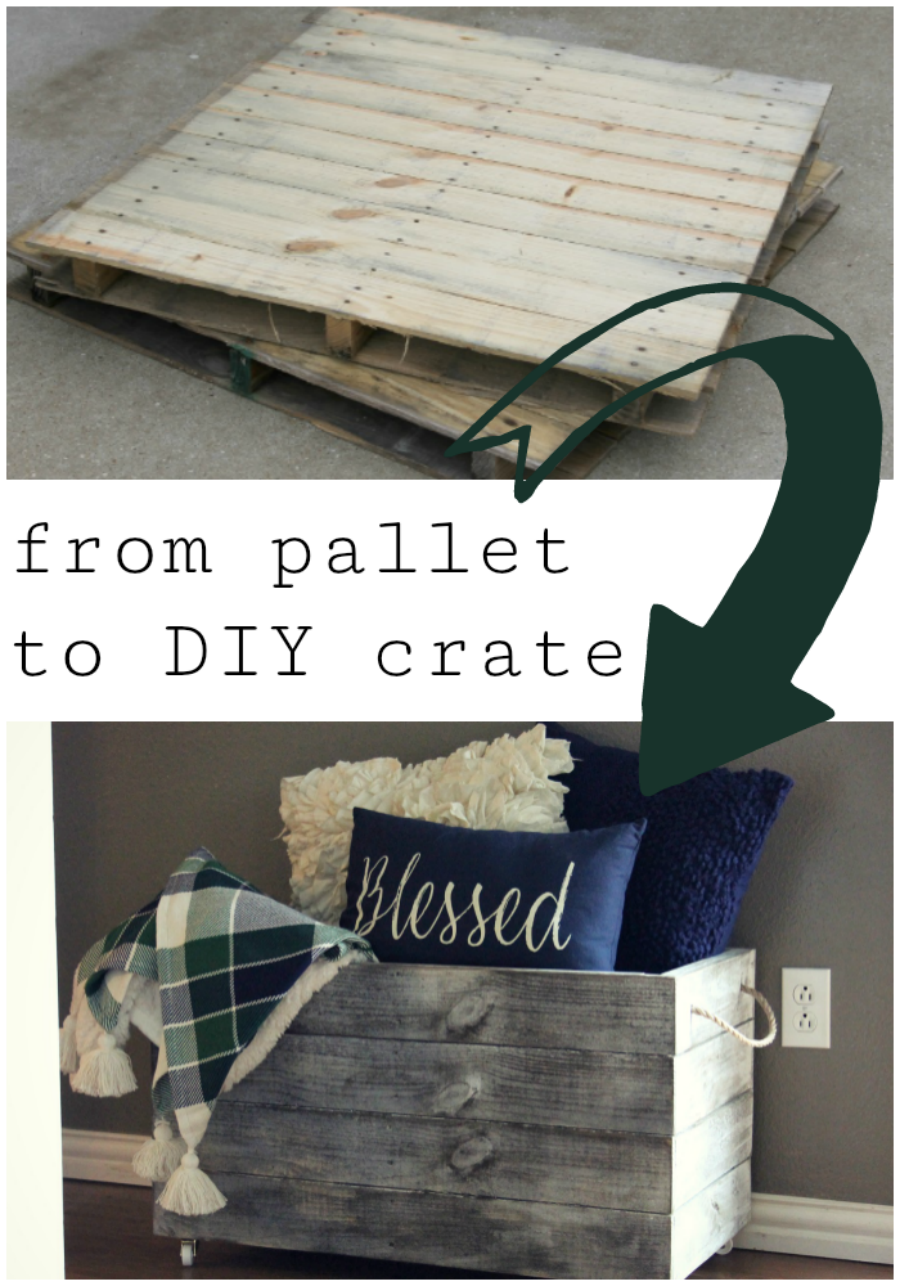
If you live in a particularly small house or apartment, you already know that finding extra storage space takes a bit of creativity. Multi-purpose furniture, meticulous organizational systems, and constant decluttering are all fantastic and helpful solutions. But sometimes, you just need something simple and straightforward to get the job done. That’s where this DIY wooden crate tutorial comes in.
If you’ve got an old pallet lying around destined for the dumpster, why not turn it into something functional? It’s not often that you can claim to make something out of nothing, but this storage crate build is just that. These versatile boxes are a great catch-all, plus they can add a rustic touch to just about any room in your home.
So whether you use them as a decor piece or a simple, everyday organizational staple, let’s review how to build a crate box for additional in-home storage.
Related: Under Bed Storage DIY: How to Make Your Own
How to Build a Wooden Crate Box
You will need the following items:
- (1) Pallet
- (2) 8-foot 1×2 boards
- Wood glue
- Nail gun
- 1-inch brad nails
- 2-inch brad nails
- Wood stain
- White paint
- Hand sander*
- Sandpaper
- Rope
- (4) Caster swivel wheels
- Wood screws
- Drill
- Miter saw*
- Table saw*
- Tape measure
- Hammer
Important Note: Use extreme caution and common sense when using power tools. Follow all manufacturer’s instructions, wear safety gear, and build at your own risk.
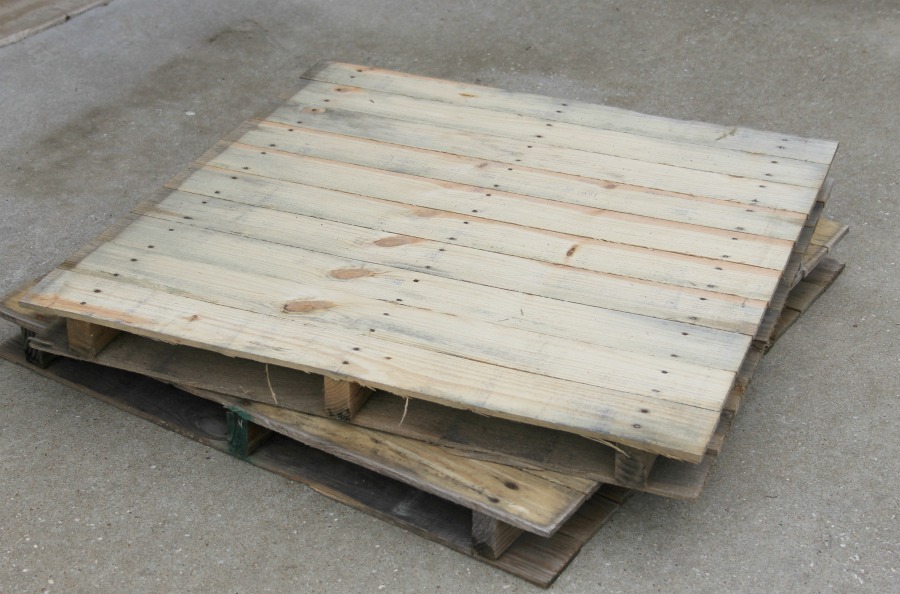
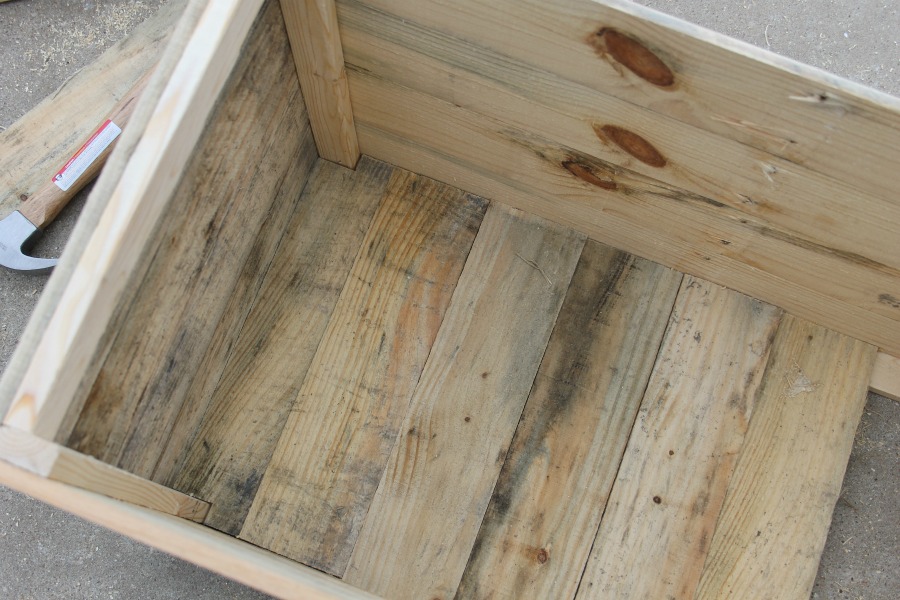
Step 1: Prepare your pallet.
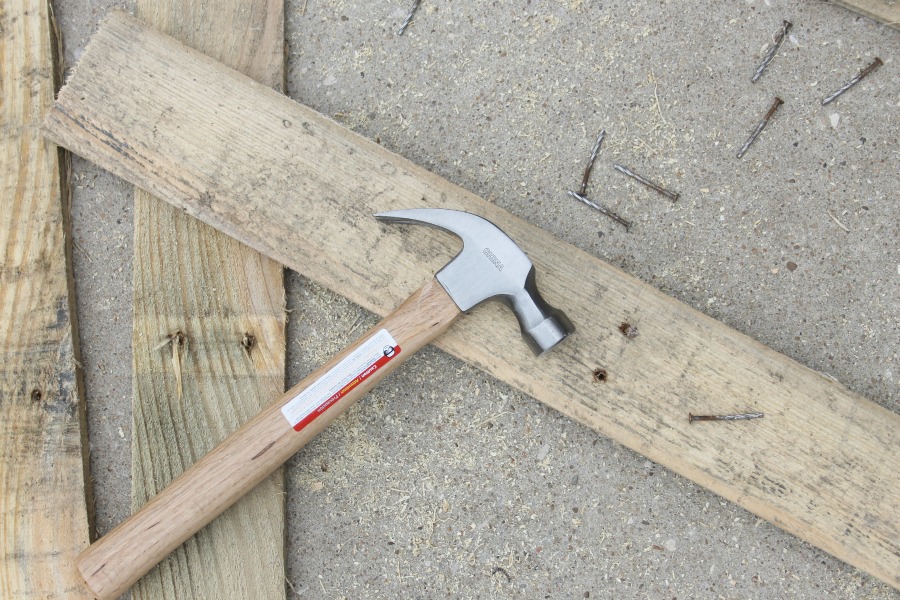
First, carefully disassemble the wood pallet. Two pallets are shown above, but you will only need one for this project.
Taking apart a pallet can be a workout. It will take a little bit of elbow grease, but you can do it! Proceed cautiously and consider wearing protective gloves to avoid splinters and injuries.
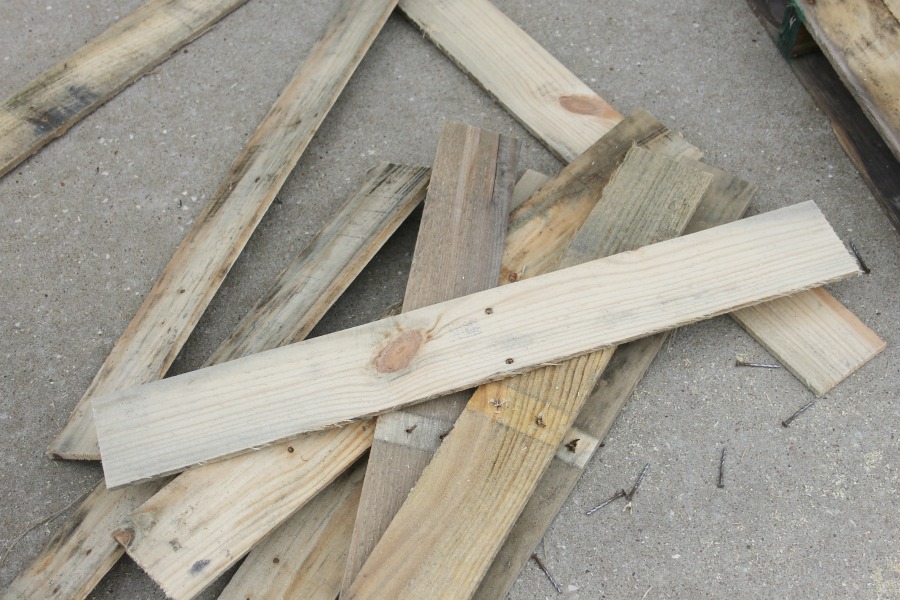
Once you have all the boards from the pallet loose, use the back of a hammer to remove any remaining nails.

Step 2: Cut your pallet wood to size.
For this project, you will need eight 30-inch long pieces of pallet wood and eight 15-inch shorter pieces of pallet wood. The longer pieces will be the sides of your crate and the shorter boards will be the ends.
What is the size of a wooden crate?
The standard dimensions of a wooden storage crate are around 18 inches long, 12 inches wide, and 10 inches deep. But the beauty of these versatile boxes is in the ability to adjust the size as needed. For example, using wood from a used pallet will result in a smaller box than using longer pre-cut pieces from your local hardware store.
Step 3: Assemble your crate base.
To create the base of your wooden crate, you will need to use 1×2 boards. For the bottom, you will need two 29-inch pieces and two 12⅛-inch pieces to make a rectangle. Secure these together with a nail gun and 2-inch brad nails.
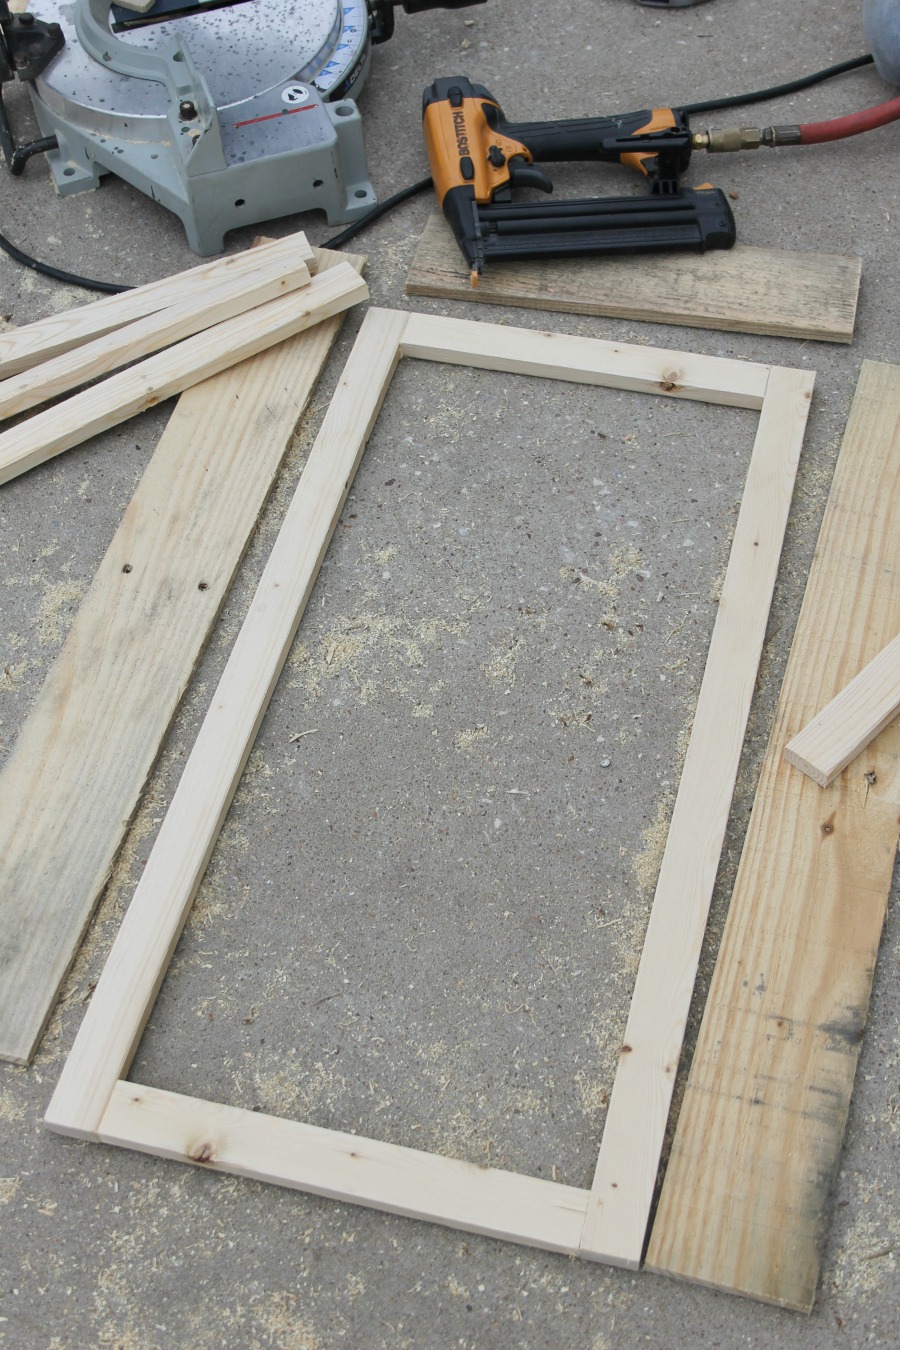
Next, you will need four 15¼-inch pieces. Again, secure these with your nail gun and the 2-inch brad nails.
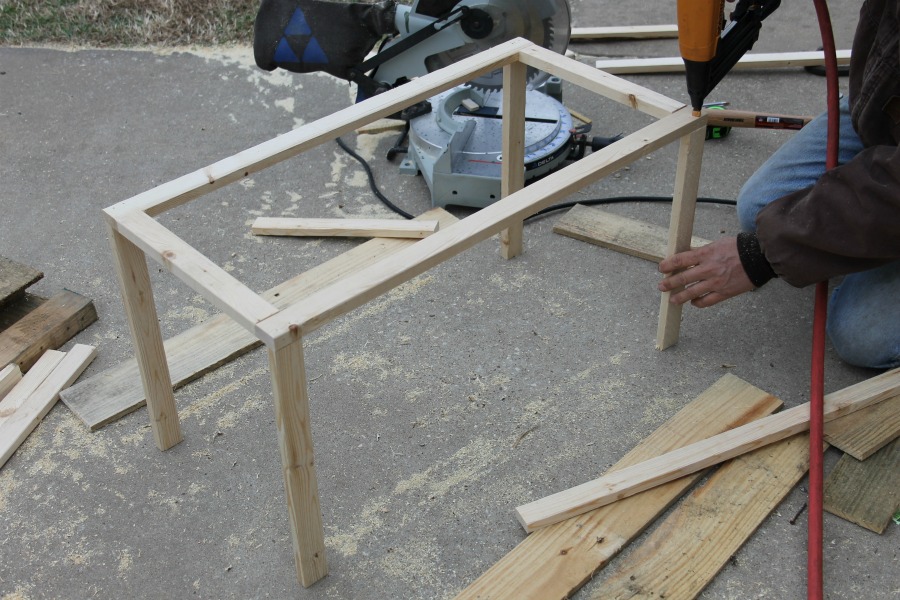
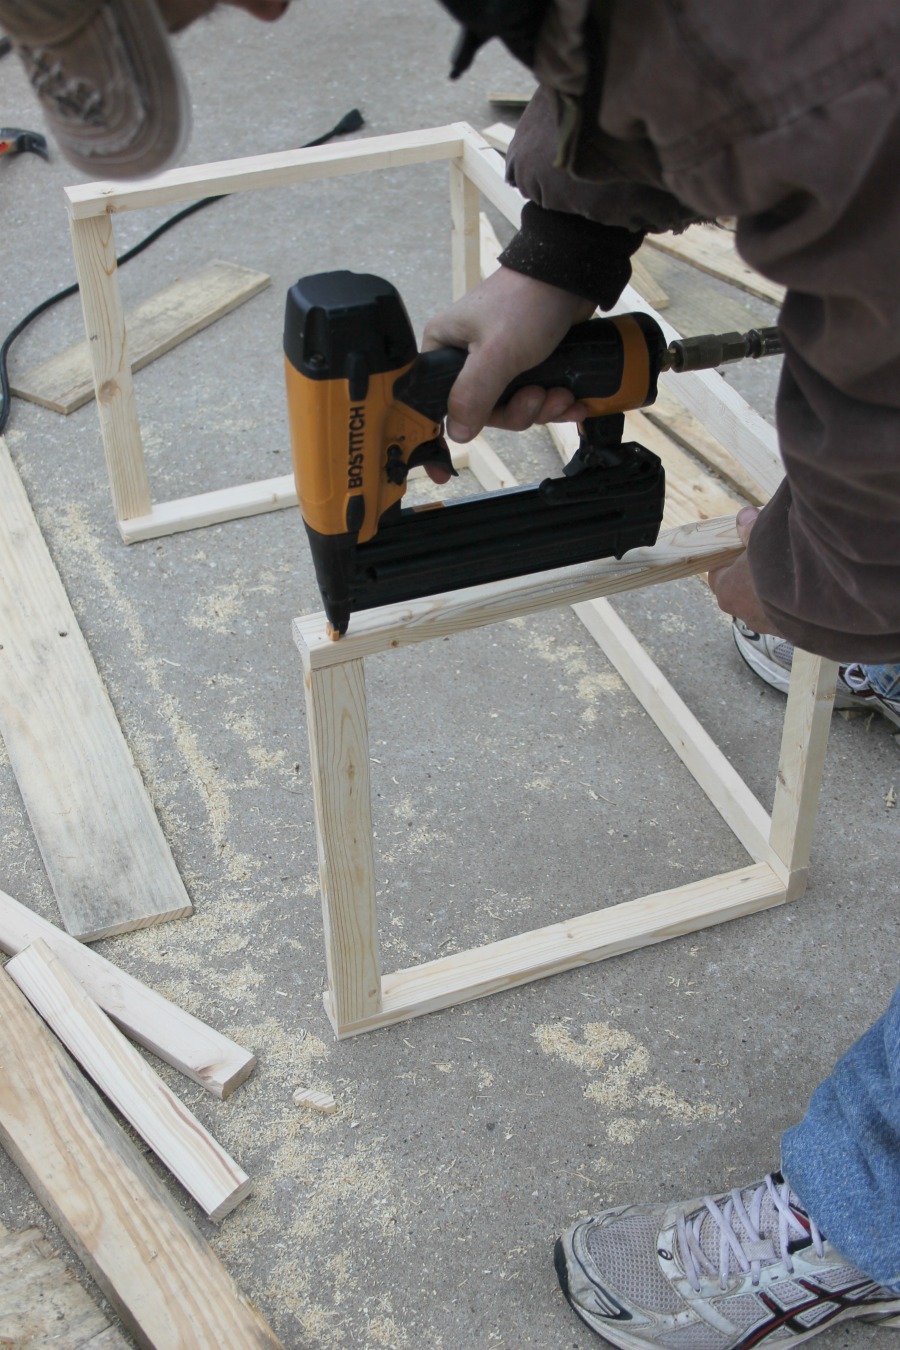
Flip the frame on its side and then attach two 13¼-inch boards onto each end with the nail gun.
Related: How to Make a DIY Blanket Ladder for $10
Step 4: Attach the pallet boards to the sides of your crate.
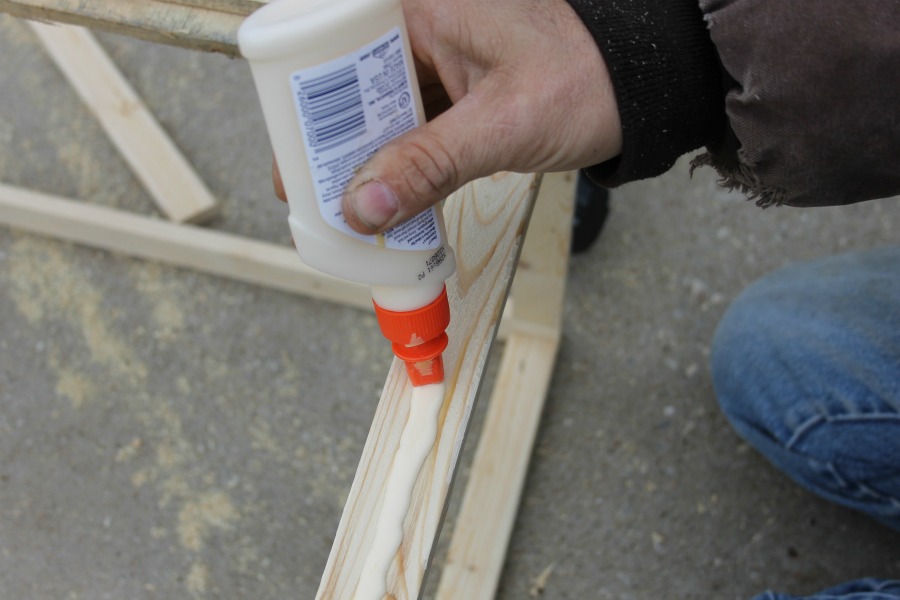
Leave the wooden crate frame lying on its side. Run a line of wood glue along the bottom and sides.
Then, you will start attaching the longer pallet boards to the side of your storage crate frame. This time you will use 1-inch brad nails and your nail gun to attach the panels.
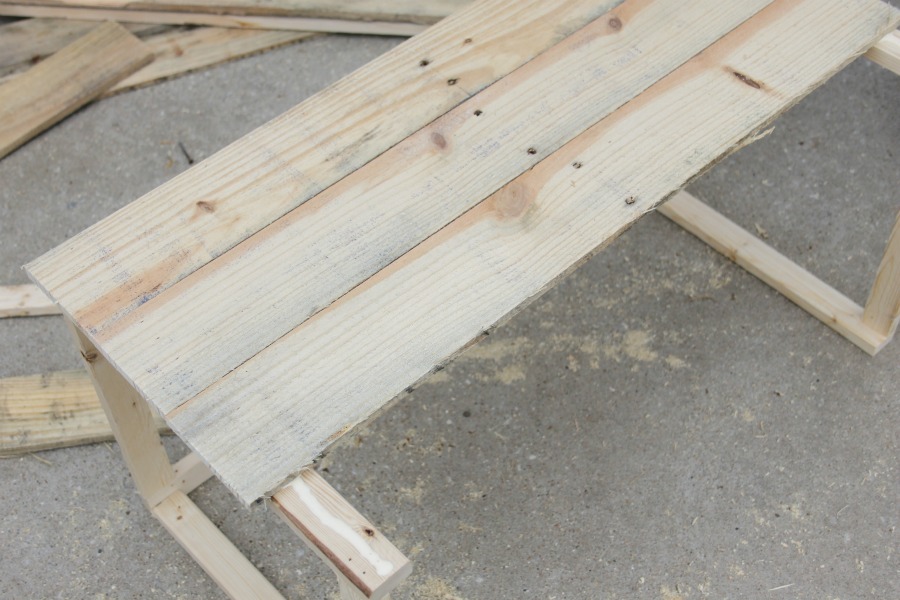
Flip the entire thing over and repeat with the longer boards on the opposite side of the crate.

Pro tip: Use one of the shorter pieces of pallet wood to keep your boards straight and spaced evenly along your frame. Just move it along as you attach the longer boards with the nail gun.
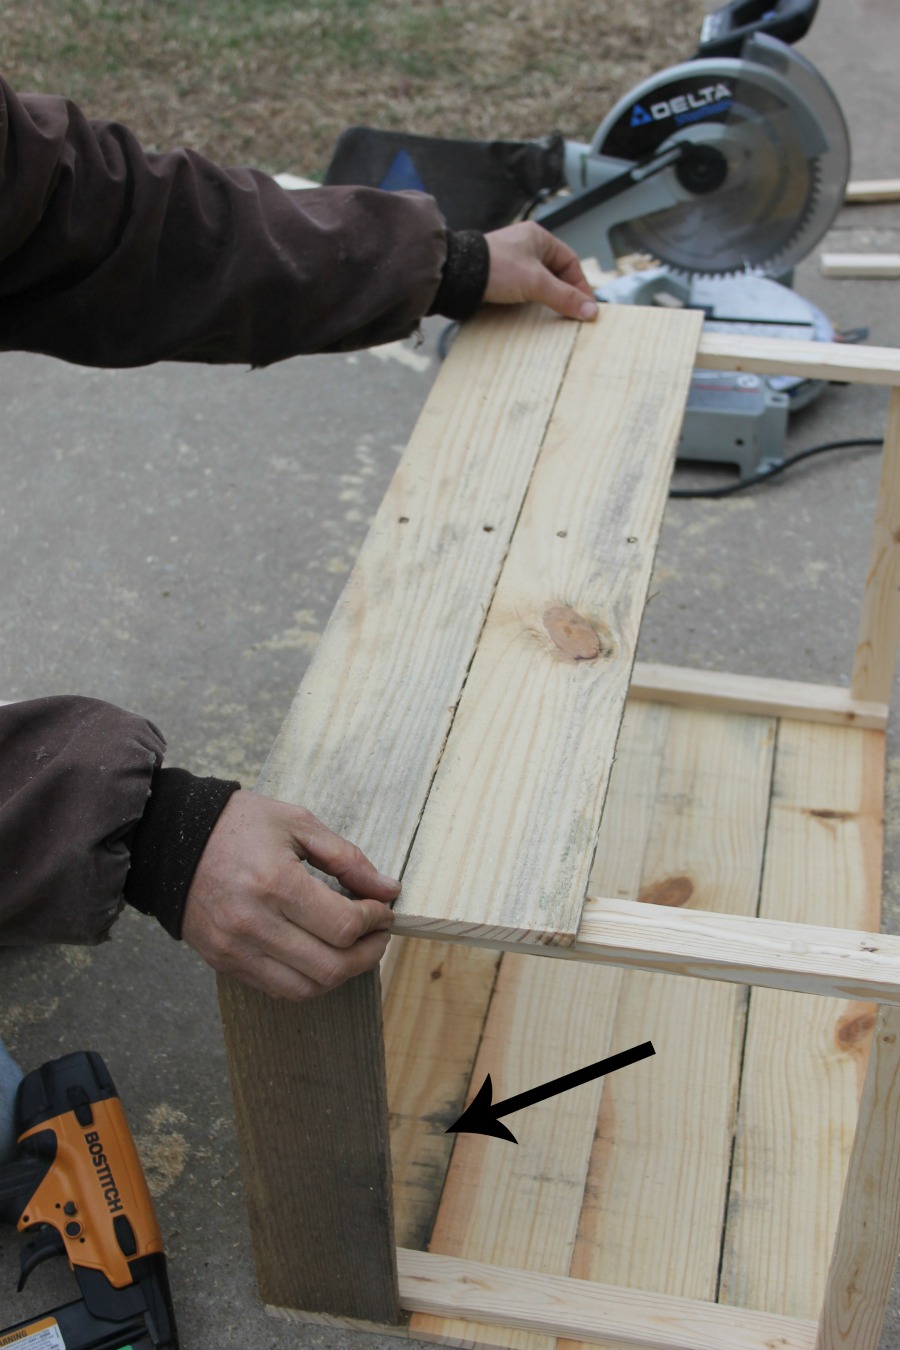
Now it’s time to attach the shorter boards on the ends of your crate the same way you did the longer boards.
For the bottom floor of the crate, we cut boards to fit inside. Notice how we had to notch the corner piece. Then you will nail the boards into place with the nail gun and 1-inch brad nails.
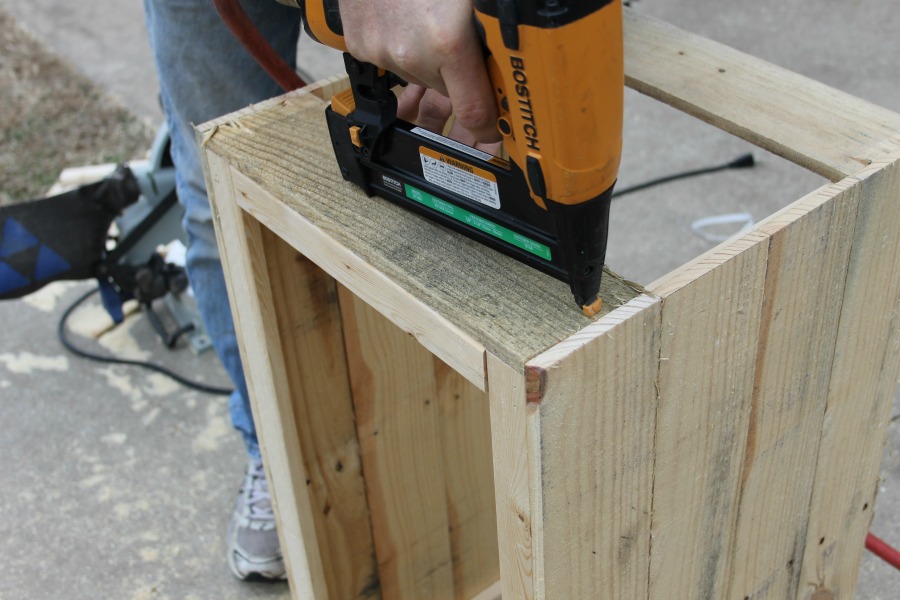
To finish building your crate, you will need to nail two 26-inch long 1×2 board along either side of your crate.

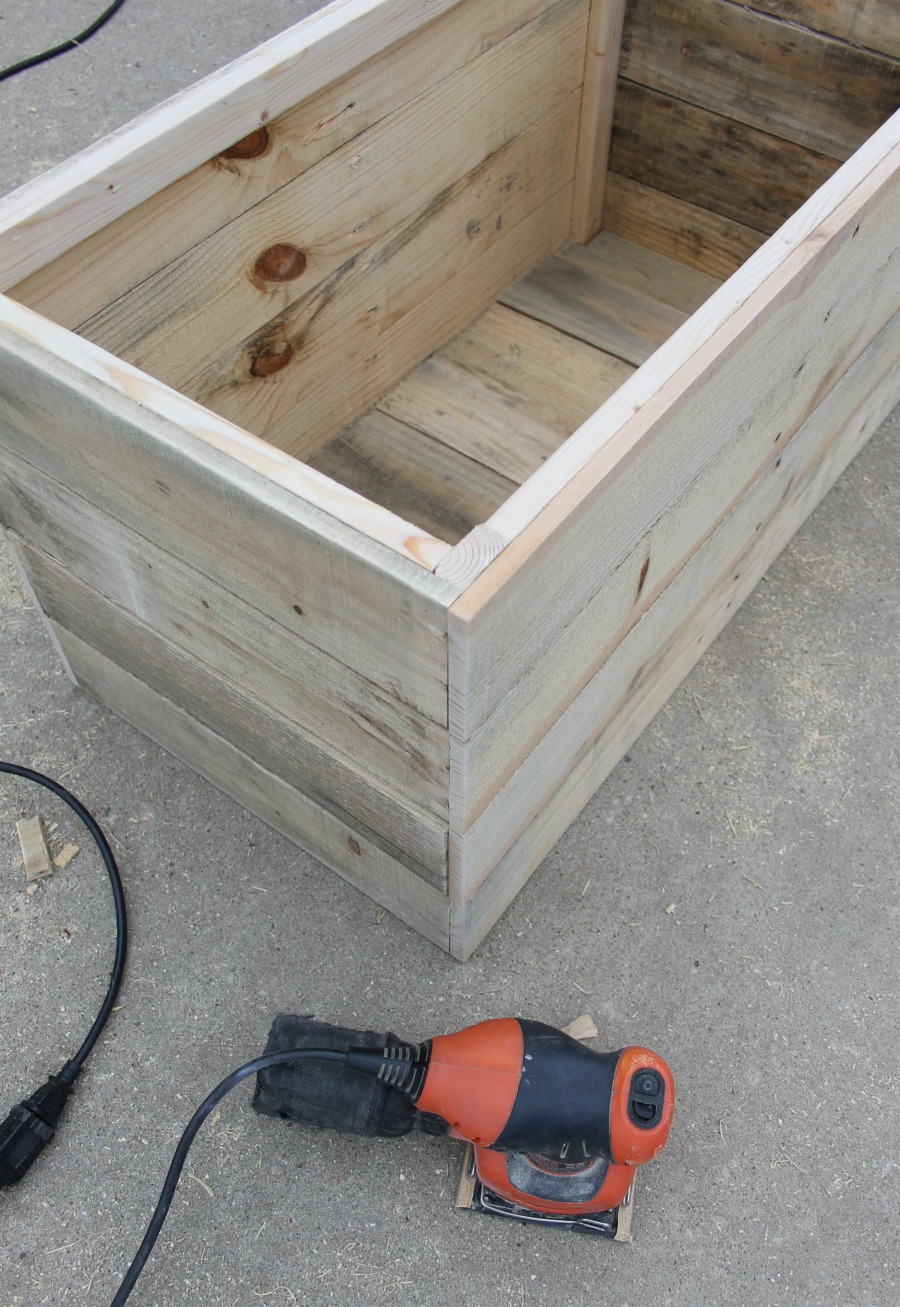
Step 5: Sand your newly assembled crate
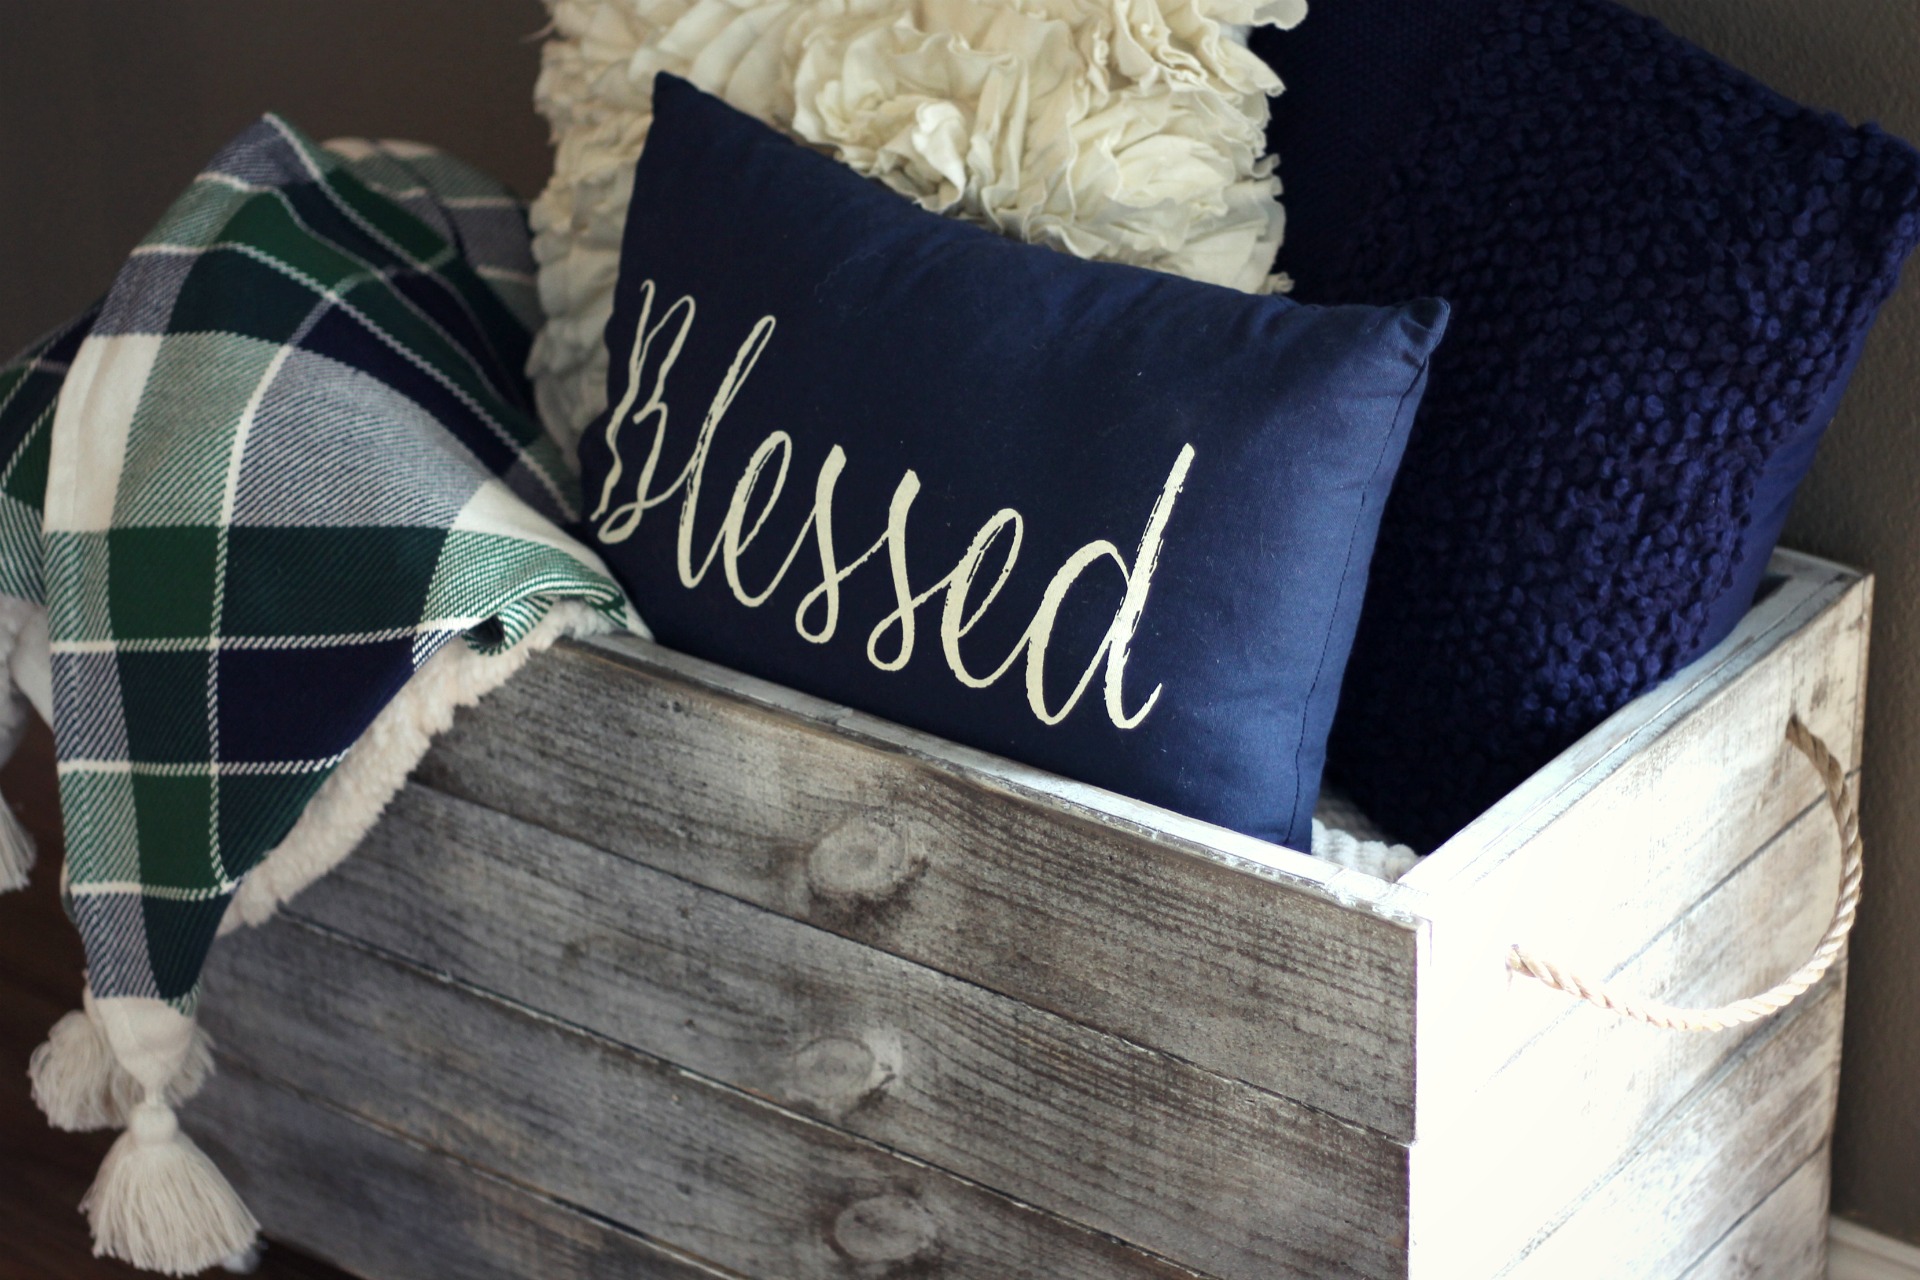
Going for a farmhouse decor look? How rustic you want your storage crate to look will help determine how much sanding you should do. I sanded mine quite a bit to leave it looking smooth. This is also a great option if you want to paint or decorate the crate. Be prepared to go through quite a bit of sandpaper, though. Pallet wood is rough!

Step 6: Drill your holes to add a rope handle.
Next, you’ll need to drill holes to add a simple rope handle. Not only does this serve a functional purpose, but it really finishes off the overall look. I chose to do mine three inches from the side. You can customize the placement however you’d like. Just complete this step before painting or staining your wooden crate box if that’s what you plan to do. You don’t want any stain making its way onto the rope handle!
Related: How to Make Your Own DIY Pallet Headboard
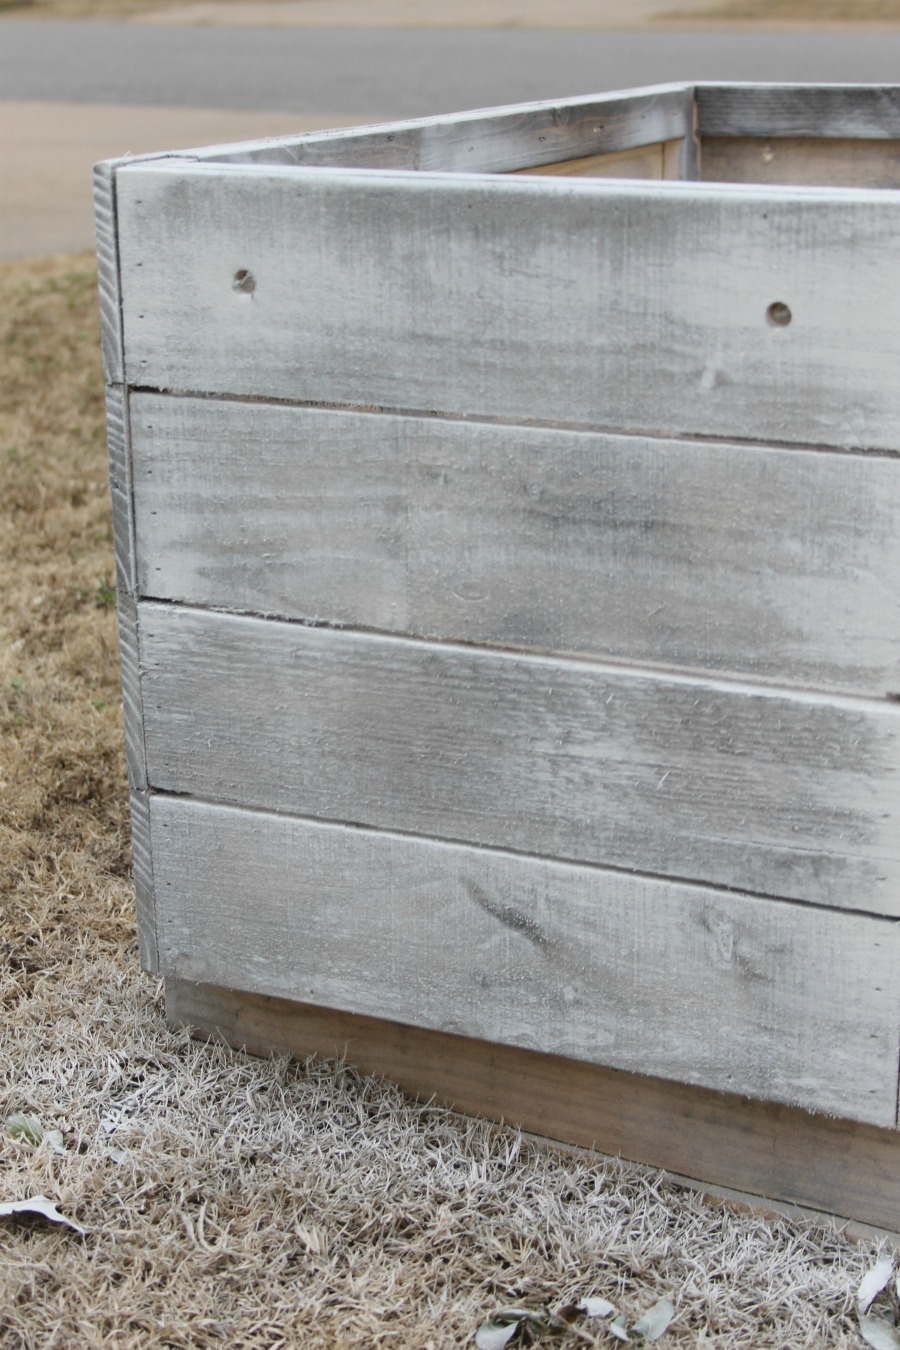
Step 7: Paint or stain your crate. (optional)
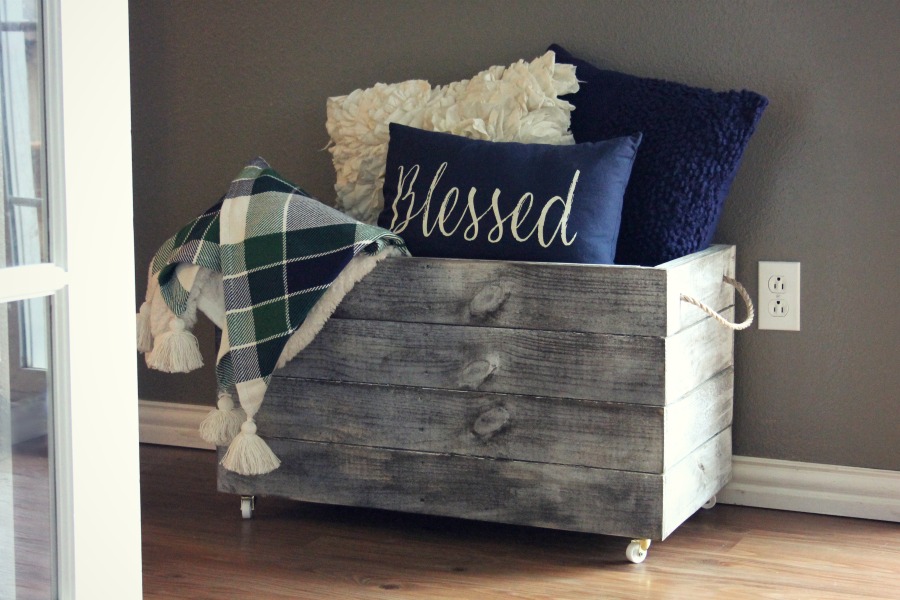
Just for the record, pallet wood does not stain well at all. You won’t be able to get a pretty finish like my DIY console table. I chose to apply a layer of dark walnut stain, but it was very blotchy! Then I let it dry. Once it was fully dry, I went back over it with white spray paint. After that coat completely dried, I sanded down the crate again. This gave it a nice worn barn wood look.
How do you weatherproof a wooden crate?
If you’re planning on using your DIY creation outdoors, there are a few steps you can take to protect it from the elements. First, ensure the crate is clean and free from any dirt or debris. (You may want to leave it sitting out for a day or two before cleaning it, especially if you paint or stain it.)
Next, apply a suitable wood sealant or outdoor varnish to all crate surfaces, including the inside. This will help to create a barrier against moisture and UV rays. For added protection, consider using a waterproofing spray or clear waterproof sealant on the crate’s exterior.

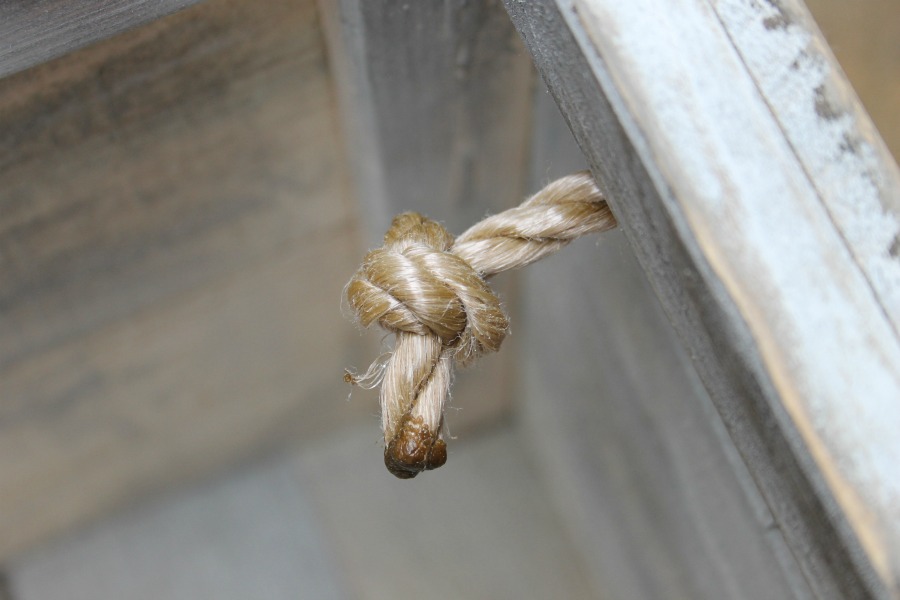
Step 8: Attach your rope handles.
I used this ⅜- inch-thick outdoor rope for my handles. Cut two 16-inch pieces. Then tie the ends of the rope together and fuse them with a flame to prevent fraying. As always, use caution and protective gear for safety during this step!

Step 9: Attach your caster swivel wheels to your crate.
Finally, screw a caster onto each corner of your crate for the finishing touch. This step is completely optional; it’s just another added element that helps with functionality.
Are wooden crates strong?
This DIY wooden crate will be strong enough to hold everyday items. But it’s important to remember that it’s made from pallet wood! Use caution when placing heavy items inside, especially when you pick the crate up by the rope handle. It might be easier (and safer) to place the rate where you plan to keep it before loading it up.
Related: How to Build a Modern DIY Farmhouse Table


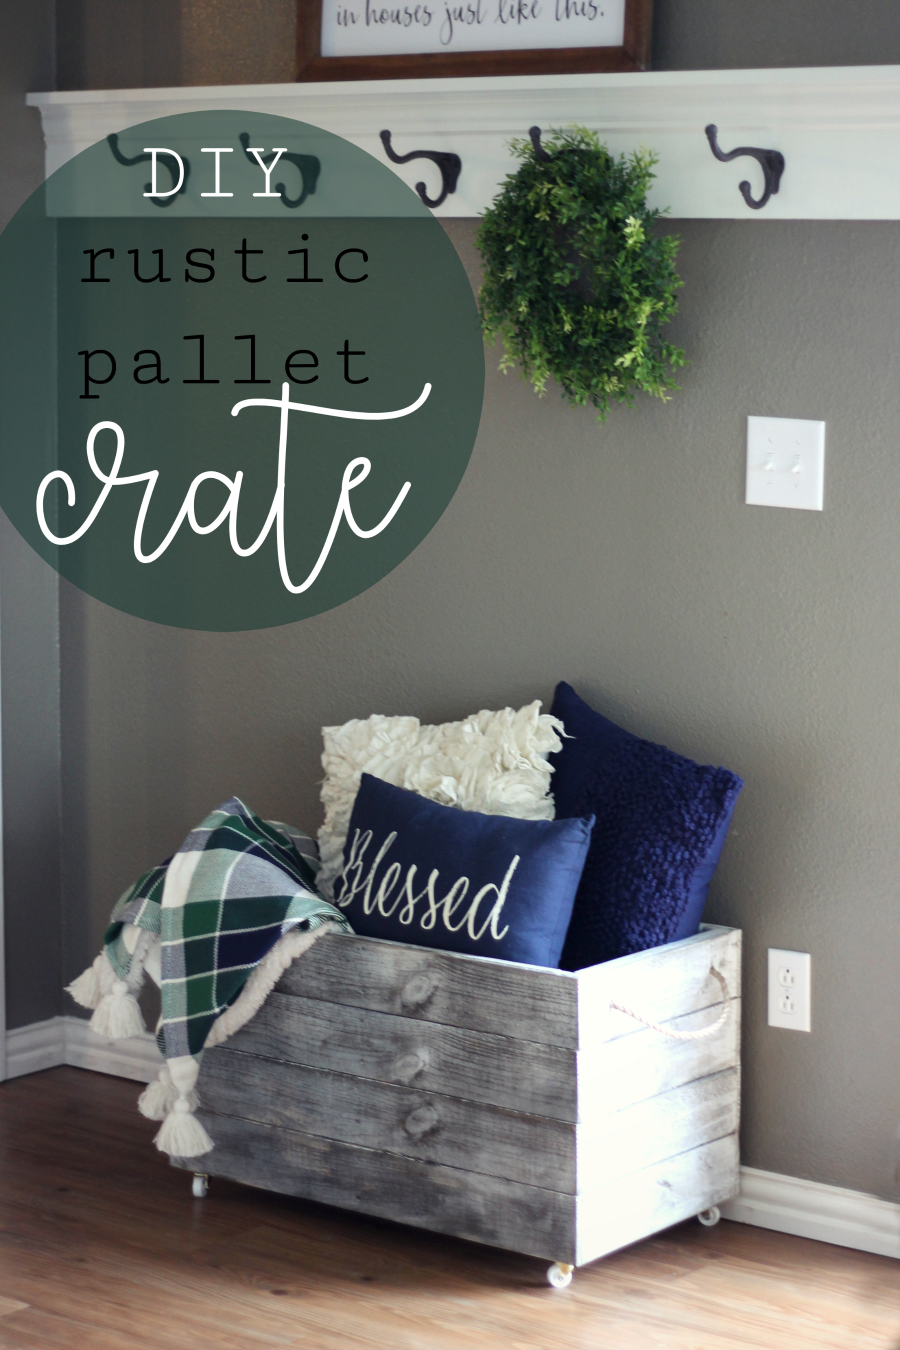
Try Our DIY Wooden Crate Tutorial For Yourself
Now the only thing left to do is to find the perfect spot for your rustic DIY wooden crate in your home. Use it to store extra pillows and blankets, bed linens, toys, and firewood on your patio or even to organize your pantry. The versatility of these pallet crates is the best part!

Have you ever tackled a DIY project with pallet wood before? Do you have any tips or tricks? If you attempt this project, let us know on social media. We’d also love to see the creative spaces you decided to use the crates in around your home!
Editor’s note: This post was originally published on December 27th, 2017, and was revised June 15th, 2023.
Read Next:
- How to Build a DIY Console Table
- Kitchen Shelves for Under $100: How To
- How to Build DIY Garage Shelves for Under $60
Pin for Later: