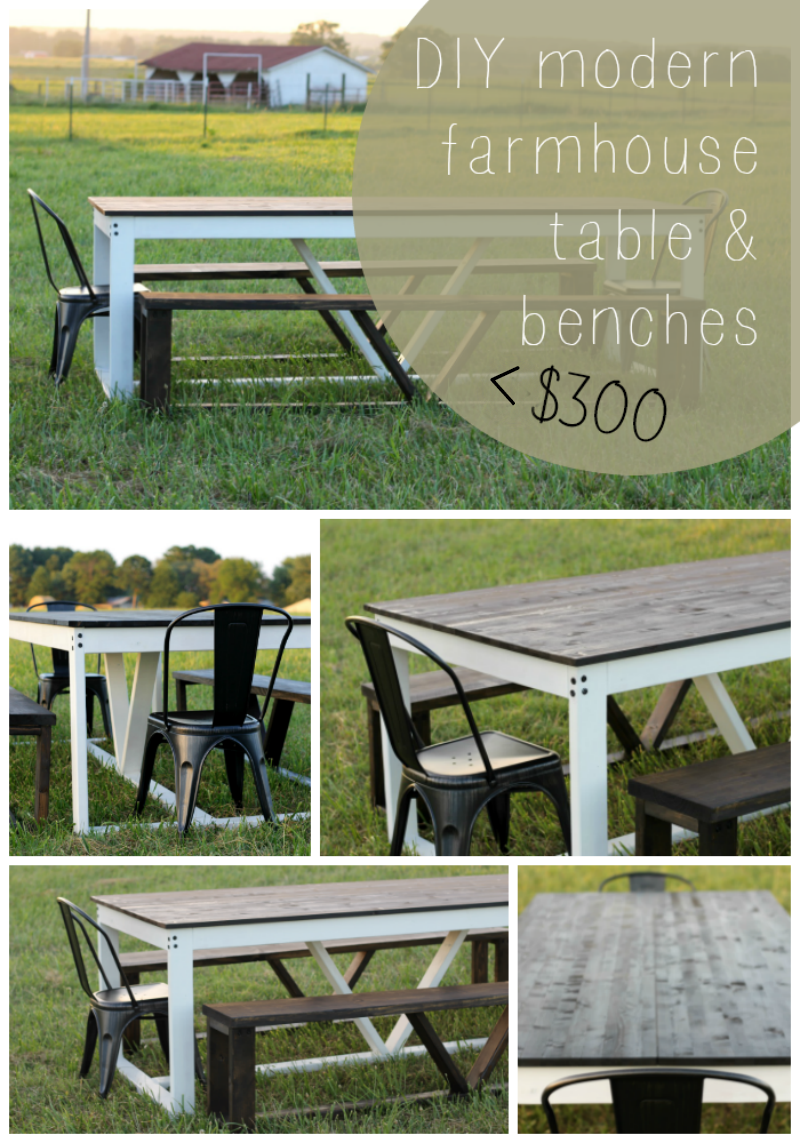
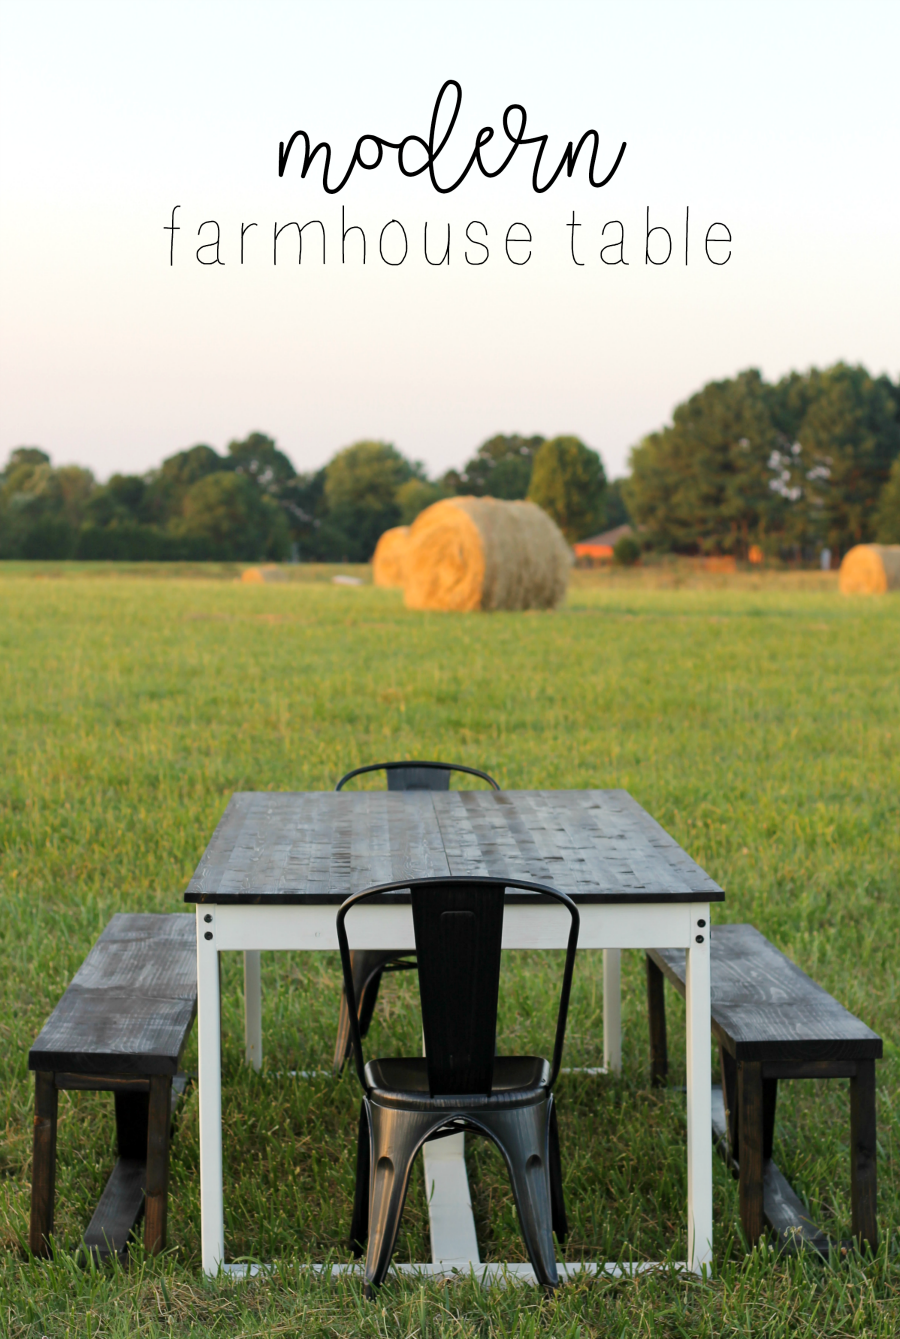
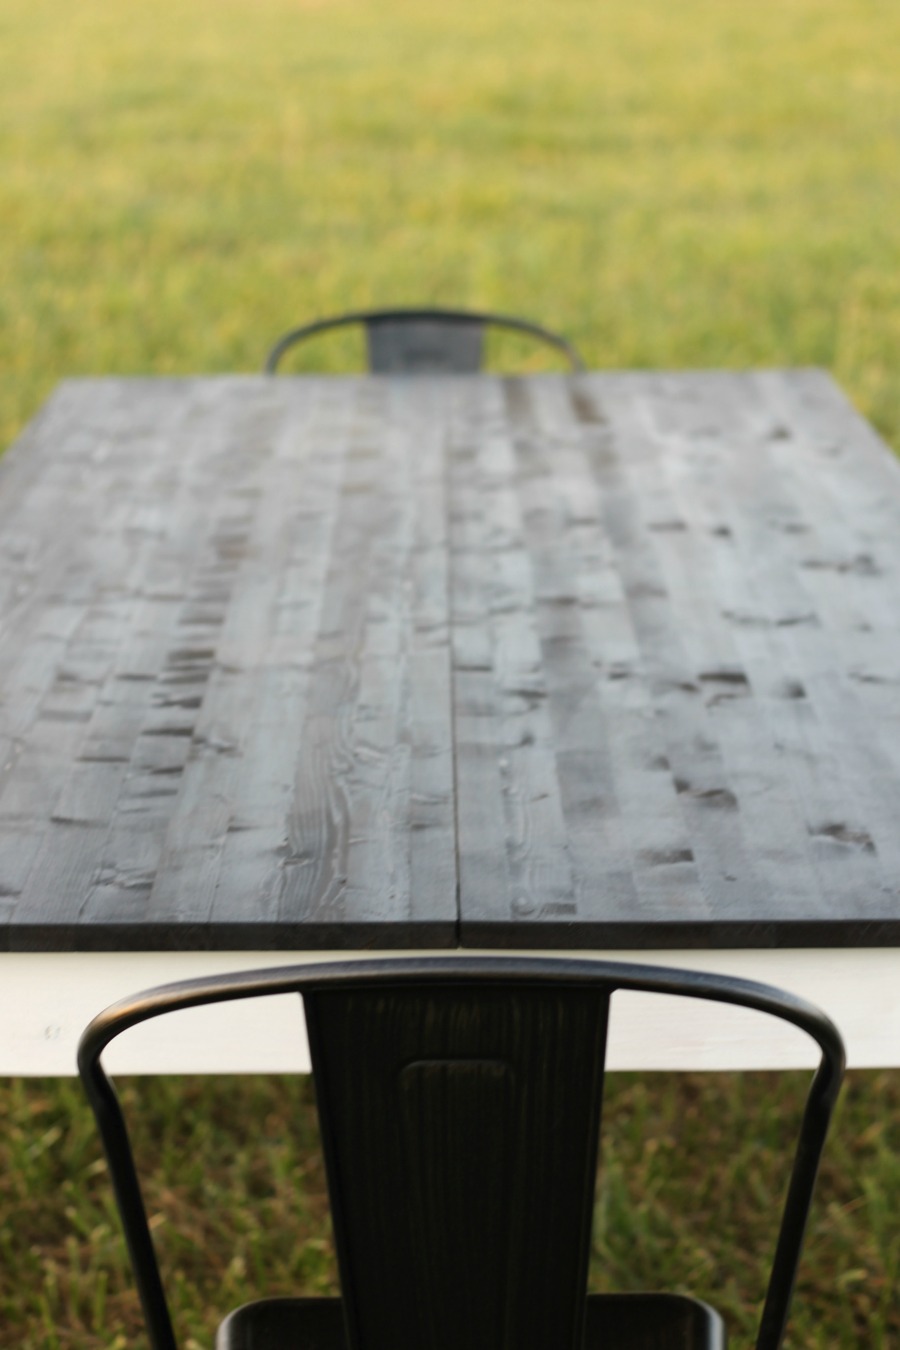
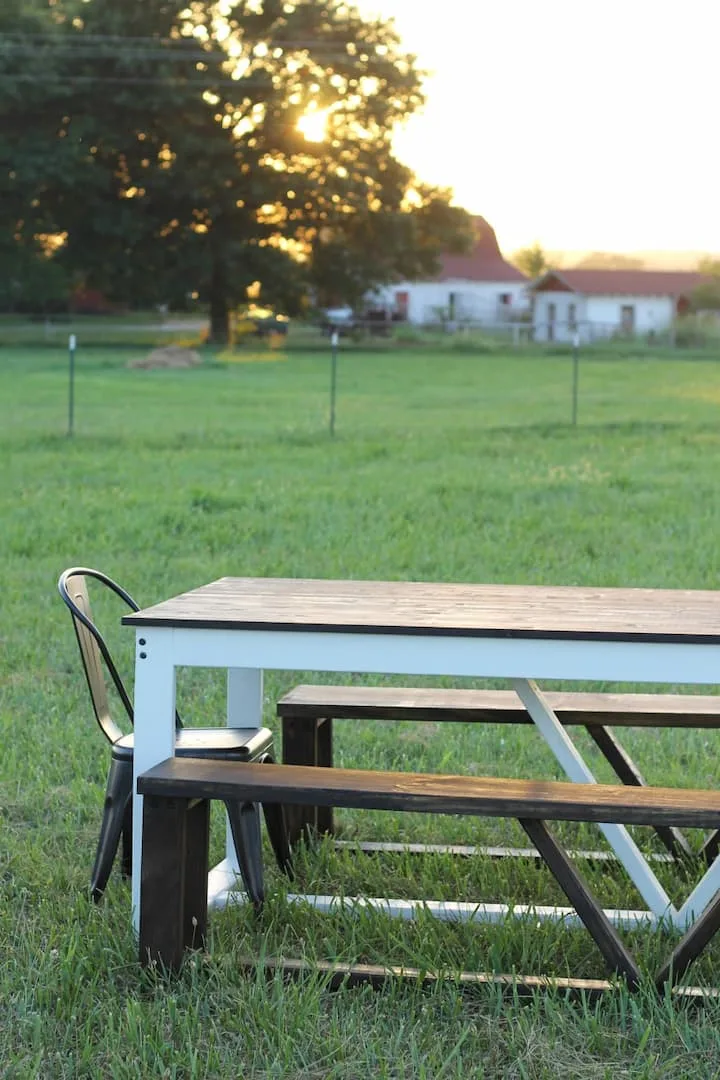
In this tutorial, you’ll learn how to build a DIY farmhouse table that joins rustic textures and materials with modern furniture design. Isn’t that what farmhouse style is all about? I’ll take you step by step with photos from my own DIY. I love this timeless table, and the fact that it seats ten and cost us less than $300 is the cherry on the cake.
This DIY is a bit more involved than the farmhouse picnic table I shared a few months ago. If you are looking to tackle your first woodworking project, I’d recommend something a little bit easier. This simple farmhouse bench with storage is a great first project.
If you are ready to tackle something a little bit more challenging, then THIS is the project for you. The clean lines and timeless elements really give you a look that will be on trend and stylish for years to come. You can’t go wrong with this modern farmhouse table. Let me show you how to make your own.
Do It Yourself: How to Build a Modern Farmhouse Kitchen Table
Supplies*:
- (17) 8-foot 2×4 boards
- (2) 8-foot 2×12 boards
- (1) box 2 ½-inch wood screws
- (1) box 3-inch wood screws
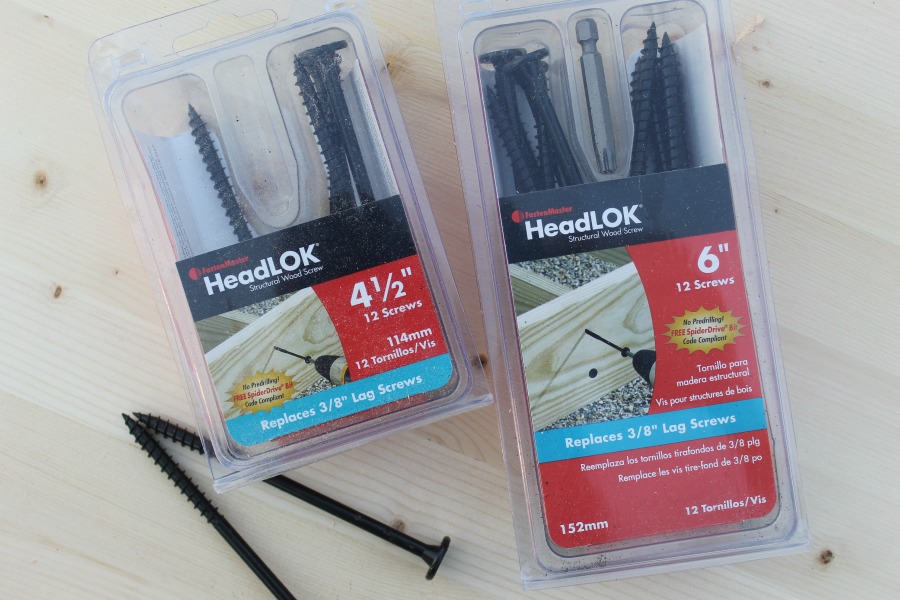
- (20) 6-inch HeadLOC screws
- (16) 4 ½-inch HeadLOC screws
- (32) 2 ⅞-inch HeadLOC screws
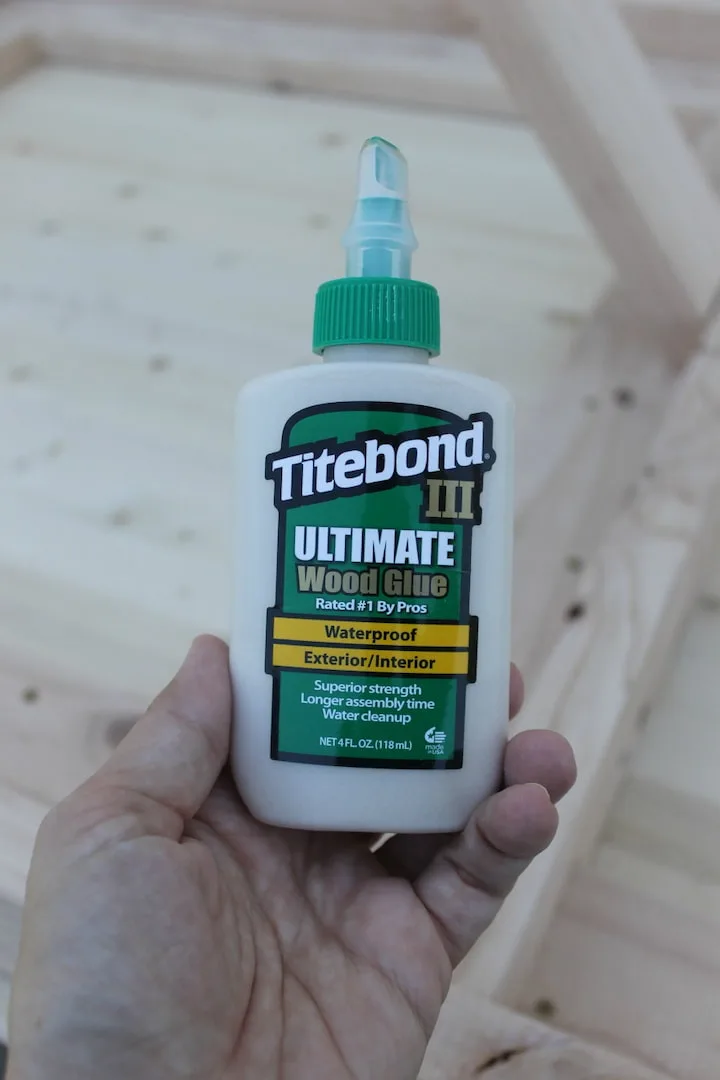
- Wood glue
*This includes the supplies for the table and the two benches.
Tools*:
- Miter saw
- Drill
- Table saw
- Skill saw
- Speed square
- Square
- Tape measure
- Pencil
*Remember when using power tools, use caution, use protective gear and follow manufacturer’s instructions. Build at your own risk!
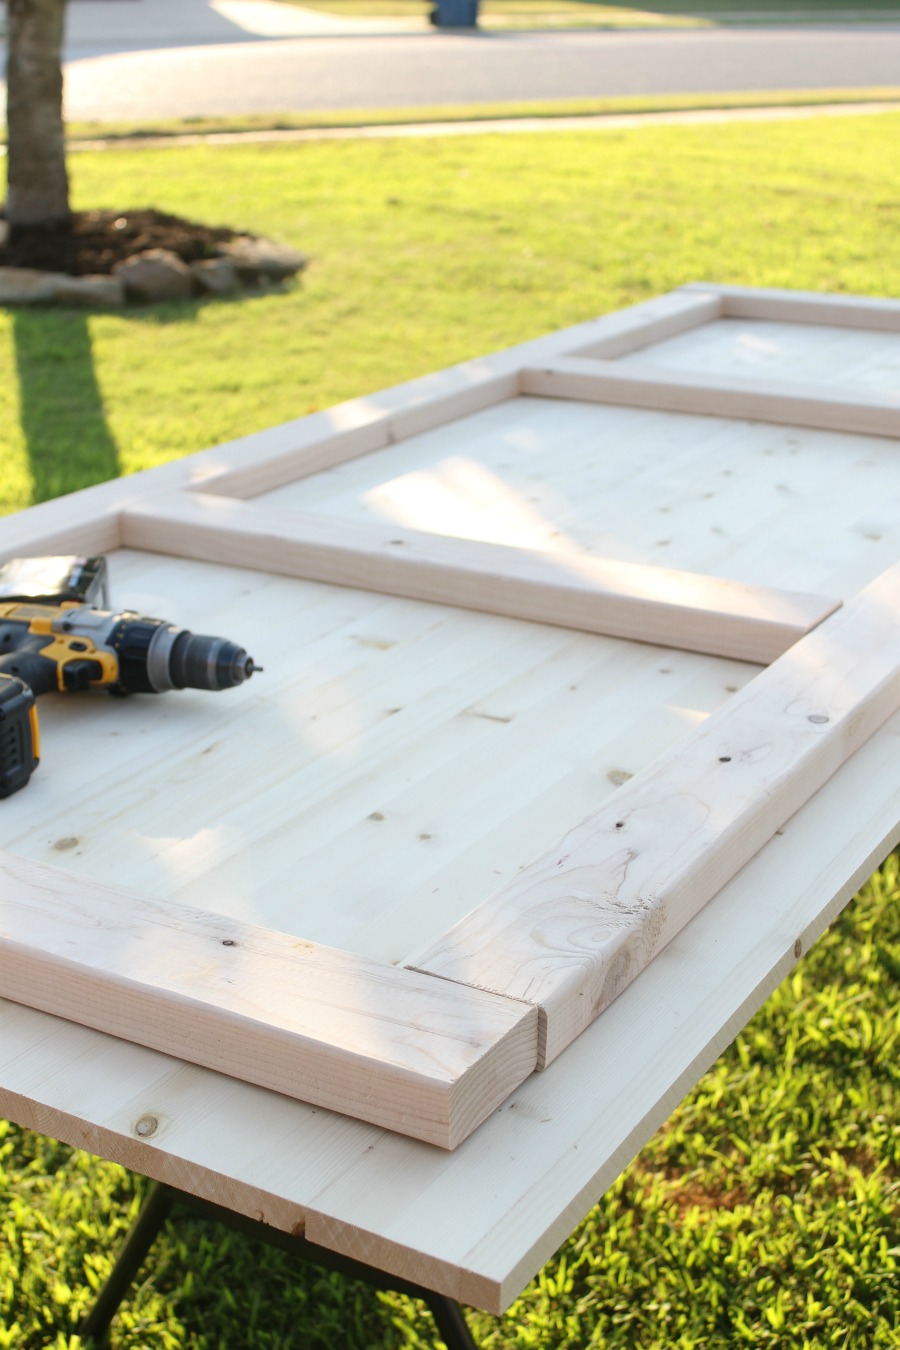
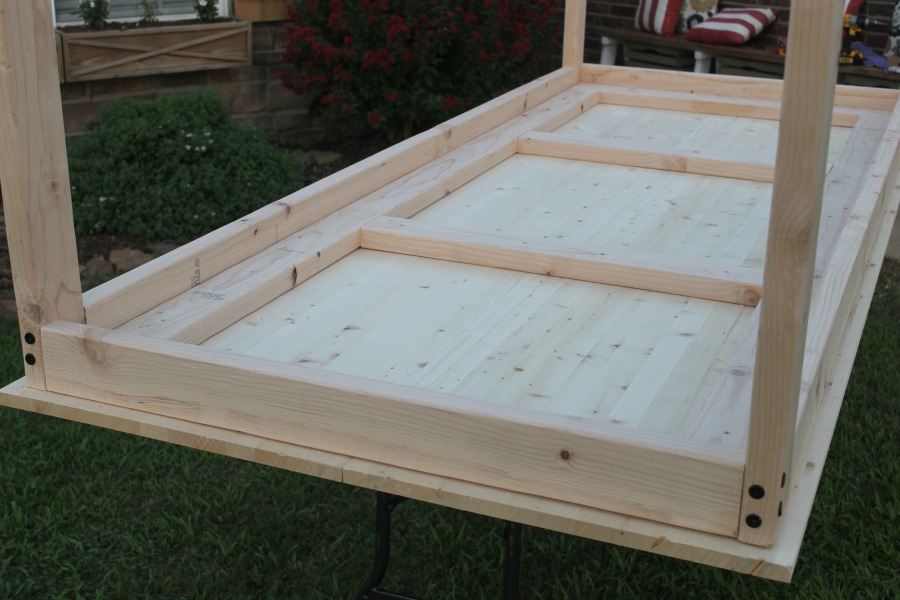
Step 1: Build your tabletop.
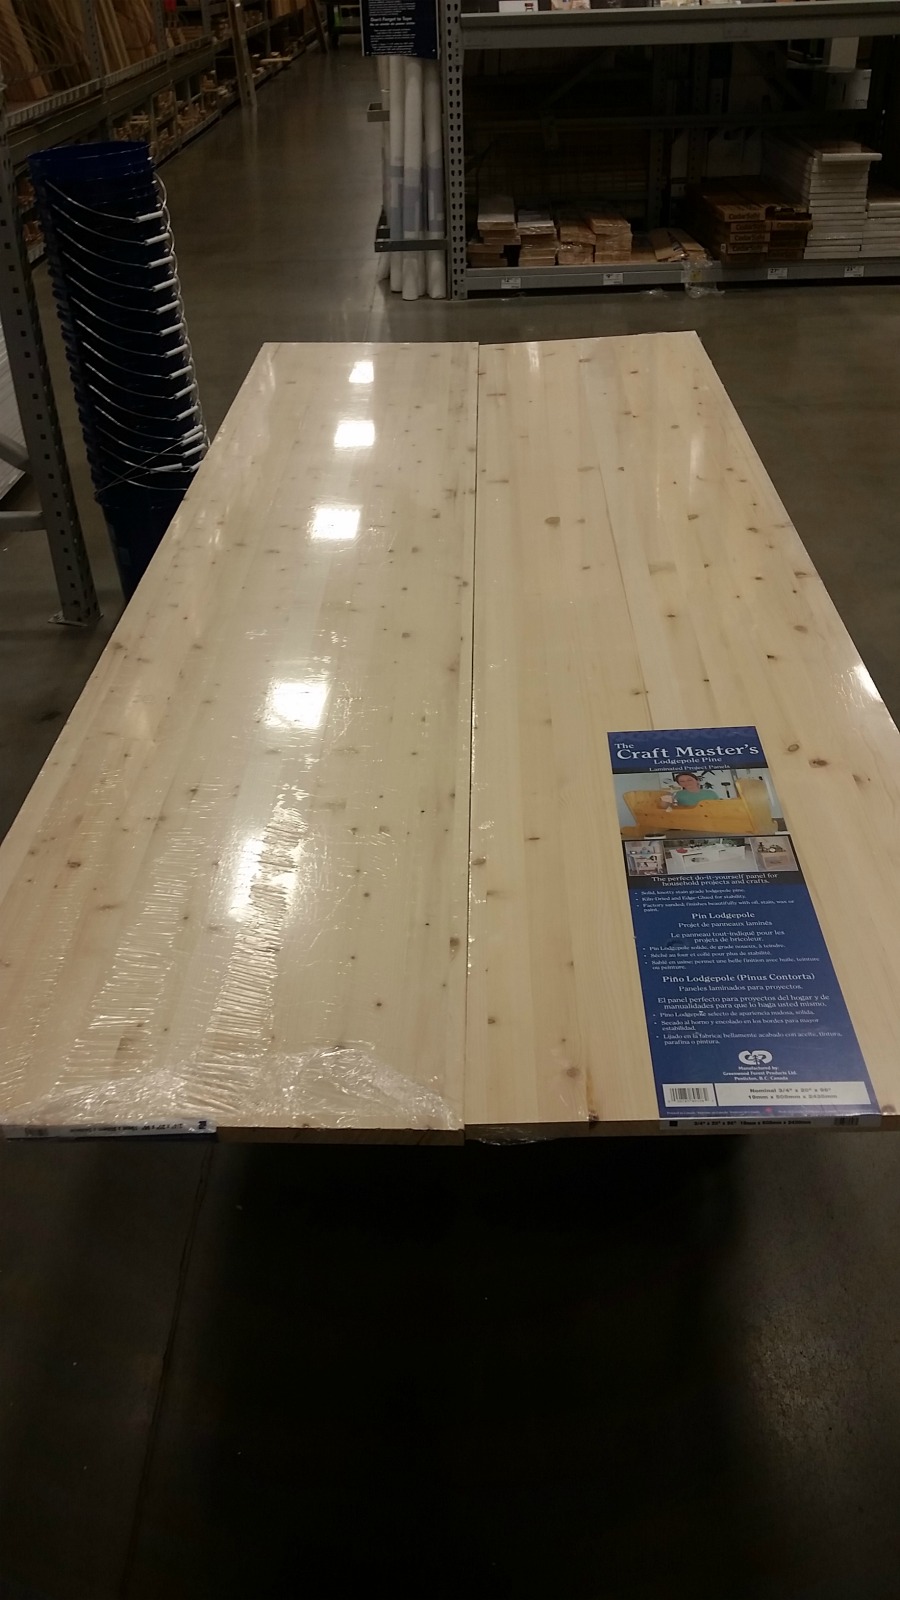
For the tabletop, we used two 20-inch by 8-foot long lodgepole pine panels that we found at our local home improvement store. Once we were home we unwrapped them and laid them side by side on our work surface.
Next, we made our tabletop support using some of the 2×4 boards.
The 2×4 cuts are listed below:*
- (2) 27 ⅞”
- (2) 34 ⅞”
- (2) 84 ¼”
- (2) 34 ⅞” (These are not pictured here. You’ll see how we did these in just a bit.)
*Please verify your own measurements to fit the material and table project you are working on. These measurements are only a guide.
To attach the support to the bottom of the table we used 2-inch wood screws and wood glue.

Drill the screws in every 6 inches or so.
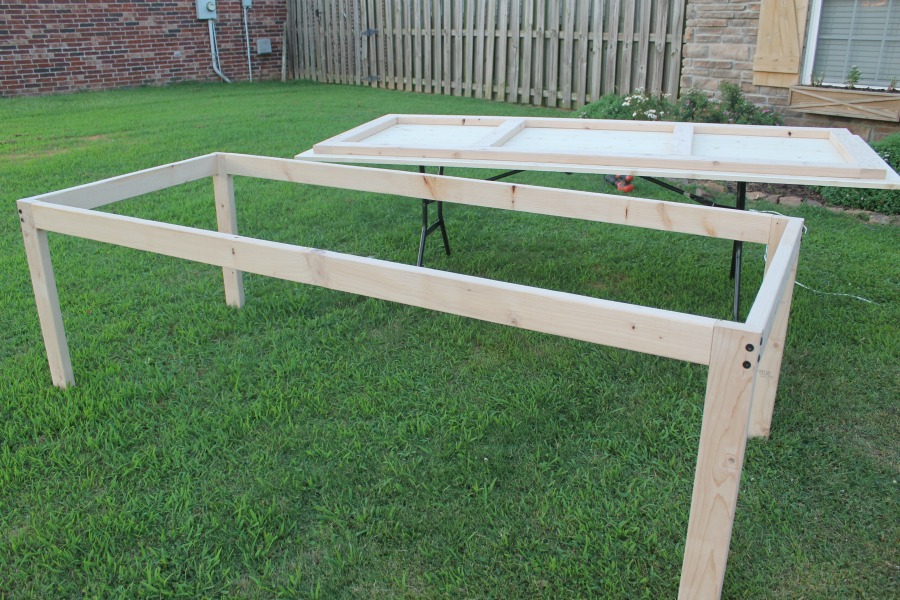
Step 2: Build your table base.
Next, we built the base for our table. We kept our table top on our work surface and built the base right on top of our tabletop.
Here are your 2×4 cuts for the table base:
- (3) 87 ¼”
- (4) 35”
- (4) 29 ½” (for the legs)
- (2) 30” 33° angle cut (for the V brace)
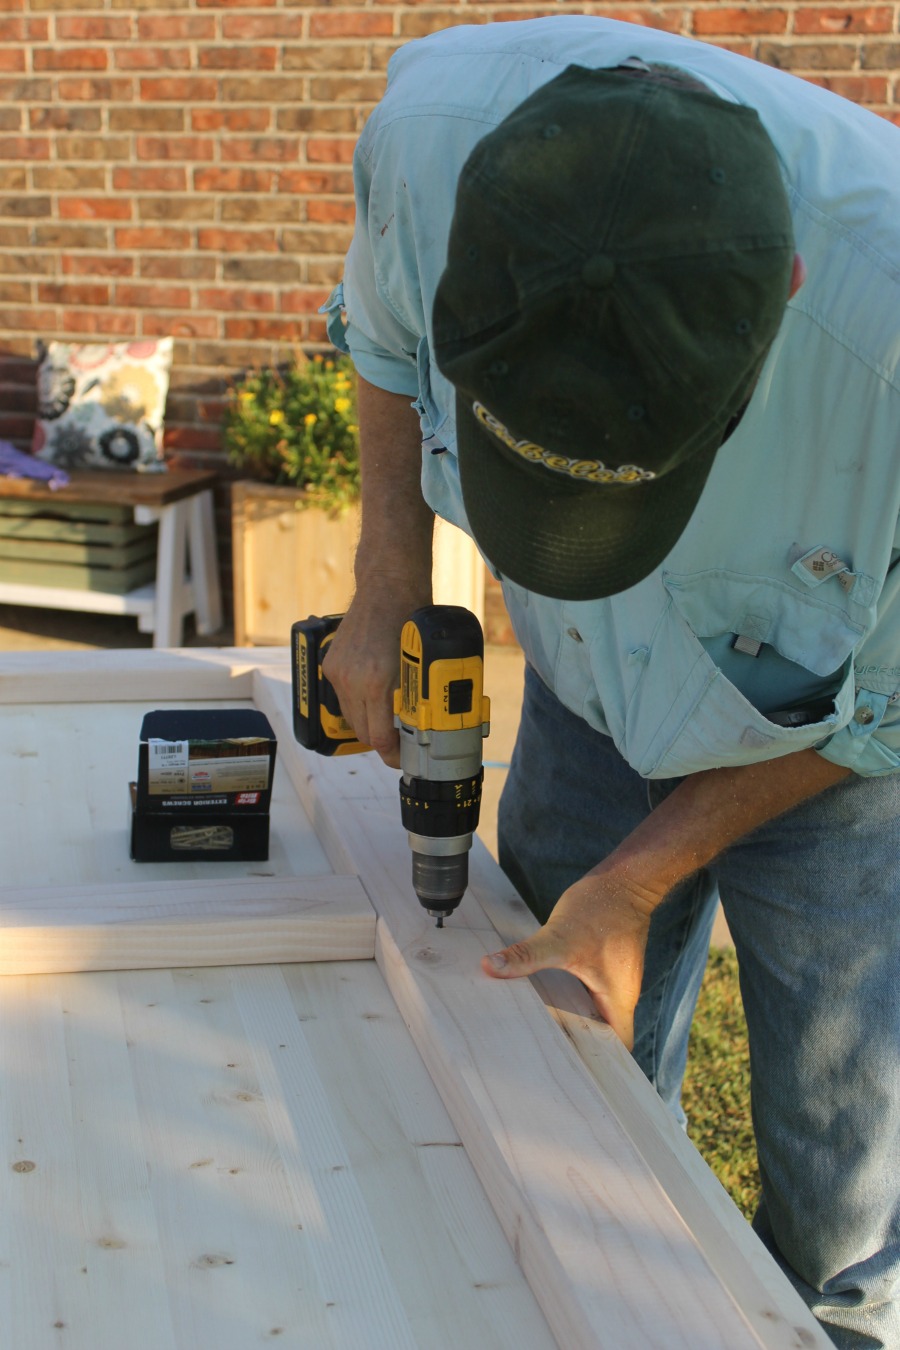
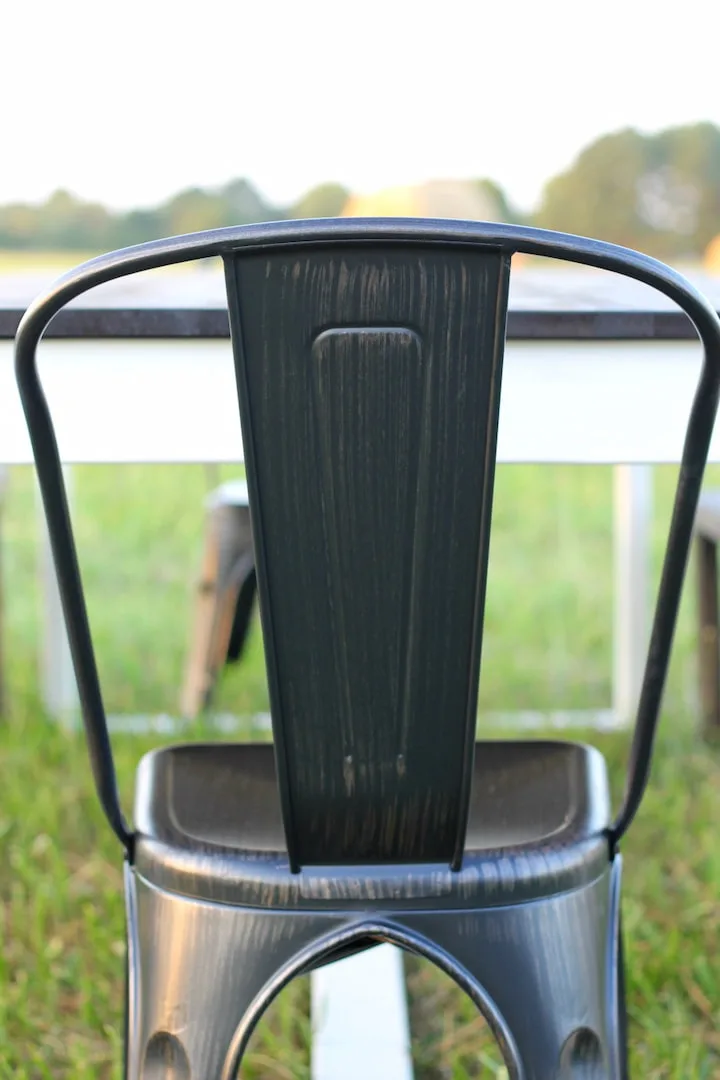
For this part, you will need to use various sizes of HeadLOK screws. These screws have a decorative head, and you won’t have to worry about unsightly screw heads on your finished table.
You’ll use the 4 ½-inch HeadLOK screws to attach the leg pieces to the short end. Use a square to line up your leg.
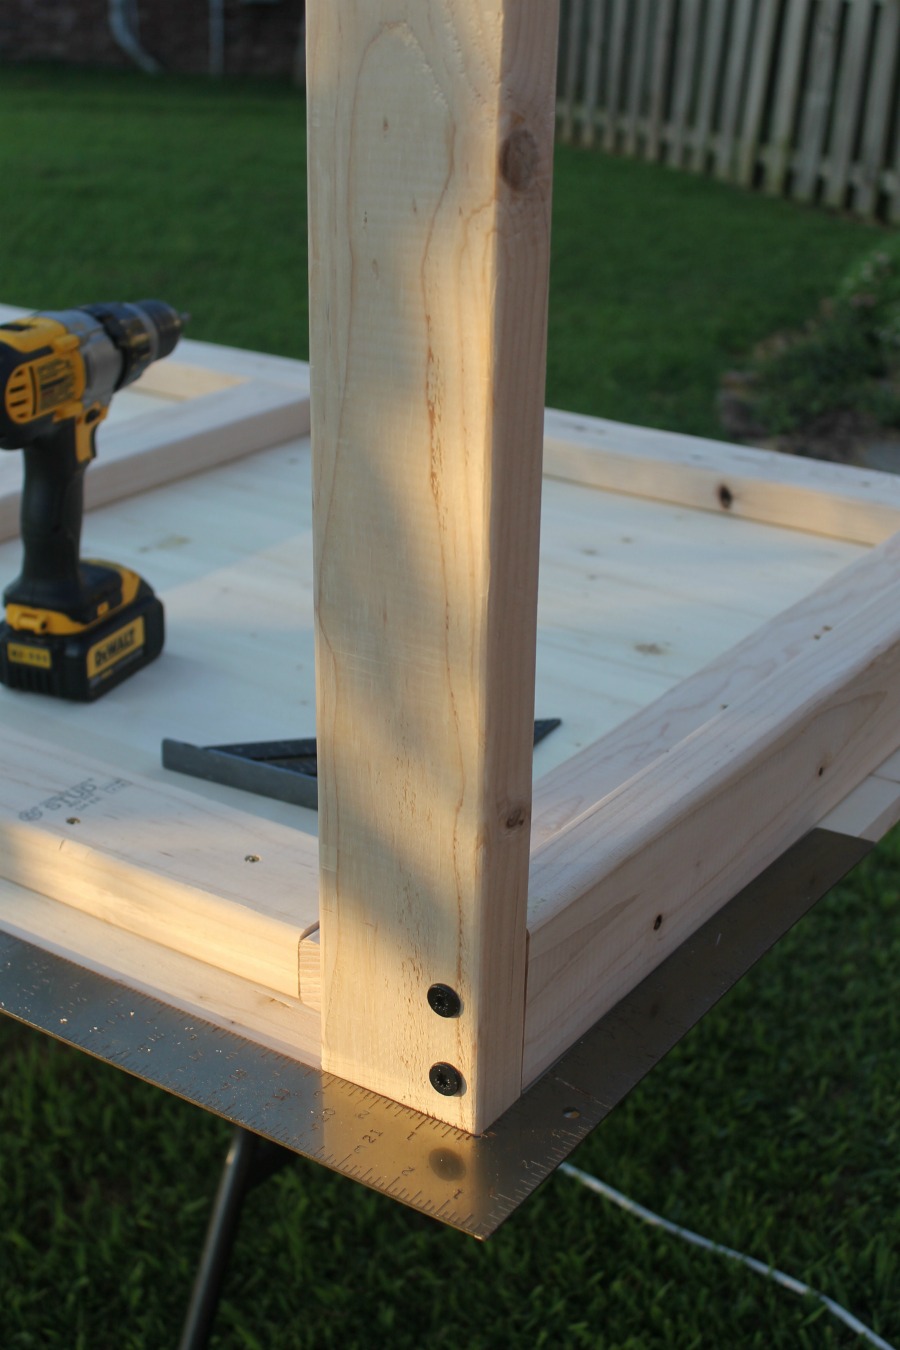
Then you’ll use the 6-inch HeadLOK screws to attach your leg to the long side of your table.
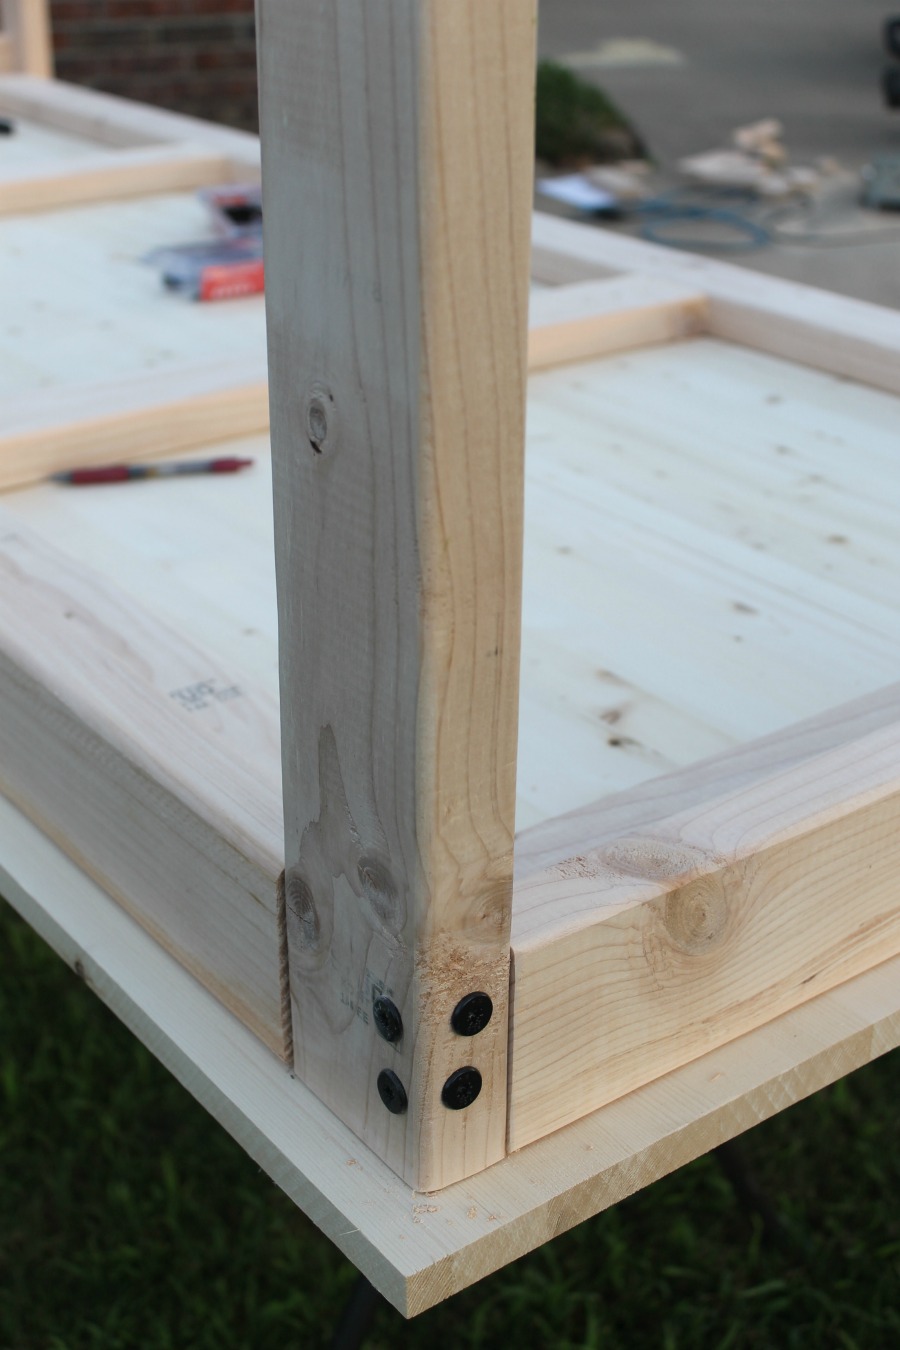
TIP: Pre-drill the holes. Also, note how we staggered the screws so they’d miss each other inside the leg. Be very careful on this step! You don’t want to split your wood or have two screws try to intersect each other. That won’t work!
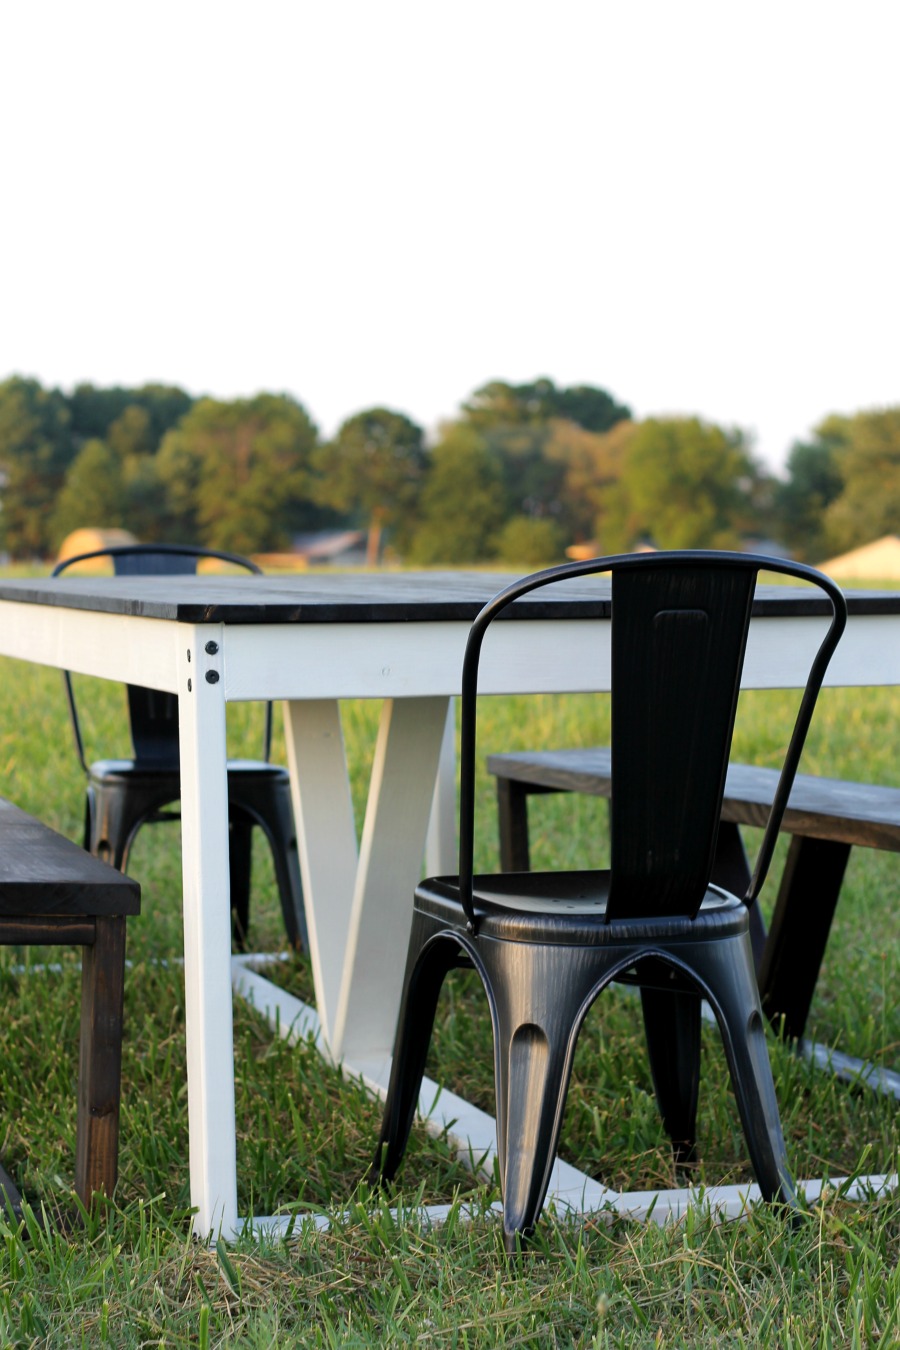
This is how the table will look so far in the tutorial.
At this point, our base has not been joined to the table top, but we used the table top supports as guides. That way you’ll be able to lift the base off. This will be super convenient when you go to stain the top and paint the base in just a bit.
Before we did that though, we wanted to add just a little bit of extra support. To do so, you will use the 34 ⅞-inch pieces you cut in step one. We notched them and trimmed them down just a little bit to fit snugly underneath the tabletop.

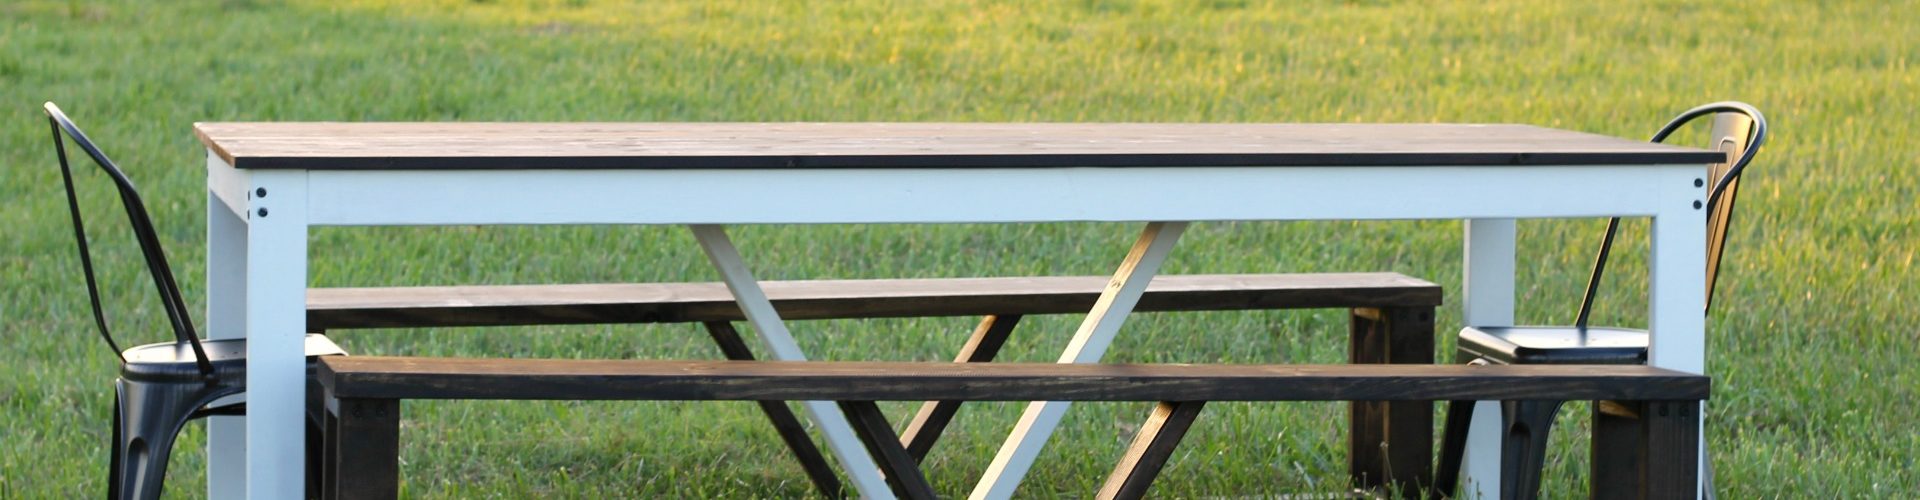
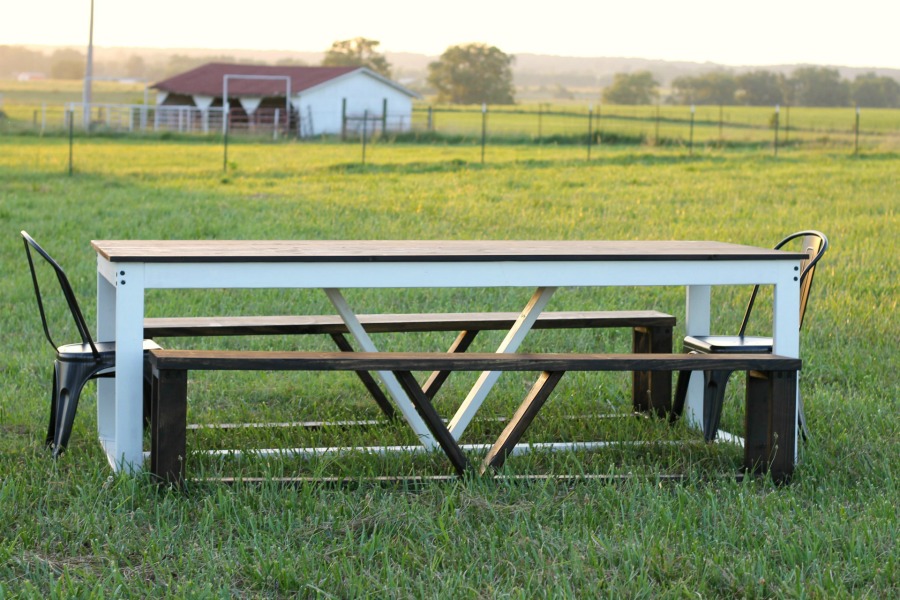
We also added the V brace at this point. I screwed them into the table base. Later, after I painted and stained the table I screwed the V brace into the tabletop support pieces as well. From this angle, you can see how we made the bottom part of the legs and the big support brace that will run along the bottom of the table base. All of these pieces are screwed together using the HeadLOK screws.
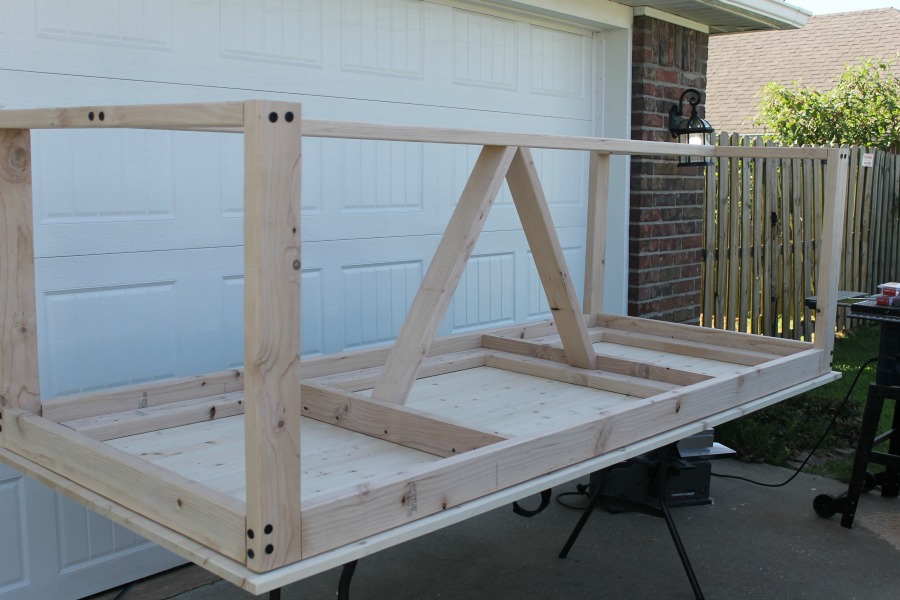
We flipped everything over, and voila! A table!
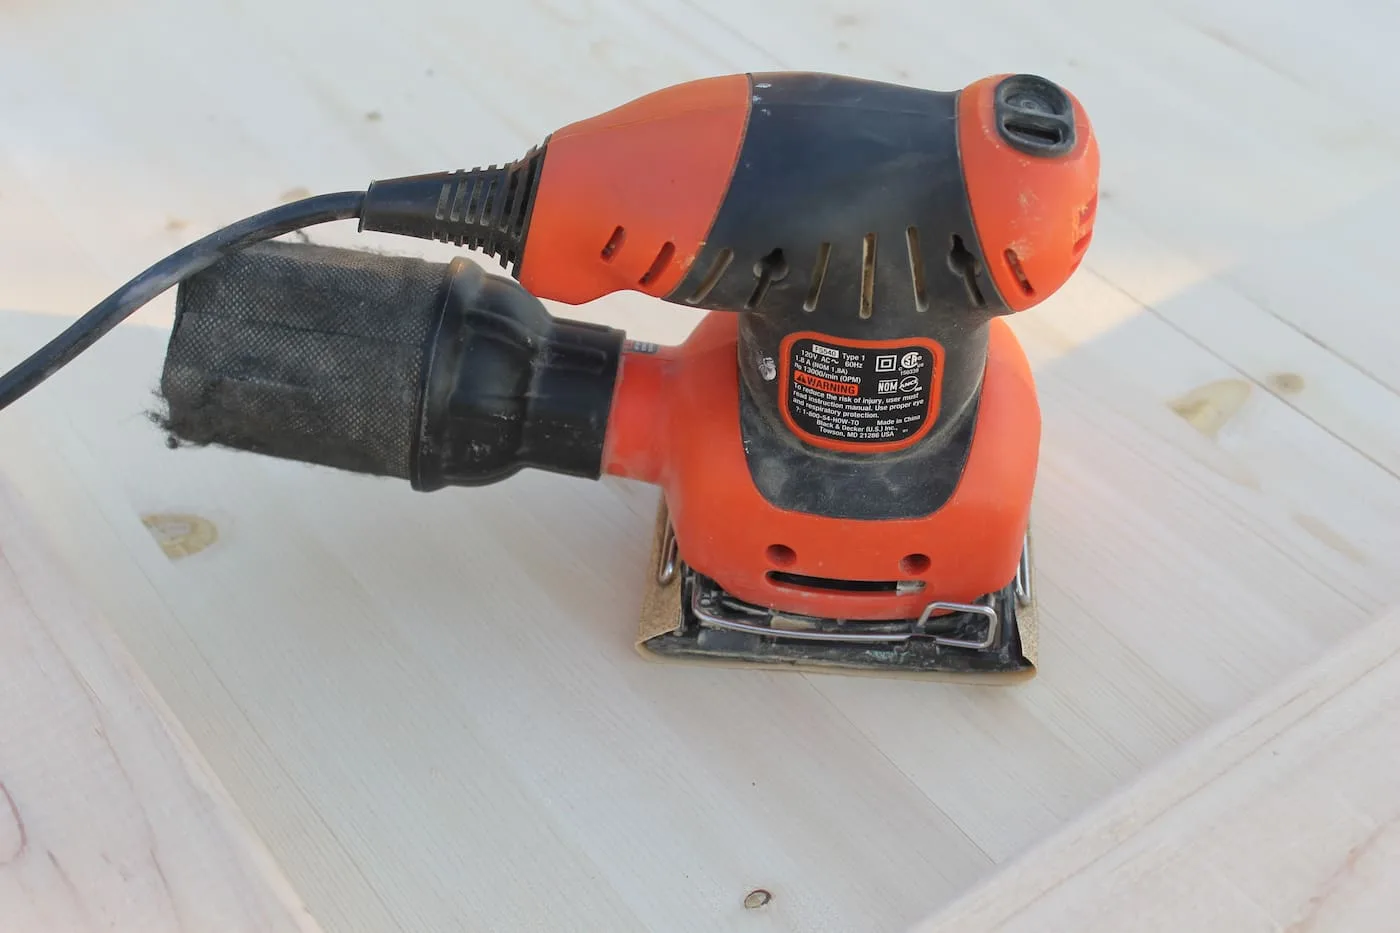
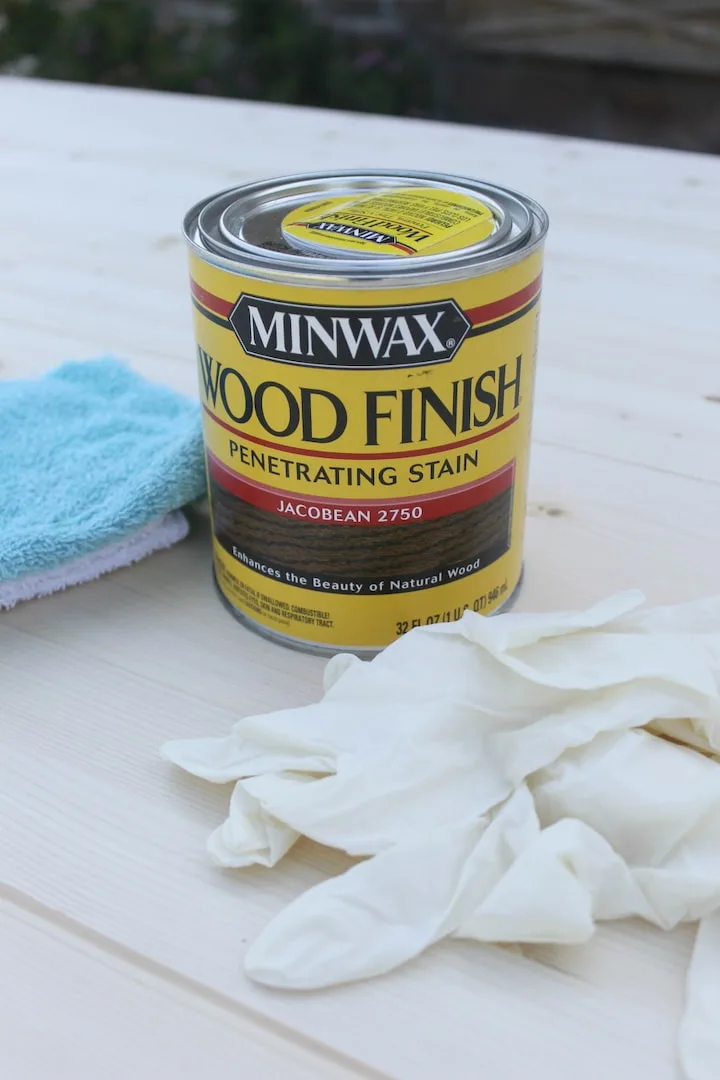
Step 3: Sand, paint and stain your table.
At this point, I separated the table top from the base, so I could stain and paint the pieces. This is also a great time to sand down your table so it is nice and smooth.
TIP: Be sure to remove any dust before staining or painting.
When I stain I always use protective gloves and old rags. Rub on the stain with a rag and then use another rag to wipe off the excess stain. Wait four to six hours and recoat. Let dry. While it was drying, I used some white paint to paint the table base.
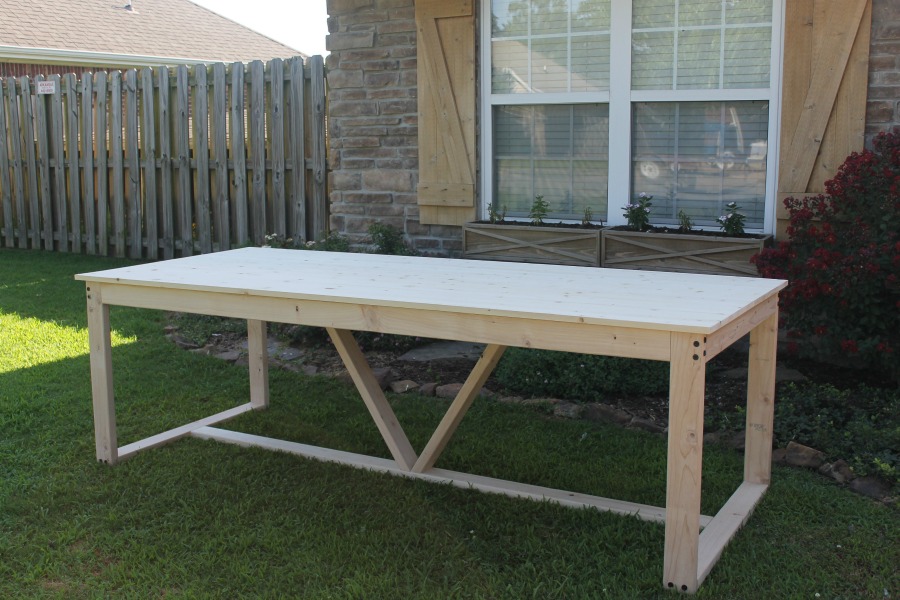
Step 4: Assemble your DIY farmhouse table.
After the table is stained and painted, reassemble the tabletop and base. Screw in the leg V braces, and then you are done. All that’s left is to place it in your home, sit back and enjoy your new modern farmhouse table!
This table sits up to ten and has a design that would work well in just about any kitchen or dining room.
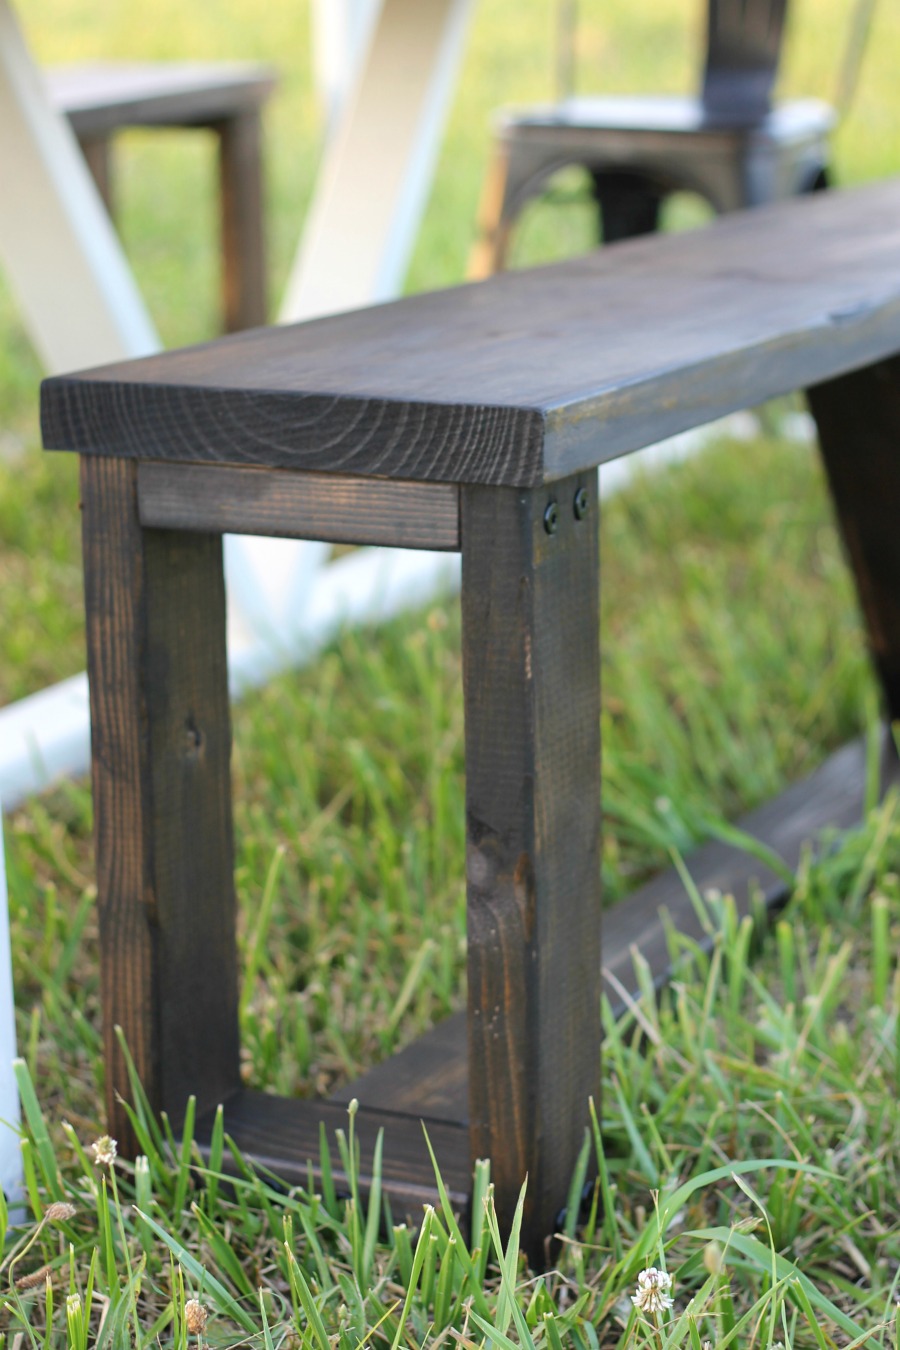
TIP: You can also make some matching benches using a very similar design.


Let me know if you have any questions in the comments below. I’d love to hear if you tackle this project!
Pin for Later: