
We are in the process of building our own home. I’m excited for a fresh start and a clean slate. I have so many projects and ideas that I can’t wait to tackle.
Our number one goal (besides getting the house finished!) is to have an organized garage. I want a garage where we can find things quickly, that looks great, without clutter lying around and a garage where I’ll have room to park my car. Priorities, you know!
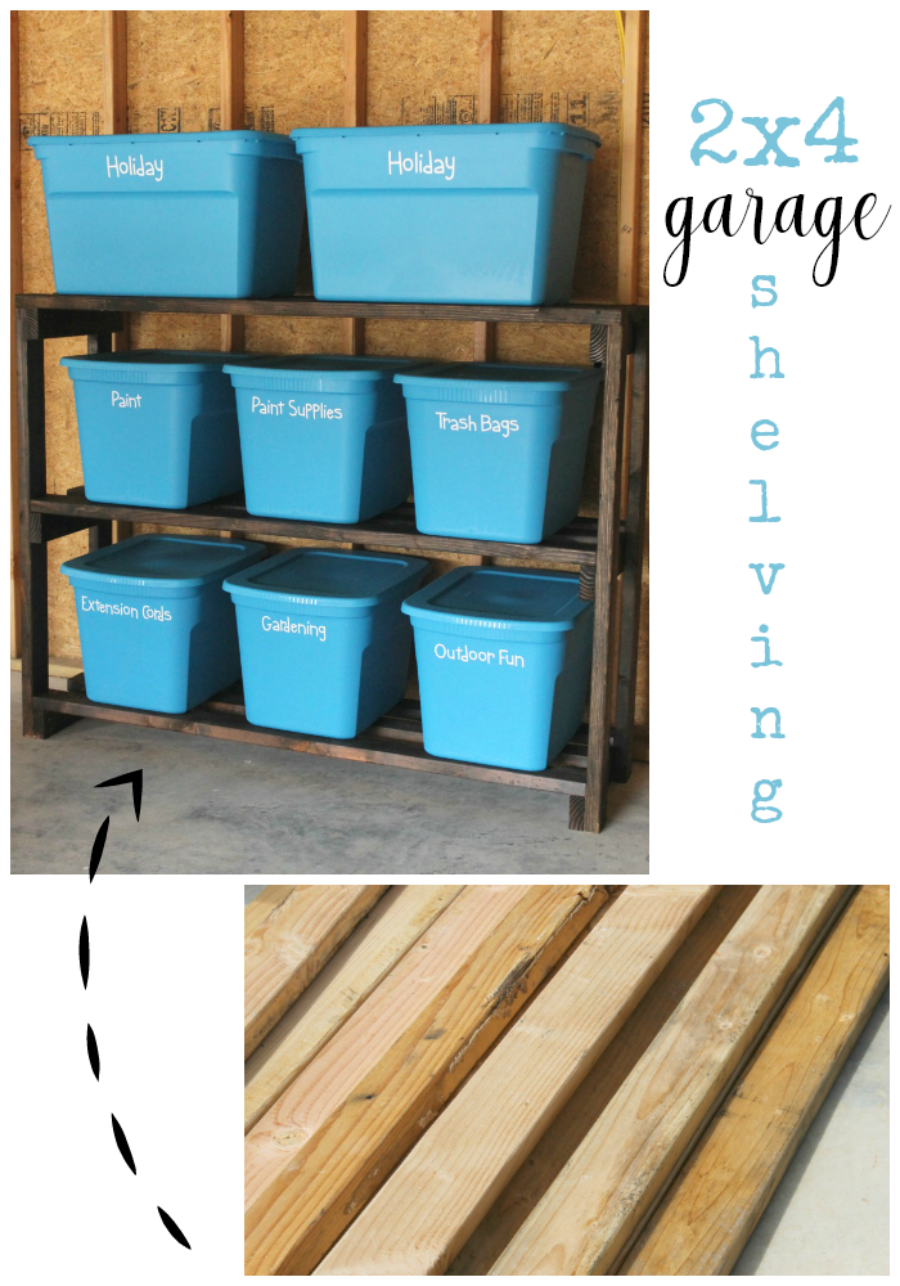
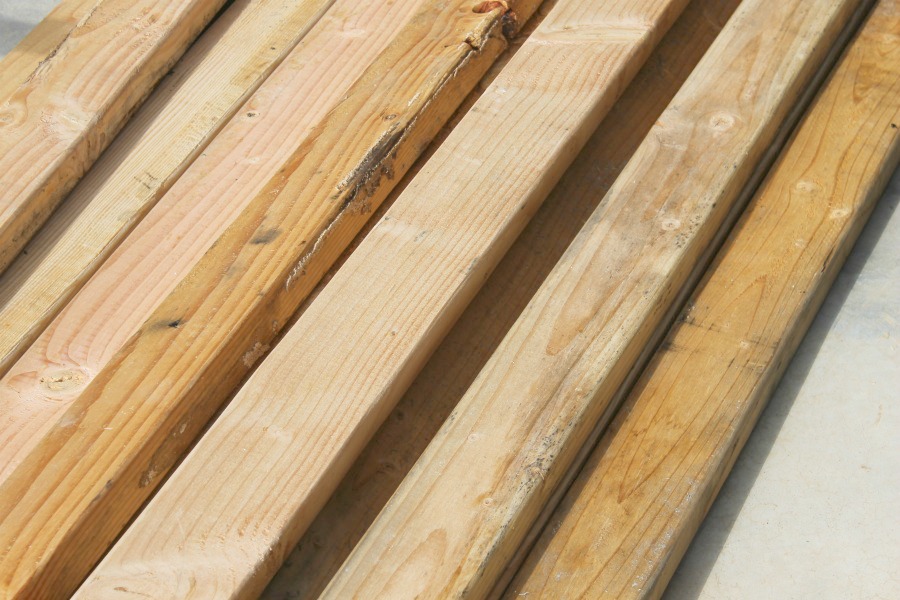
To achieve this goal, I built DIY garage storage shelves to organize the spare space we have. I really love using 2x4s for DIY projects and crafts. These boards are sturdy, stain well and best of all they are cheap! I’ve used 2x4s to make a farmhouse bench with storage, my $10 blanket ladder and a cute DIY console table. Using 2x4s for my DIY garage shelves was a natural solution.
Tip: When you are picking out your 2x4s for a project make sure you chose the cleanest and straightest boards. Pass on any boards with warps or splits in the wood. I also try to avoid boards with big knots or imperfections.
How to Build DIY Garage Storage Shelves
Alright, let’s get started on this project. This is such a simple project to tackle. I’d definitely put this project in the beginner’s category. So, if you’ve always wanted to try out a DIY project and you want to organize your garage, I would highly recommend this one.
Another TIP: If you don’t have access to power tools, most lumber stores will cut the wood for you!
Step 1: Gather your supplies.
For this project you will need:
- Nine 10’ 2×4 boards*
- 3-inch wood screws
- Miter saw
- Drill
- Tape measure
- Square
- Hand sander
- Sandpaper
- Wood stain (optional)
*If you look closely at my wood, I didn’t follow my own advice! Some of these pieces are pretty rough! This is actually leftover lumber from the framing of our house. When it’s “free,” you can’t be picky! It will function just fine for nice, blemish-free boards. It just won’t look as pretty. When you are building furniture for your house, you will want to be choosy with your wood. Shelves in the garage? Not so much.
Step 2: Cut your wood.
*Remember when using power tools, follow all safety precautions, wear protective eye wear and use common sense. Build at your own risk.
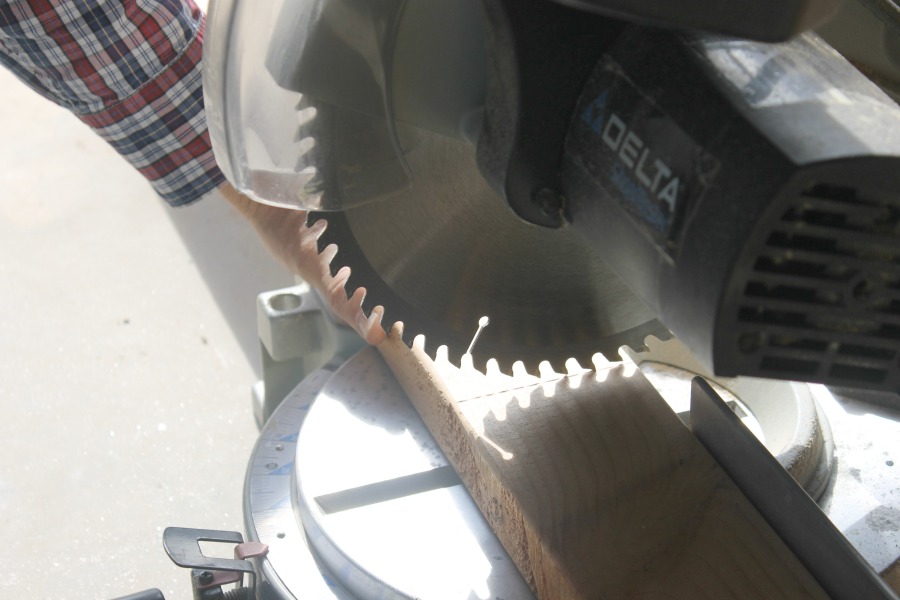
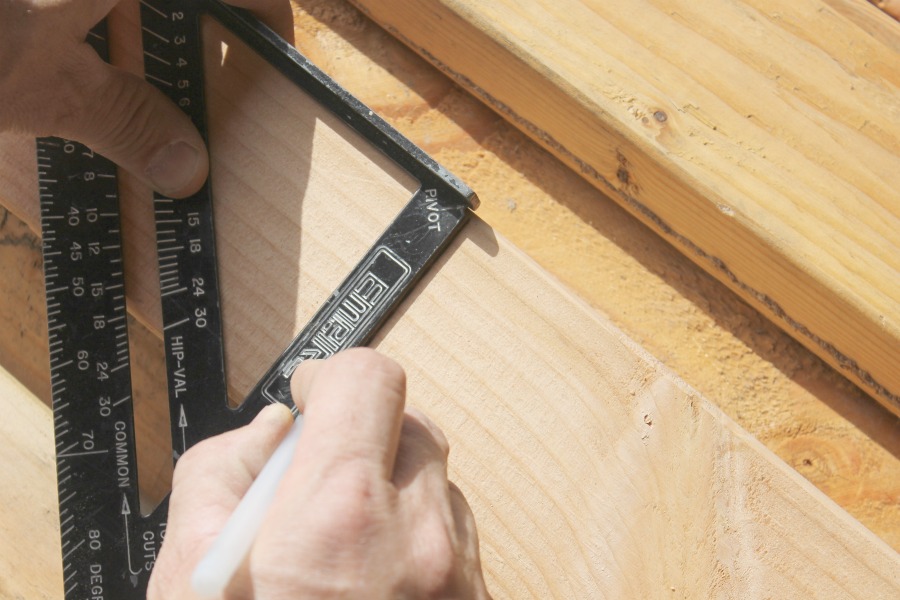
Using a tape measuring and a square to draw a straight line, cut your wood to the following lengths.
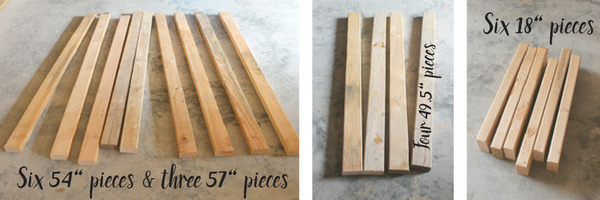
You will need:
- Six 54-inch pieces
- Three 57-inch pieces
- Six 18-inch pieces
- Four 49½ -inch pieces
Step 3: Assembly.
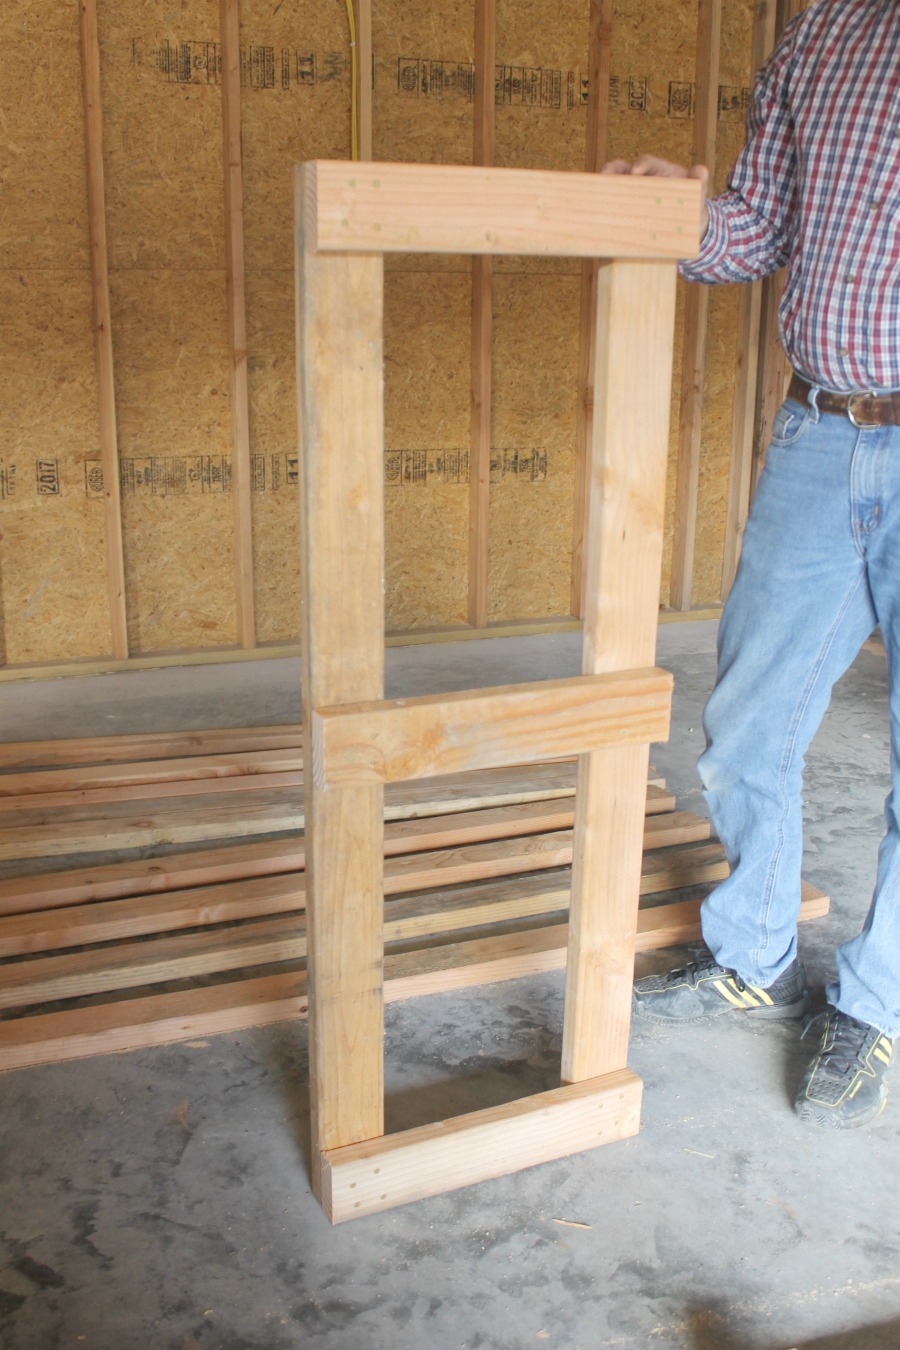
First, you will assemble the legs of your shelves (the 49½ -inch boards). Attach one of the 18-inch pieces between two of the 49½ -inch boards and screw it into place using the wood screws. We used four screws for each side.
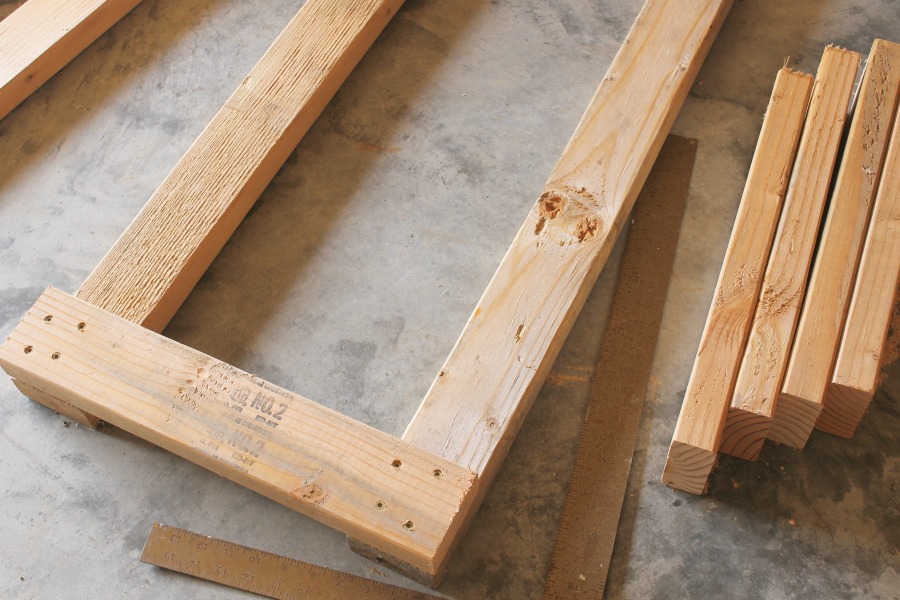
Then attach another 18-inch piece to the other end and screw it into place.
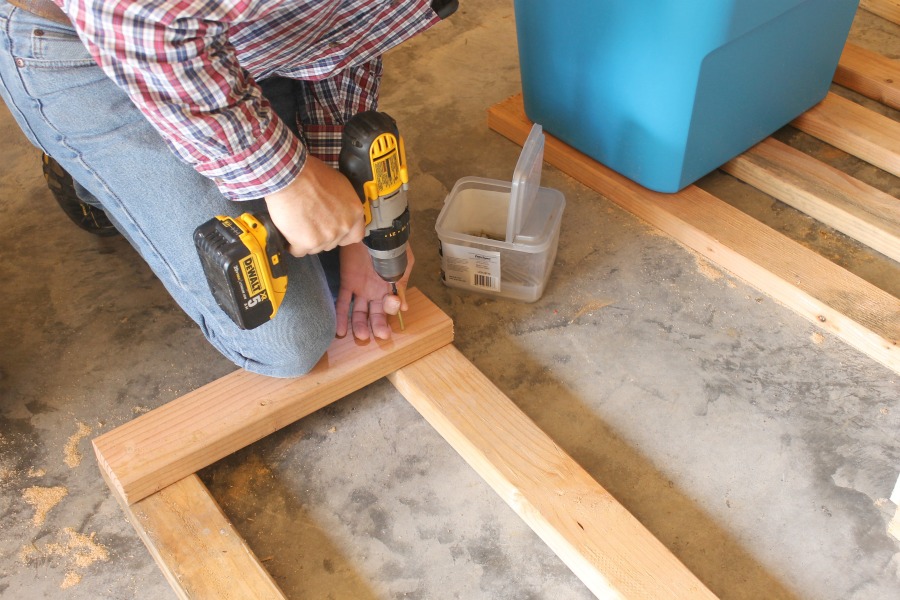
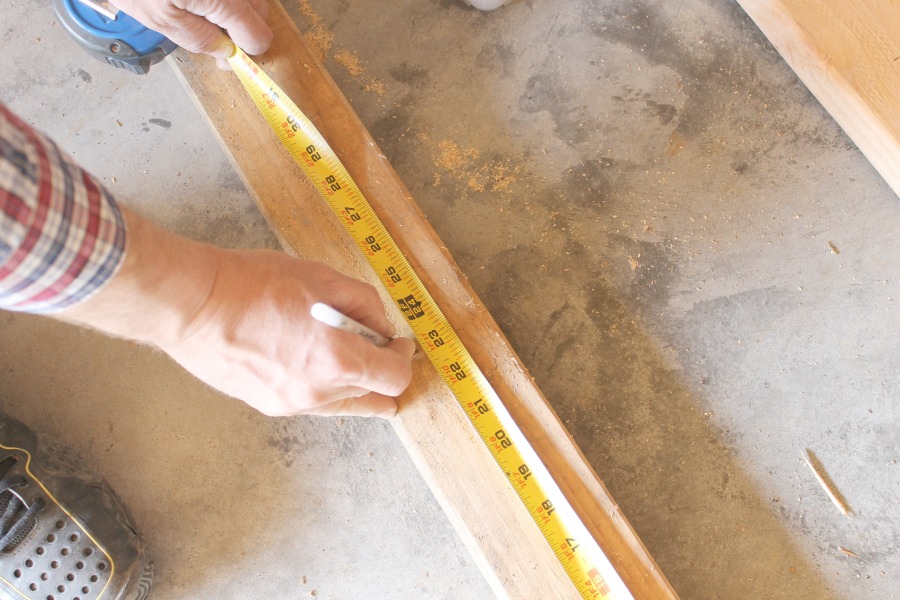
Measure and mark a spot right in the middle. This will be the spot where you will attach one more 18-inch piece.
Screw that board in place using your drill and wood screws.
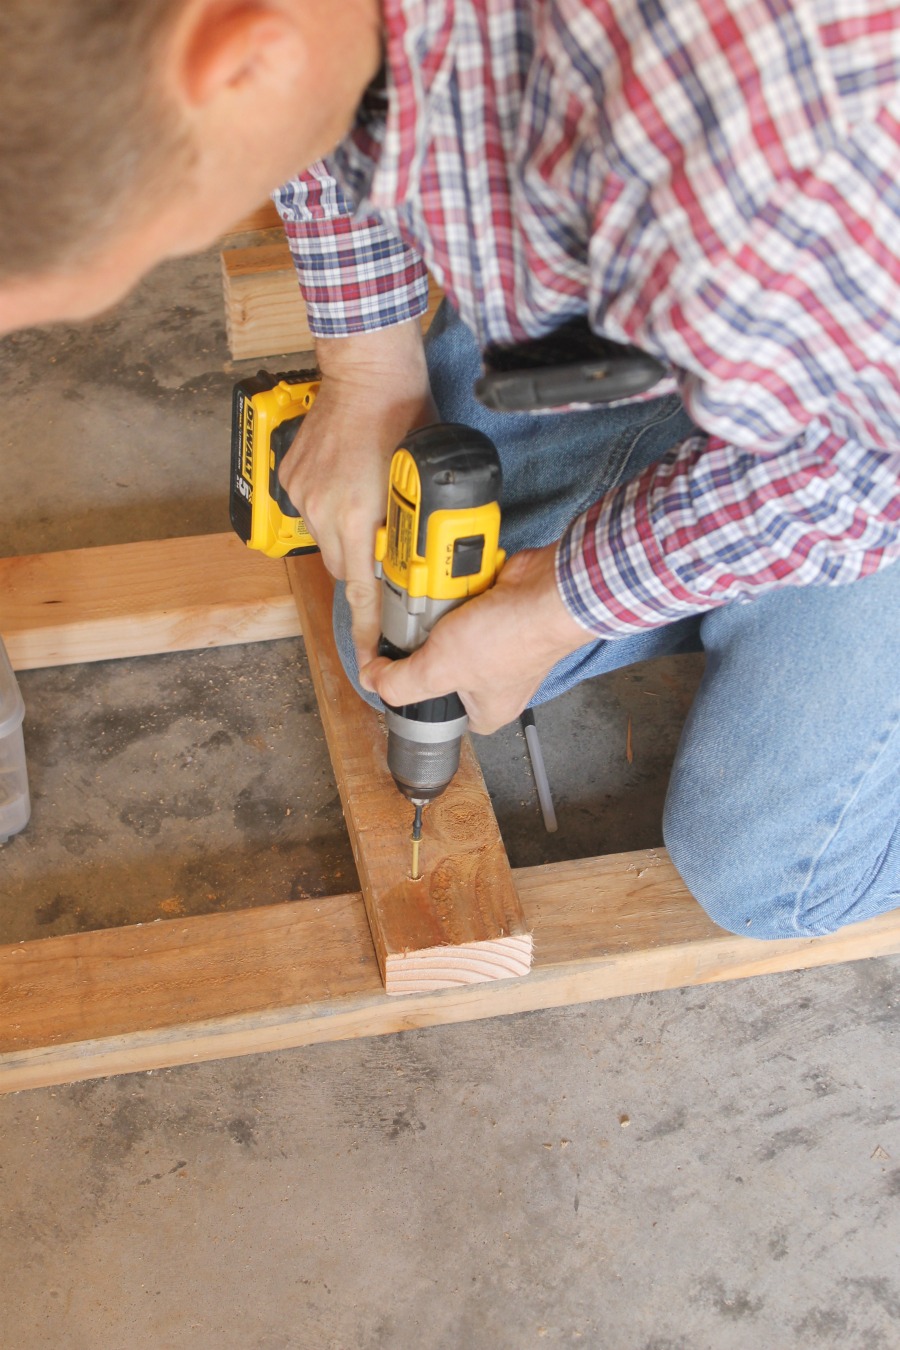
This is what your completed side will look like. Then make another one just like it. You will need two of these.
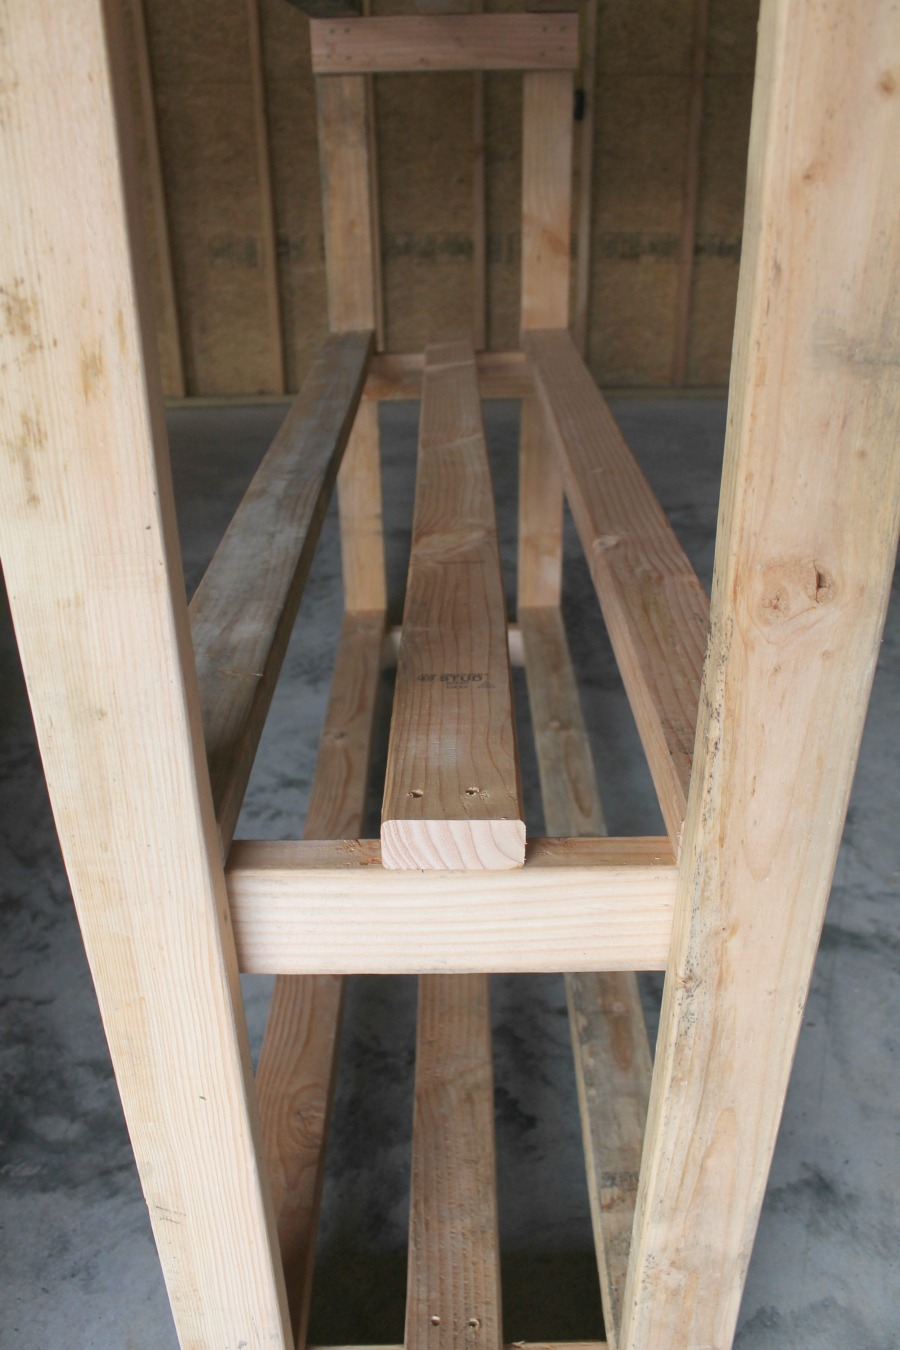
Assembling the rest is super easy. Attach your three longer boards to the top using the wood screws.
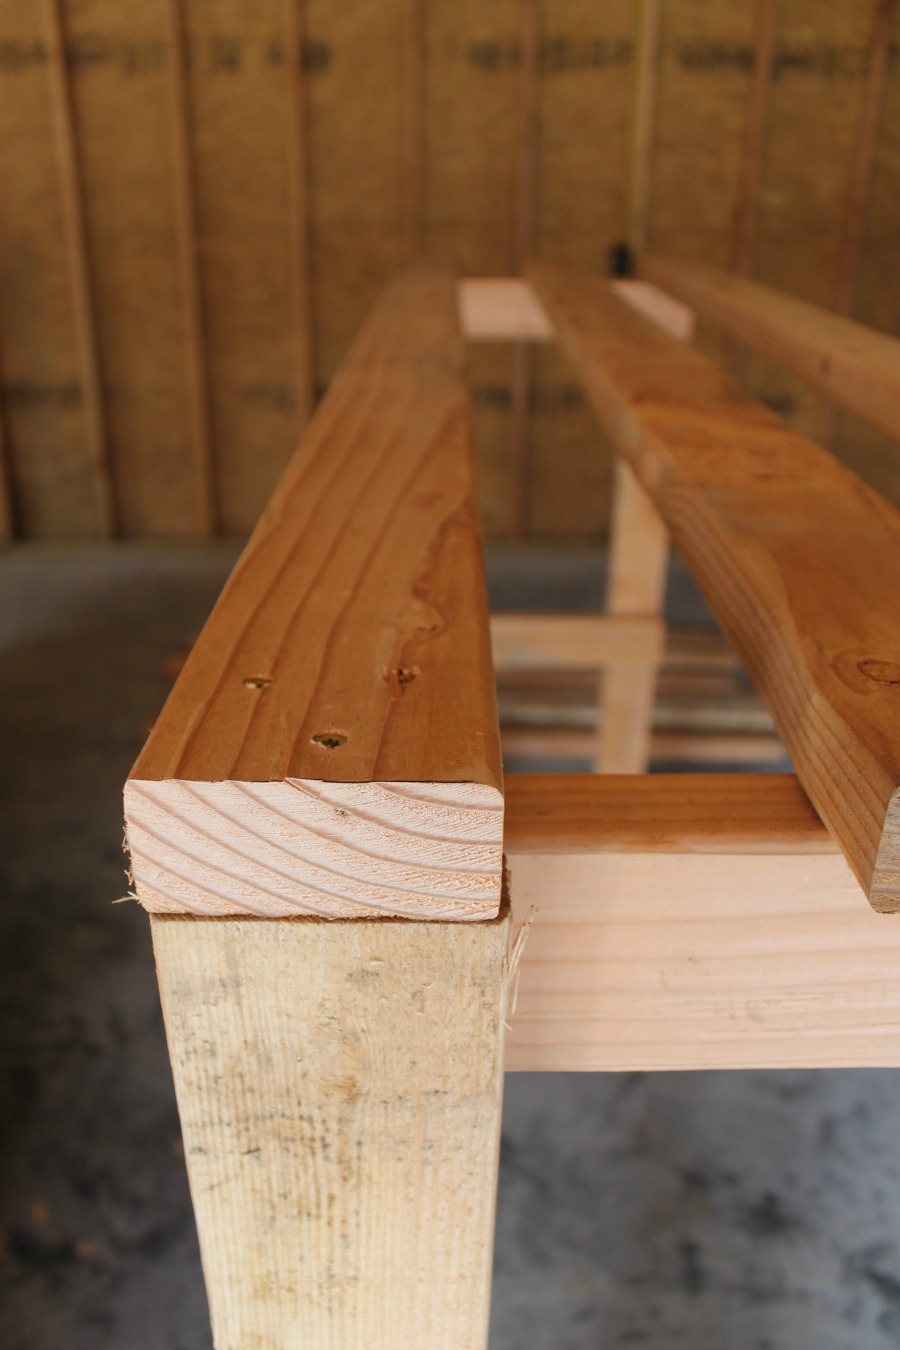
The six shorter boards will be your lower two shelves. Screw those in place three on each level.

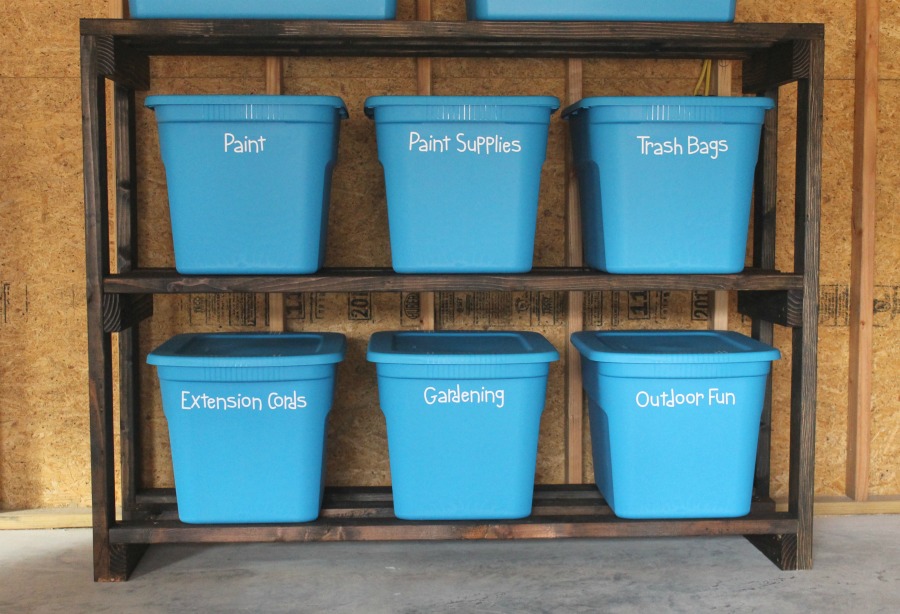
Step 4: Sand and stain your shelves.
This step is totally optional. Since these shelves will be in the garage, they don’t need to be fancy. I just love how well 2x4s look when stained. It brings it up to a whole new level. It’s amazing what stain can do!
I lightly sanded my whole shelf with a hand sander. Then I used old rags and this wood stain to stain the shelf. TIP: Be sure to wear plastic gloves. Your fingers will thank you!
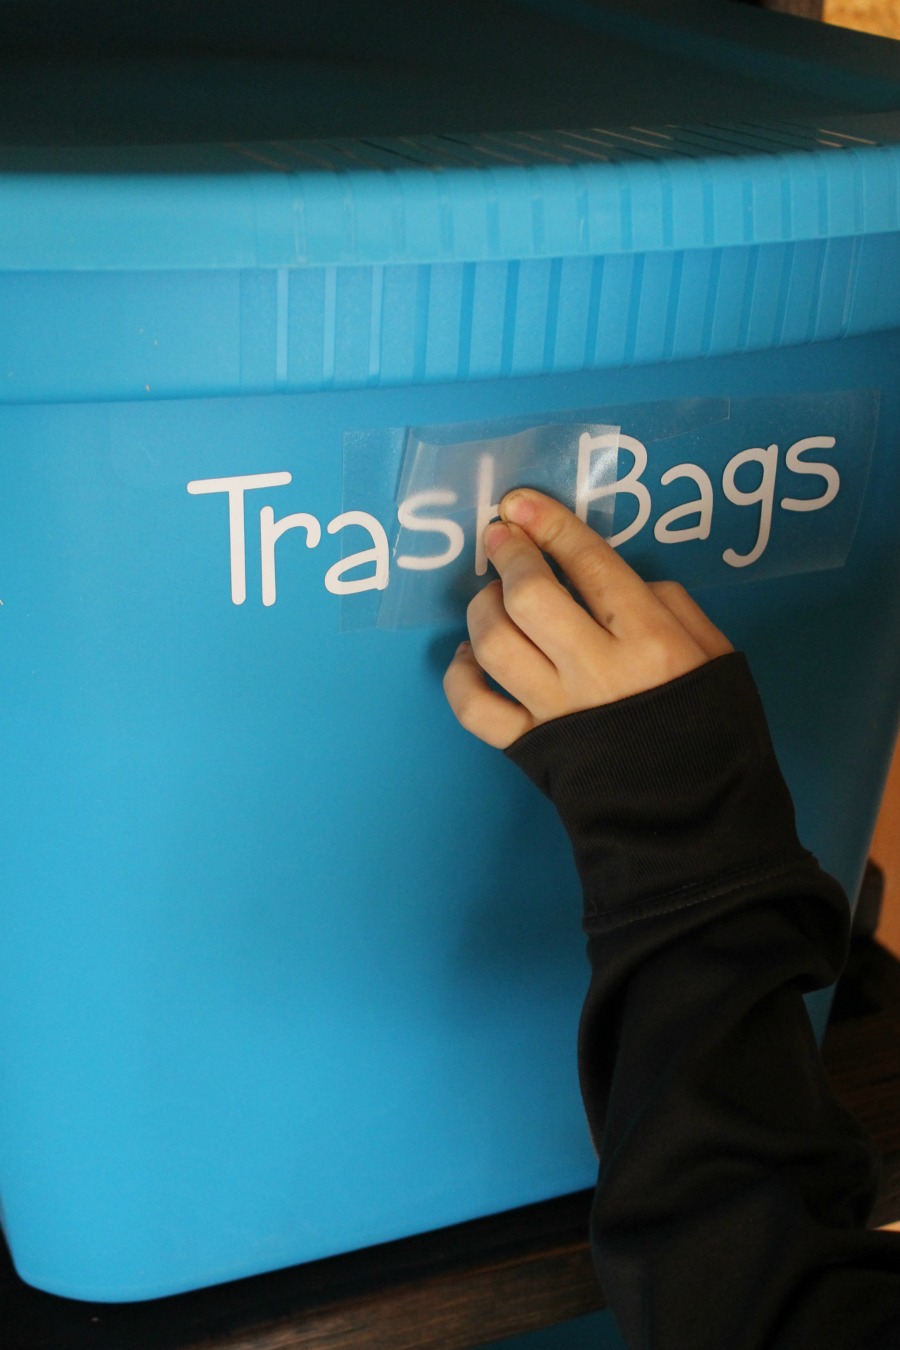
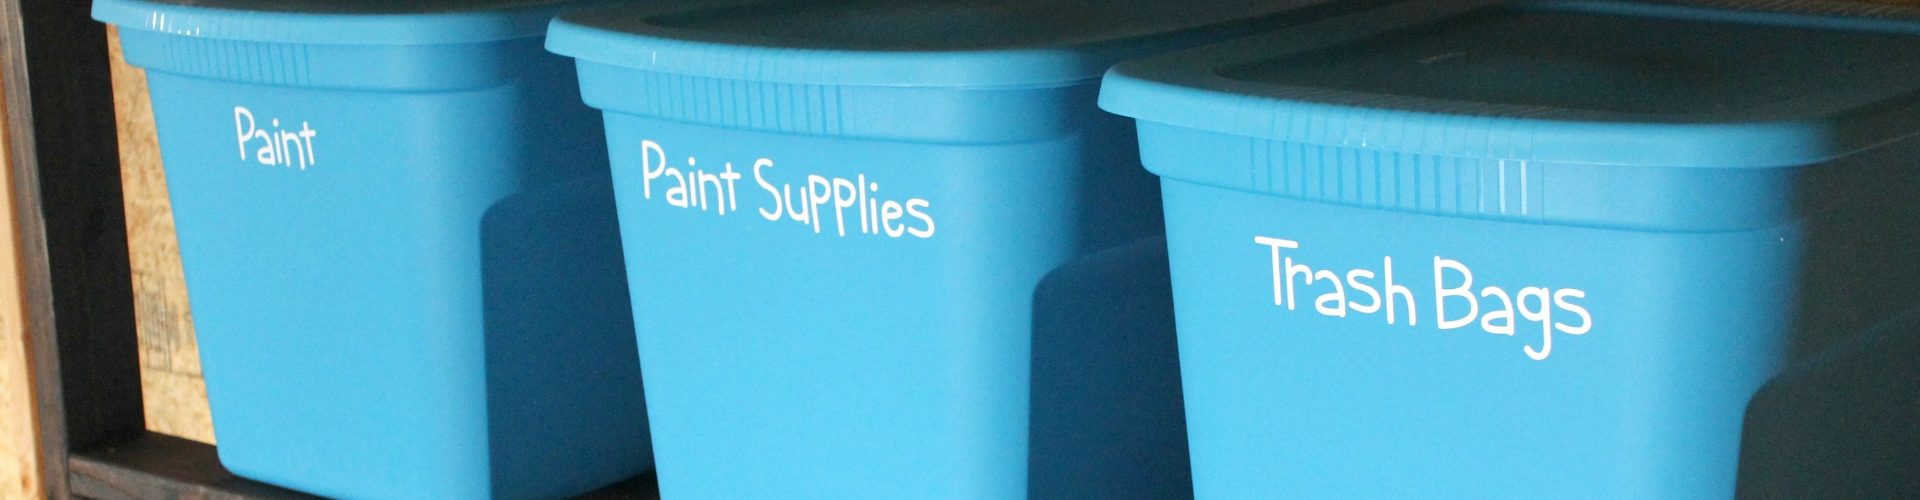
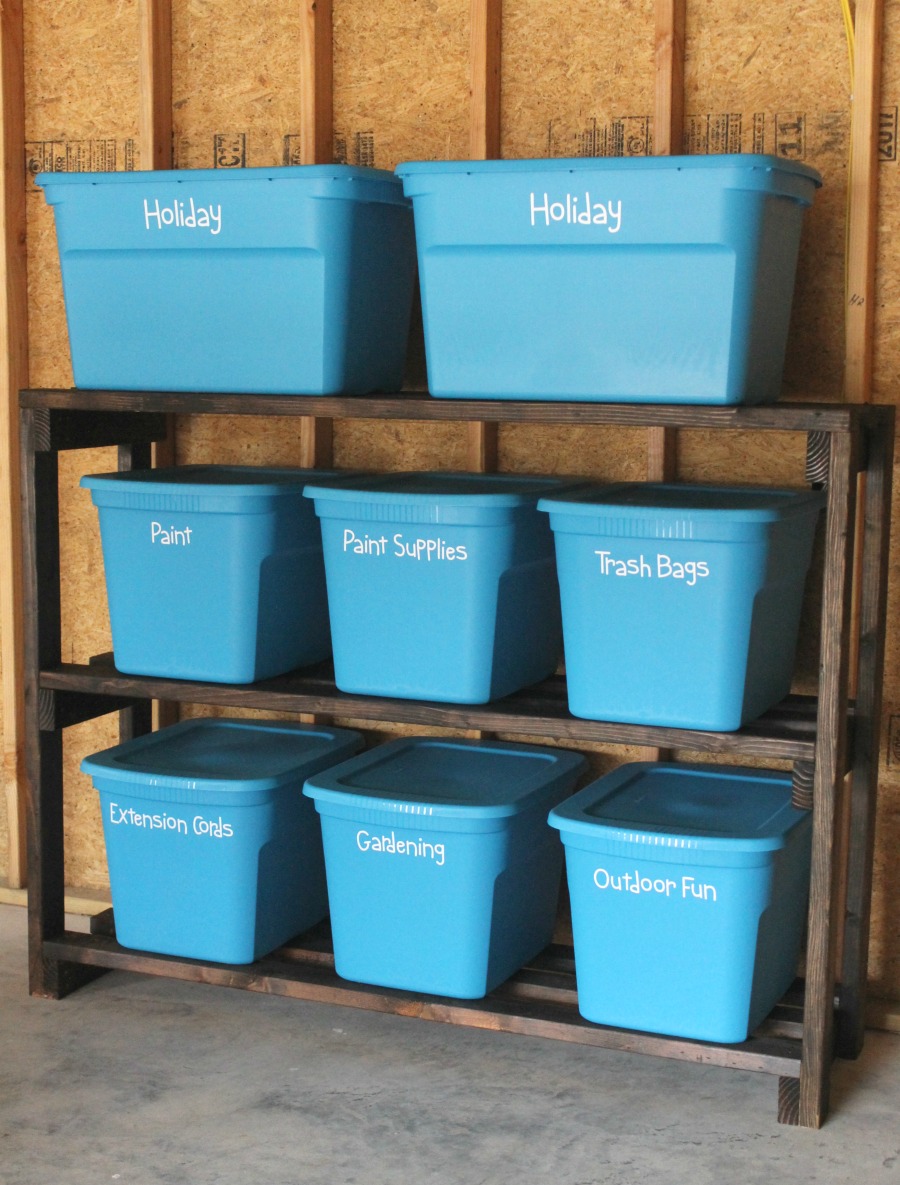
Step 5: Label your boxes.
It’s so easy to add vinyl lettering to plastic storage tubs. My kiddos love helping me apply the decals. It’s so easy!
Garage Storage Shelves are Perfect for Storing:
- Tablecloths
- Car washing supplies
- Hardware
- Extension cords
- Trash bags
- Wreaths
- Seasonal décor
- Emergency kits
- Beach toys
- Pool toys
- Outdoor toys
- Drop cloths
- Wood scraps
- Paint and paint supplies
- Bike accessories
- Auto supplies
- Faucet covers/hose sprayers
- Gardening supplies
- Lightbulbs
- Straps and bungee cords
- Caulking and adhesives
- Sports equipment
- Cleaning supplies
- Tools
- Camping gear
- Hitches
What would you store in yours? Let me know in the comments below. Let me know if you have any questions, too! I hope you tackle this project, too! Happy organizing!
Read Next:
- How to Organize Tools with a Garage Pegboard
- How to Build a DIY Wooden Crate for Extra Storage at Home
Pin for Later: