These DIY kitchen shelves turned out to be the easiest project we’ve tackled since moving into our new home, and I truly love how they turned out! When we were designing our kitchen, the idea of having open shelving appealed to me for plenty of reasons. It can make a kitchen look so open and airy, it’s very trendy right now, and (I’m not going to lie!) open shelving is so cost-effective compared to adding upper cabinets in the kitchen. I have to admit that that last reason is the main reason we went with open shelving. Our budget was tight! So, we decided to go for it!
Let me show you what we did so you can add open shelving in your home, too.
DIY Kitchen Shelves Tutorial

Step #1: Gather your supplies.
For these DIY Kitchen Shelves, You Will Need:
-
- (3) 1×10 boards
- (6) metal shelf brackets
- ¾-inch black wood screws
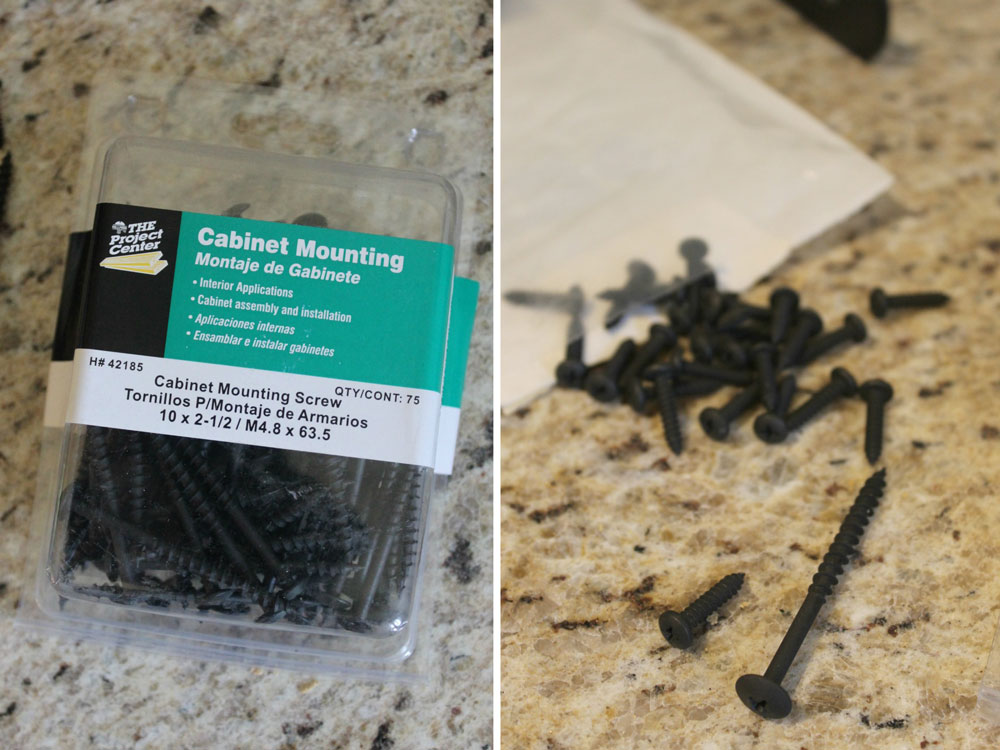
- 2 ½-inch black cabinet screws
- drill
- large level
- tape measure
- table saw
- stud finder
- sander
- sandpaper
- wood stain (or paint)
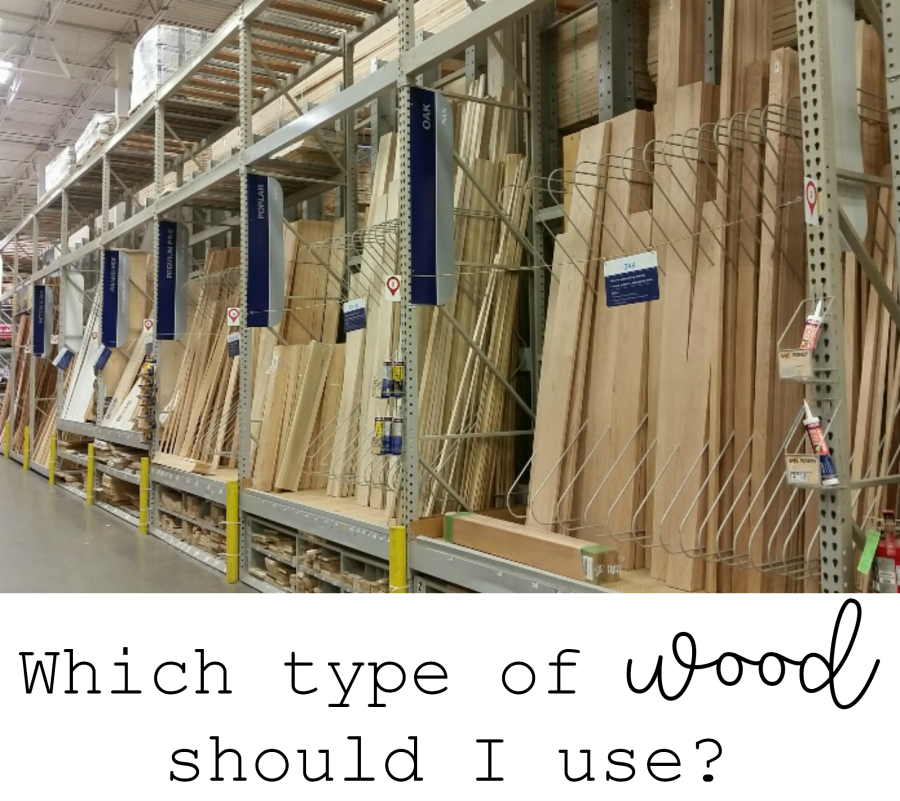
How to Choose the Right Wood for Your Shelves
One of the first steps for any wood project is choosing which type of wood to use for your project.
When you are walking the aisles of the lumber store, it can be a little bit daunting. You can find many, many different types of wood–everything from framing lumber to premium boards. They range in price from less than $5 a board to over $35 a board. The higher priced premium boards will have less knots and imperfections.
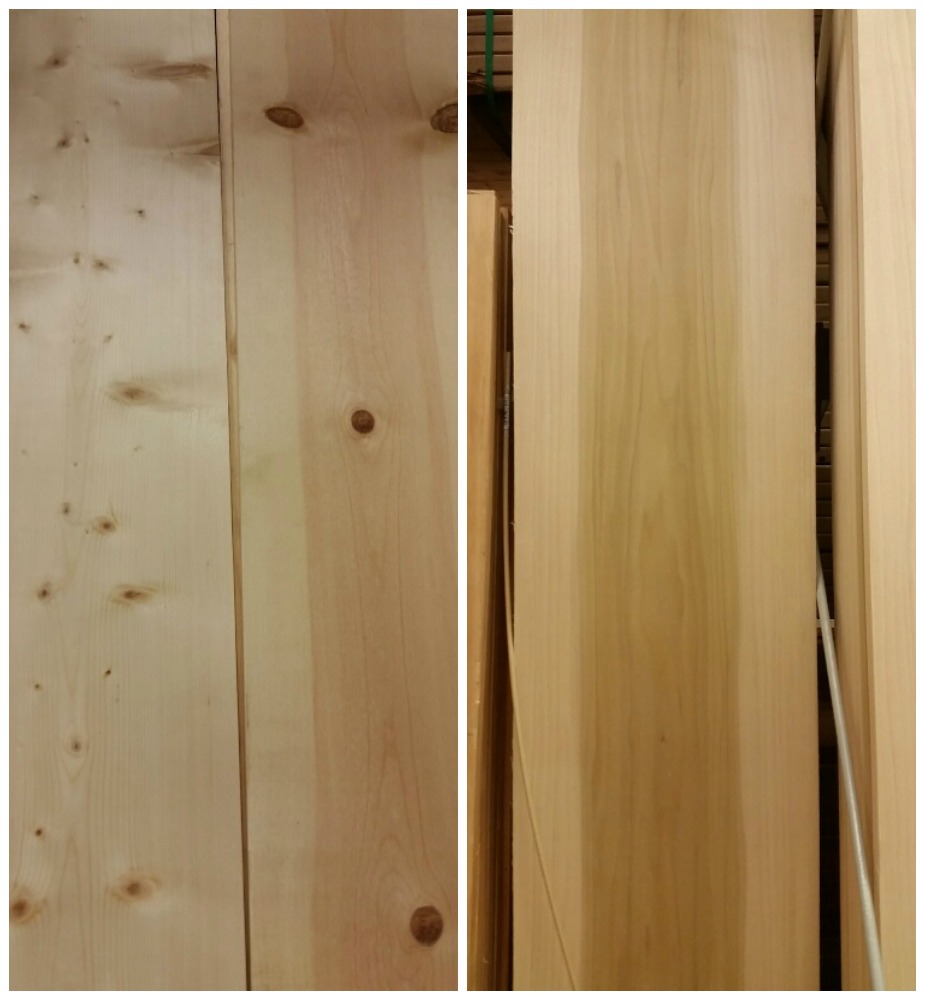
Notice the board on the right in the picture below has few if any imperfections. The one on the left has quite a few knots. The premium boards are also smoother. So sanding and later painting or staining goes a lot faster. The only downside of the premium boards is the cost, of course. They can be almost triple the price of a standard pine board.
For most of my projects, I have used framing lumber since that type of wood is inexpensive, sturdy and stains and paints well. Framing lumber will have a few knots here or there, and it usually requires quite a bit of sanding.
I used 2×4 boards for my huge farmhouse bench and cute blanket ladder. 2×6 boards are great to use for things like picnic tables. For my farmhouse kitchen table, I used a nicer lodgepole pine panels which are actually pieces of pine glued together to make a wider board. They come sanded and ready to stain or paint.
Plywood works great for cabinets and furniture. I used plywood in our laundry room makeover.
Choosing Wood for Kitchen Shelving
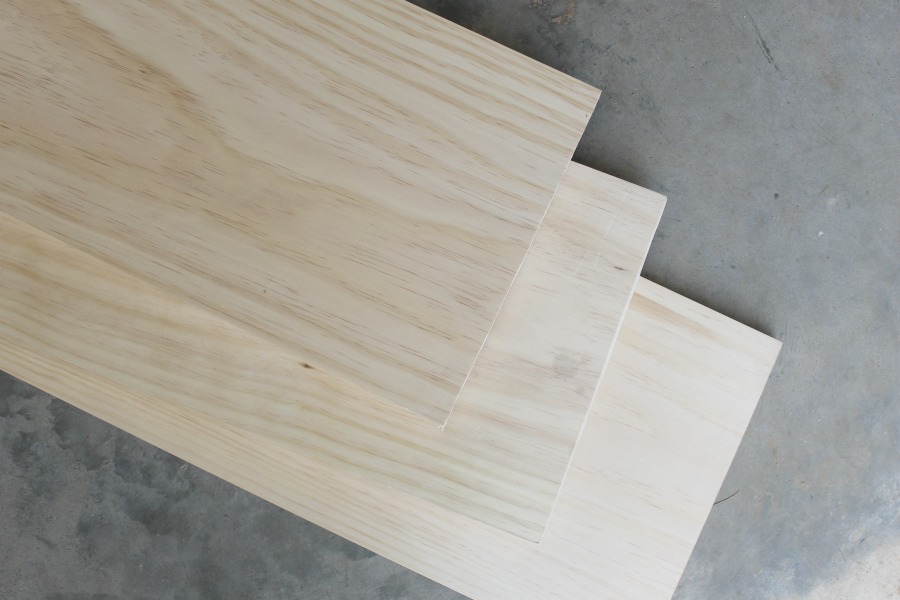
For shelving, you are going to want to use 1x10s or 1x12s, or for a super sturdy shelf, you could use 2×10 or 2×12 boards.
Whatever boards you pick for your project be sure to choose boards that are not cupped, cracked, bowed or have large knots. Having a nice straight board is a must for any project as well.
Also, sand the boards well before beginning your project. For this shelving project, I ended up choosing premium 1×12 boards. I wanted nicer, knot-free boards since these shelves would be in our kitchen. I made similar shelves in our laundry room and ended up using the less expensive lodgepole pine panels for those. You could also use standard 1×12 pine boards which would be even less expensive.
Step #2: Cut your wood to size.
***Use extreme caution and common sense when using power tools. Follow all manufacturer’s instructions, wear safety gear and build at your own risk.***
First, I cut my boards the length I wanted my shelves to be. For the space in our kitchen, 4 ½ feet was the perfect length. Be sure to measure your space and cut your boards to fit.
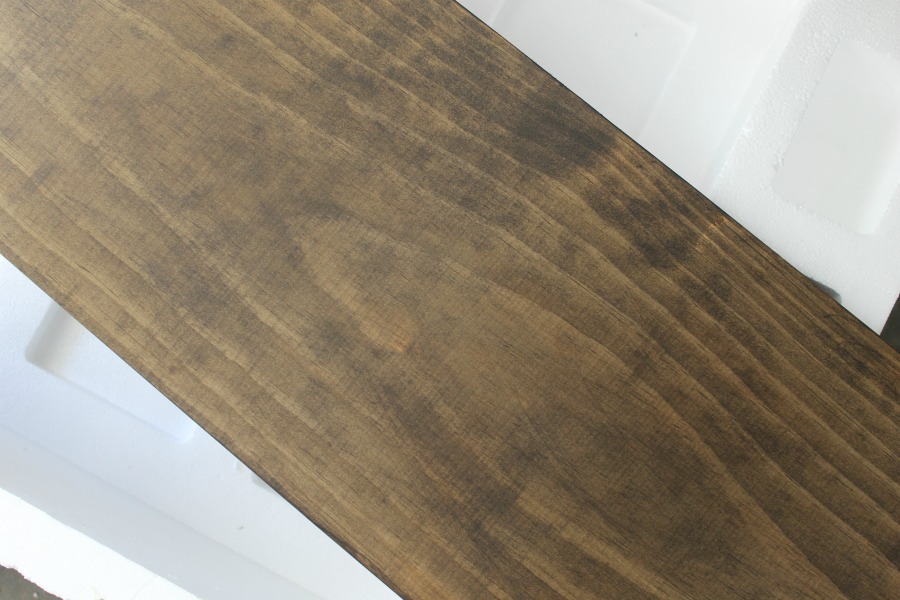
Step #3: Sand and stain (or paint) your boards.
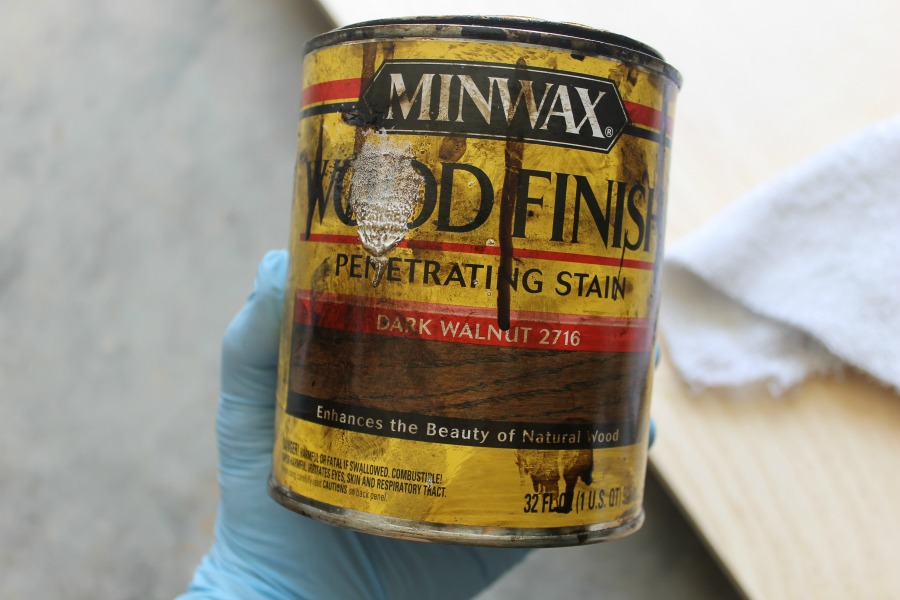
Next, I sanded my boards. I rounded off my edges (especially the corners). You could leave them as is if you’d like. Then I used an old rag to stain my boards, wiping off the excess as I went along. Let your shelves dry.

Step #4: Hang your shelf brackets.
I found these heavy duty shelf brackets at my local lumber store. Two of these brackets together can hold 1,200 lbs. That’s a lot!
I wanted something super sturdy since I would be using these shelves to hold heavy ceramic dishes. I didn’t want my shelves crashing down later on. Be sure to check the weight limit for the brackets you pick for your project. You’ll want to make sure they can handle the load.
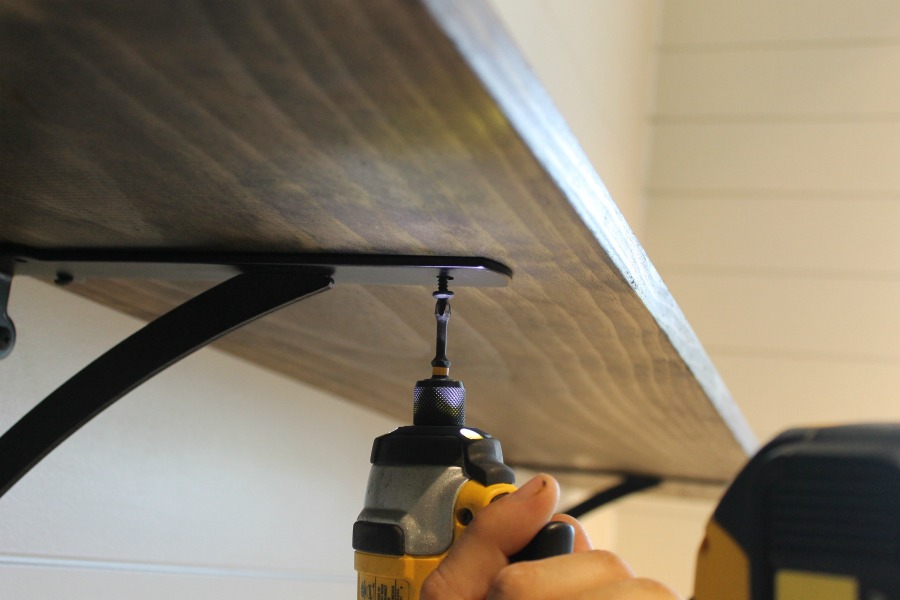
These are the wood screws I used for this project. The longer cabinet screws are for attaching the shelf brackets to the wall and the shorter ones are for holding the shelf to the bracket underneath. Let me show you how we did it.
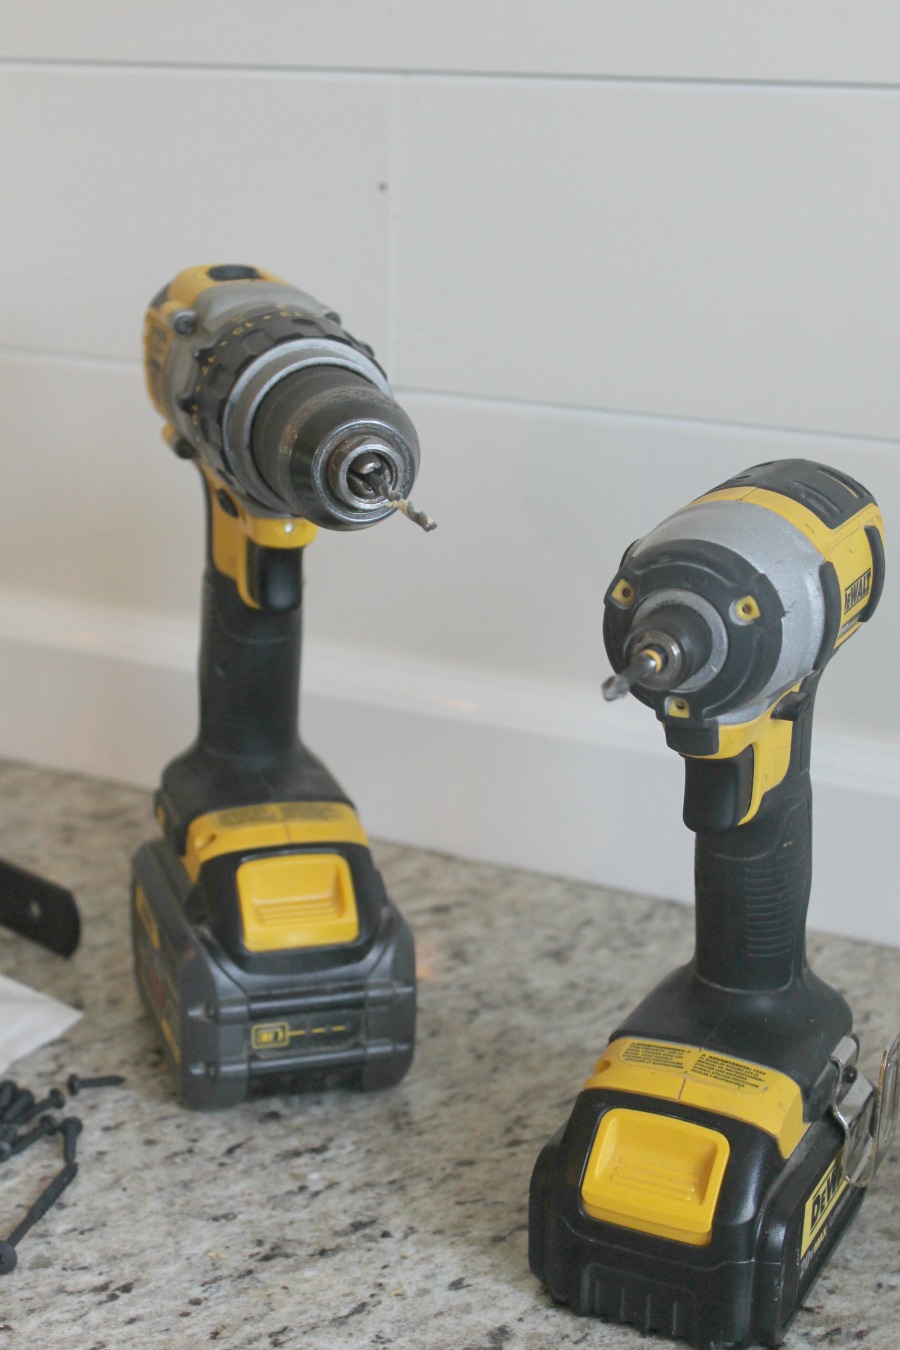
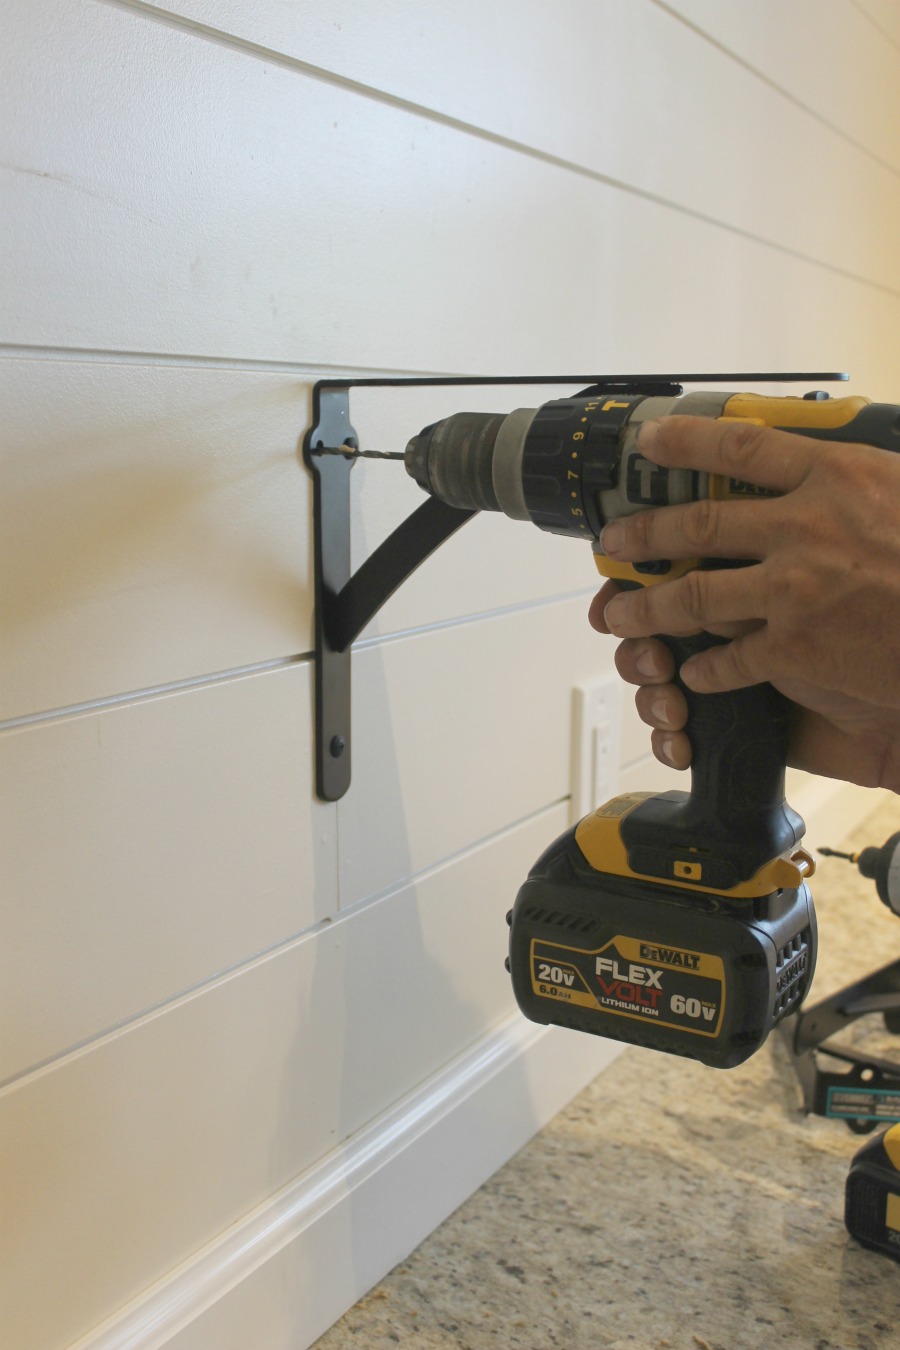
To attach these brackets to the wall you will need two different drill bits. One to screw in the wood screws and one to drill the pilot hole into the wall first.
First, you will use a stud finder to find the studs in your wall. Since we had just put up this shiplap, we knew exactly where the studs were. So that made it easy! If you are installing open shelving into drywall, it’s important that you use a stud finder to find and mark your studs. You will want to drill a pilot hole before screwing in your wood screw. The pilot hole just makes it easier to get that long screw into your stud.
Then you will attach the shelf bracket into the wall using the longer cabinet wood screws.
Use a long level to line up the other shelf bracket and attach that bracket to the wall in the same way.

Step #5: Attach your shelving.
Next, you will place your newly stained board onto your shelf brackets. Make sure your board is centered, and then using the smaller screws, attach your shelving board to the bracket from underneath.
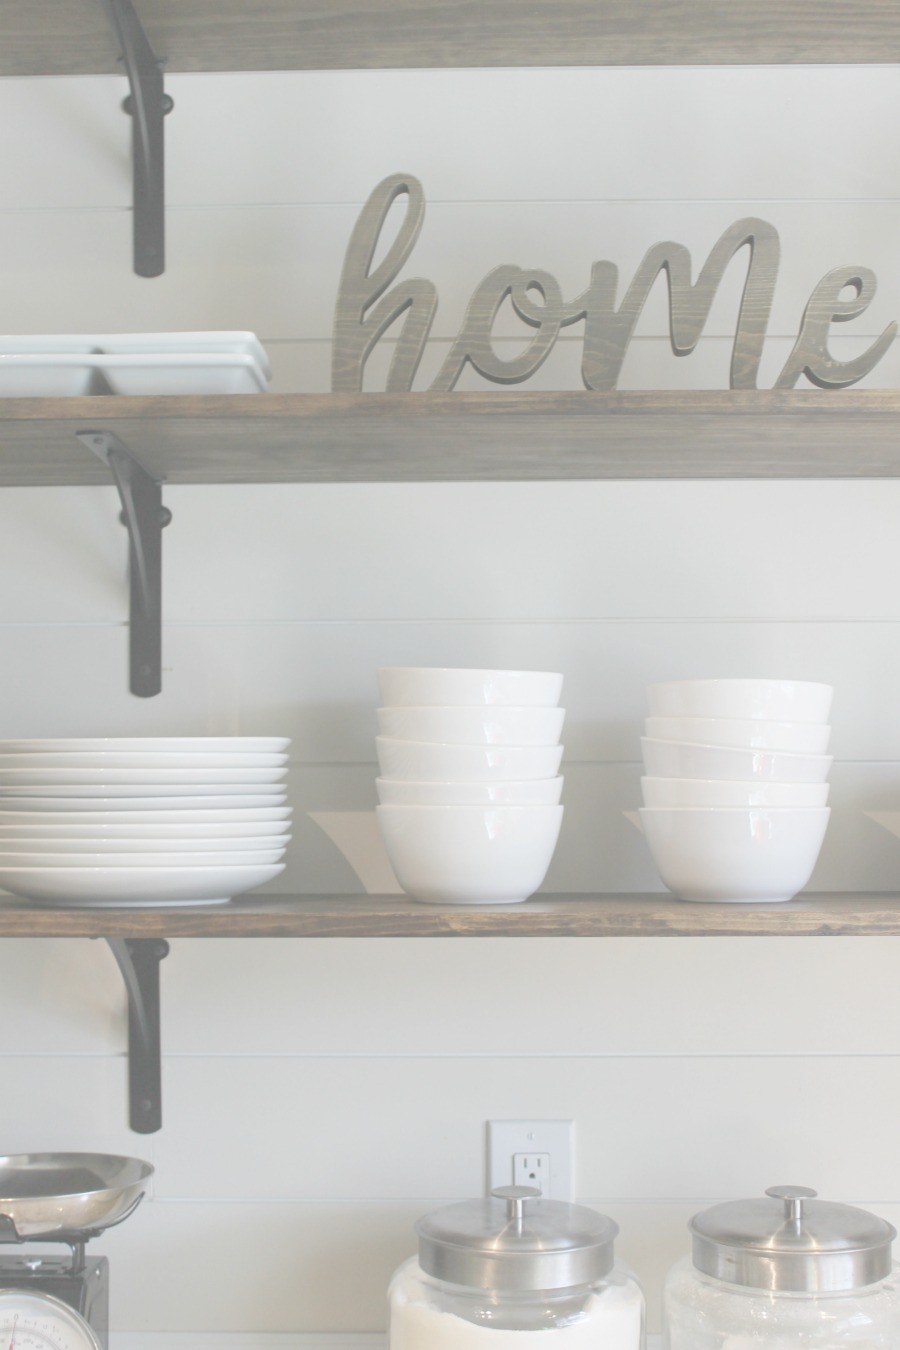
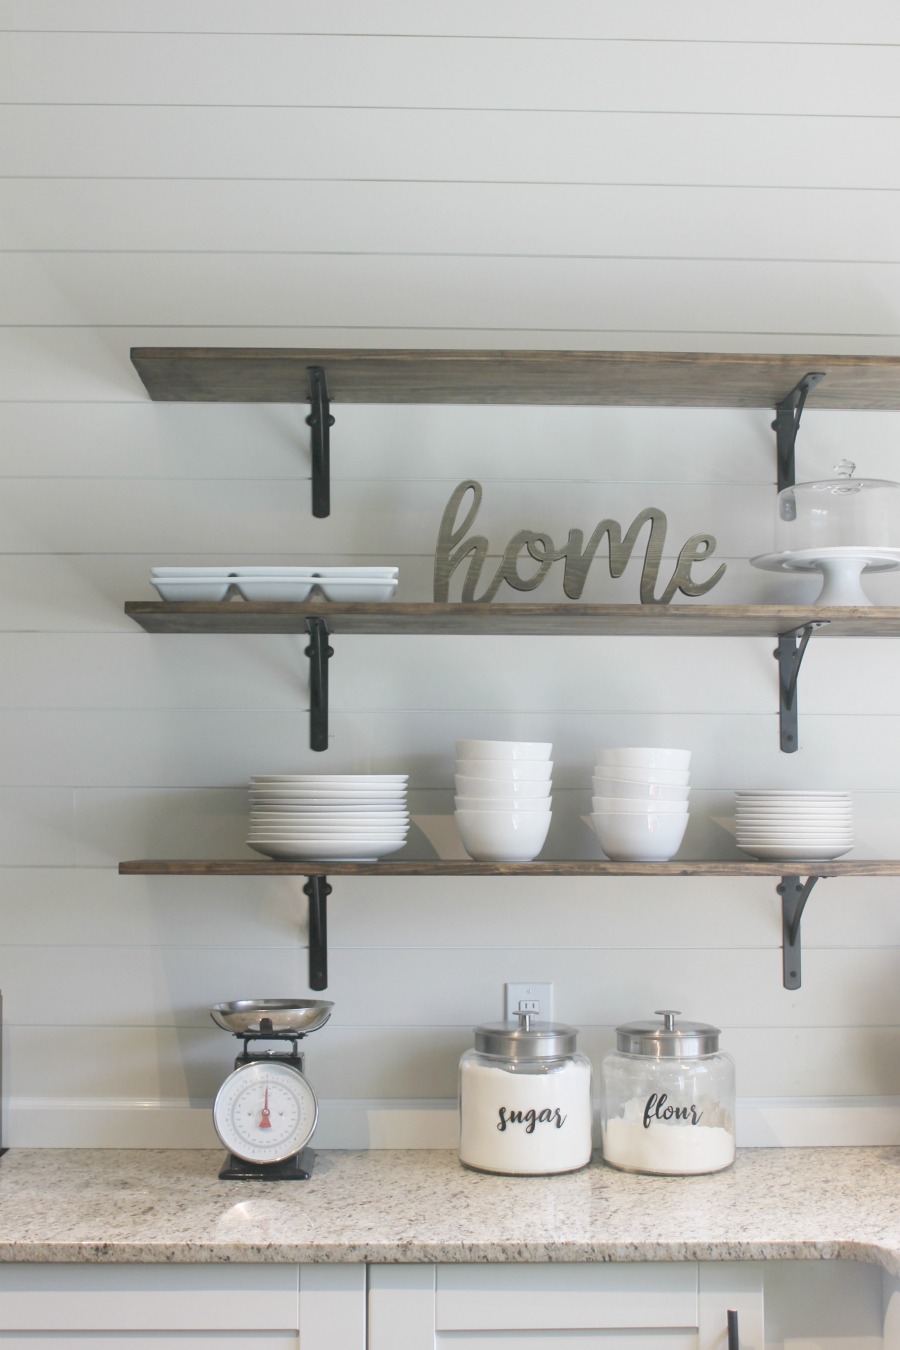
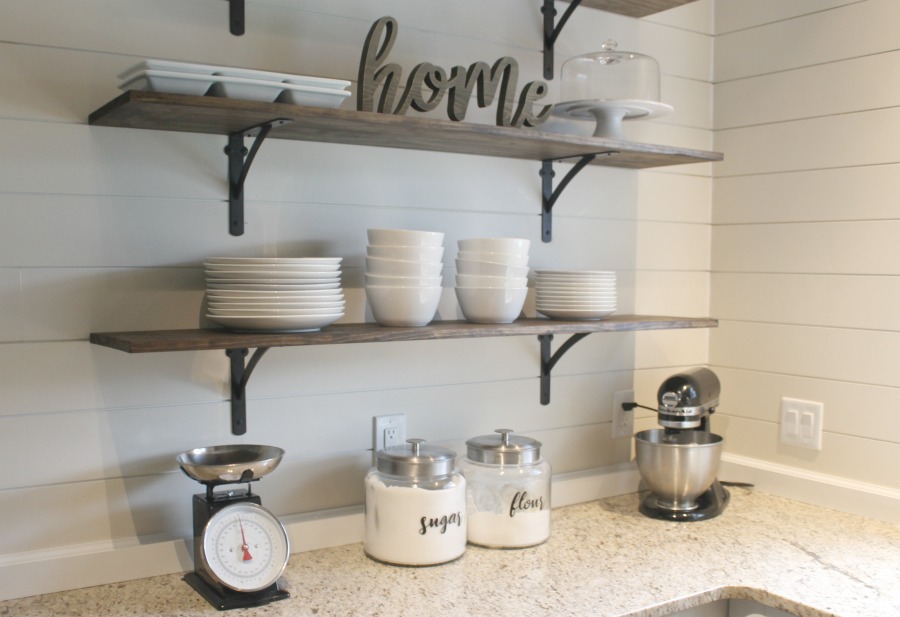
Then you will repeat these steps to hang up two more shelves. Since we have shiplap in our kitchen, it made it easy to space out our shelves every three planks. All done!

Step #6: Style your new open kitchen shelves!
The only thing left was to style my shelving. Honestly, this was my only reservation about having open shelving! How would I style it?
It ended up not being too hard after all. I have a thing for white dishes! I’ve been collecting them for a little while now. They match everything and are super easy to find. The white ceramic dishes look amazing next to the warm wood. I saved all our mismatched and plasticware for the cabinets below.
Styling these shelves for the holidays will be so much fun! I really do love the open feeling it gives our kitchen. I can’t wait to add more shelves like these in our pantry to tie it all together.
How do you feel about open shelving? Would you ever try it in your kitchen? Let me know if you try out this tutorial. If you have any questions, let me know those, too! Don’t forget to pin this project for later!
Pin for Later: