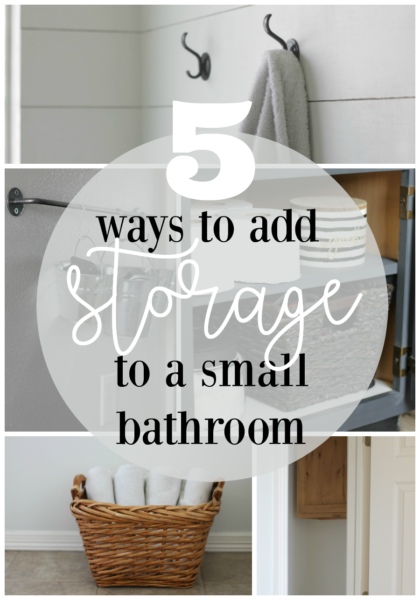
Having a small bathroom is a unique challenge. So many items belong in the bathroom, and the lack of space makes organization difficult. That’s where these organization ideas for small bathrooms come in handy!
We’ve always had small bathrooms in our home. While I love having less to clean, storing everything efficiently is tough. The good news is your bathroom doesn’t have to be huge to have plenty of storage.
Read on for a few of my favorite DIY small bathroom storage ideas. You’re sure to find something that will maximize your space!
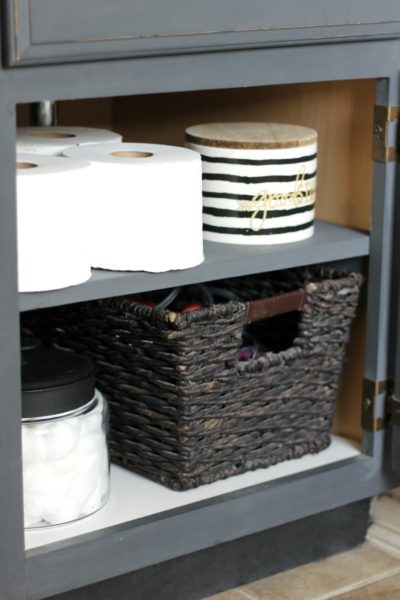
Small Bathroom Storage Idea #1: Use baskets, bins and jars for extra storage.
Since many products are stored in the bathroom, baskets, bins, and jars, help keep things organized.
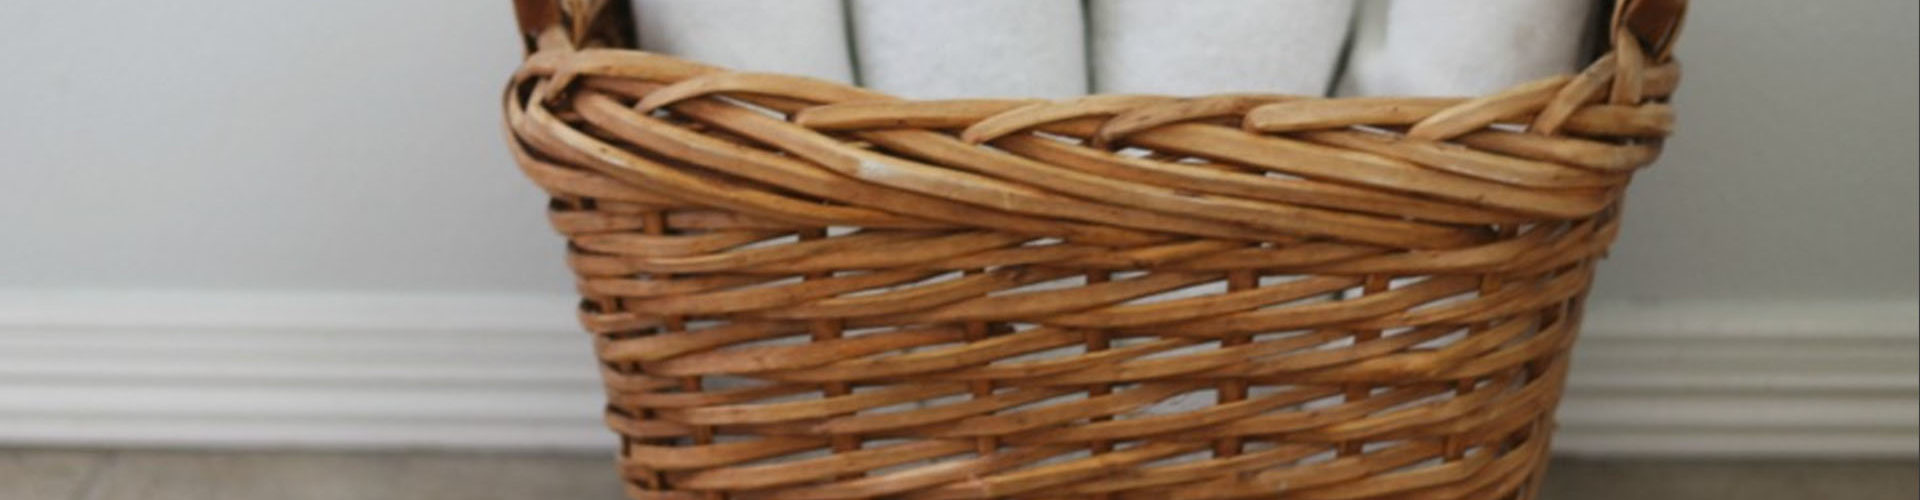
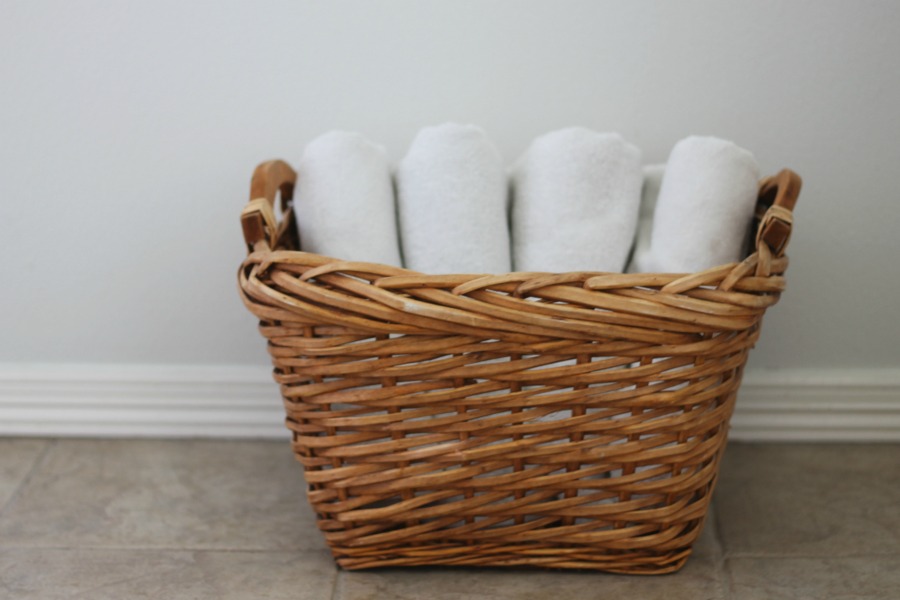
Baskets are useful for storing curling irons, hair dryers, and toilet paper. In each of my bathrooms, I also use a large basket for my bulky towels instead of using valuable cabinet space. Plus, the towel storage basket looks cute!
Bins are great for organizing small items. I use small plastic or fabric bins for makeup, toothbrushes and toothpaste, contact lens supplies, razors, and more. Outside the bathroom, I also use bins in my pantry, kitchen, cabinets, and in my kids’ bedrooms.
Jars can be great for the smallest items, like cotton balls, Q-tips, and hair clips. Jars also look decorative enough that they can sit on the counter without feeling like clutter. Win, win!
Small Bathroom Storage Idea #2: Create more space above the toilet.
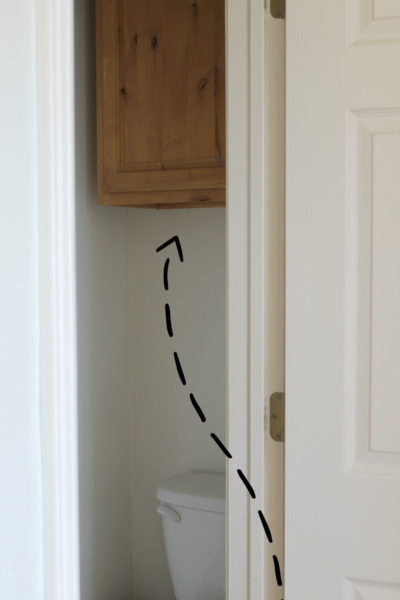
You need as much cabinet space as you can get in a small bathroom. When we first moved into our house, we had no cabinet above the toilet. It didn’t take us long to add one!
The area above the toilet is wasted in most bathrooms, so add a cabinet there if you can. Many cabinets are built specifically for this placement, so you can find something that fits nicely in your space.
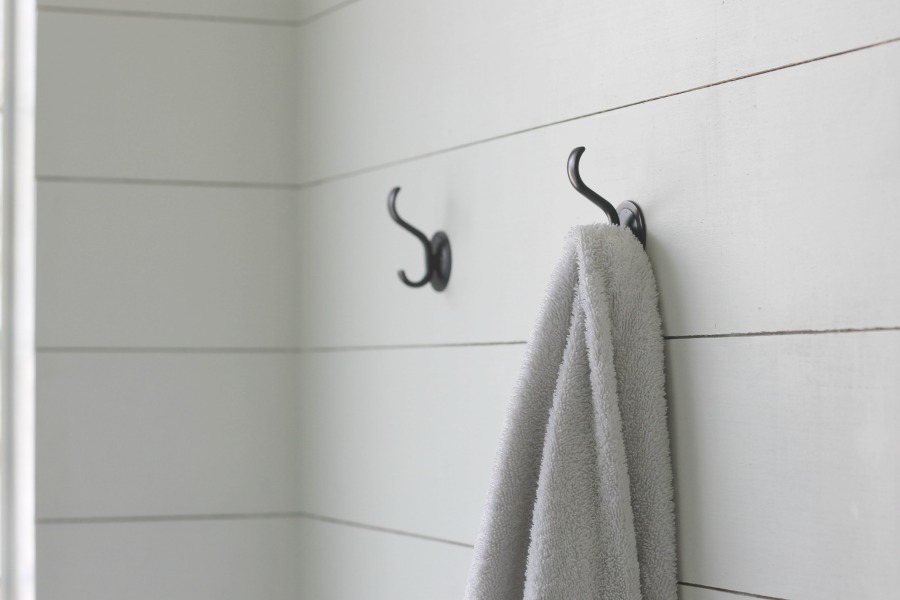
Small Bathroom Storage Idea #3: Add hooks for towels.
If you’re struggling with how to store towels in a small bathroom, hooks are my favorite! Instead of towel bars, which can only hold one or two towels, try hooks. We have six hooks in our primary bathroom. Two are by the shower, two are by the garden tub, and two are near the toilet. If you don’t need all the space for creative towel storage, you can also use hooks for robes and clothing items.
To help organize my kids’ bathroom, I removed the towel bar and replaced it with a long wooden board with five hooks. Each kid gets their own hook, which is a great way to keep everyone organized. (It also makes it easy to tell which kid didn’t hang up their towel!) In the summer, hooks are also great for hanging wet swimsuits.
To help organize my kids’ bathroom, I removed the towel bar and replaced it with a long wooden board with five hooks: one hook for each kiddo. These hooks are an easy way for me to tell which kid didn’t hang up their towel, and in the summer they also make a great spot to hang wet swimsuits!
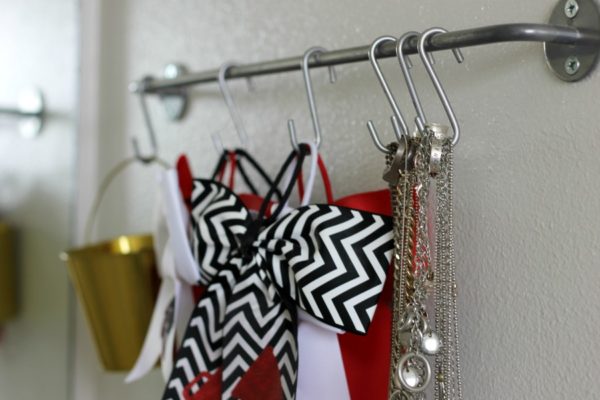
Small Bathroom Storage Idea #4: Create space around your vanity with S hooks.
We didn’t have a medicine cabinet around our vanity, so I added two bars with S hooks on either side. On my side of the vanity, I use the S hooks to hold jewelry, my daughter’s hair bows, and a metal bucket that holds clips, rubber bands, and bobby pins.
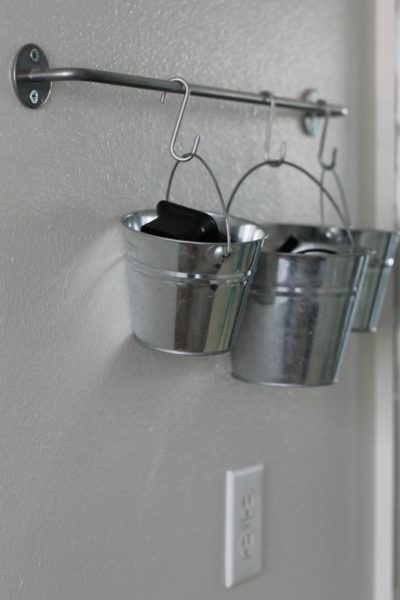
On my husband’s side, the S hooks hold buckets for his phone, charger, medicine, and deodorant. We use the same system for small kitchen organization, which also works great there.
The best part is you can add more hooks (and buckets) as needed, so you can really maximize space with this tip. It’s a great bathroom storage solution!
Small Bathroom Storage Idea #5: Build extra shelving underneath the sink.
Before
After
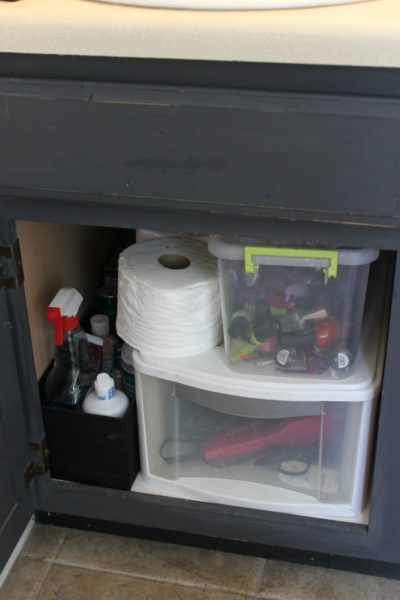
Most of the time, there isn’t much space to work with under the bathroom sink. The plumbing always gets in the way, and once you stack things up, it starts to feel chaotic. Just look at my before picture—this is not a functional space at all. Plus, it’s not pretty to look at.
An extra DIY shelf is such an easy way to get this spot organized and functional! This project is one of our favorite small bathroom storage ideas of all time. Here’s what you’ll need to mimic our process in your bathroom.
Supplies to Build a DIY Shelf:
- Pencil
- Yardstick
- Tape measure
- 1×12 board
- Hand sander
- Sandpaper
- Jigsaw
- Drill
- Level
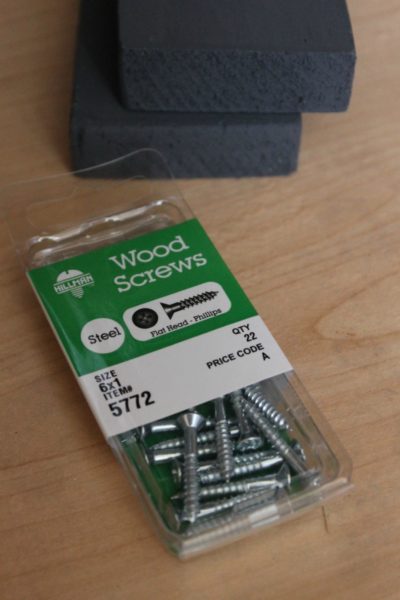
- Wood screws (on the longer side, to be safe)
- Paint (I used the same color as my bathroom vanity)
- Hot glue gun
Step 1: Measure your space and mark your wood.
First, you’ll need to measure your space. Measure how wide the area is to get the width of your shelf. Mine was 19 inches. You’ll also need to measure how deep your shelf can be. It should end before your water pipes begin. In our case, that was nine inches. With your measurements in hand, move on to step two!
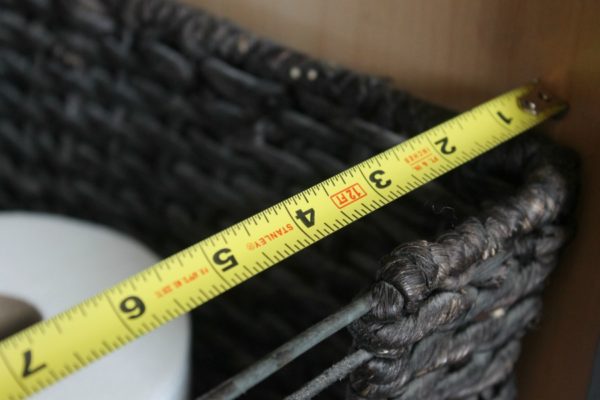
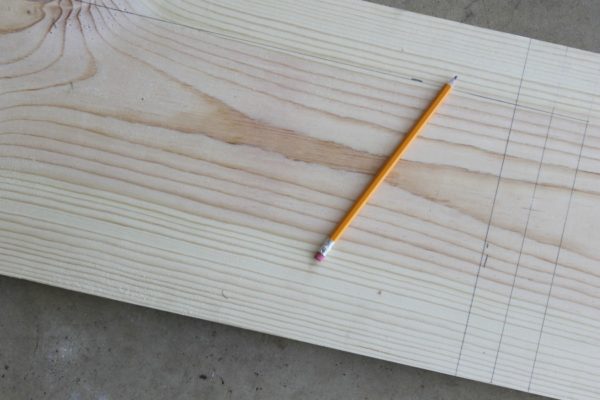
Use the pencil and yardstick to draw your dimensions on the 1×12 board (not drawn to scale).
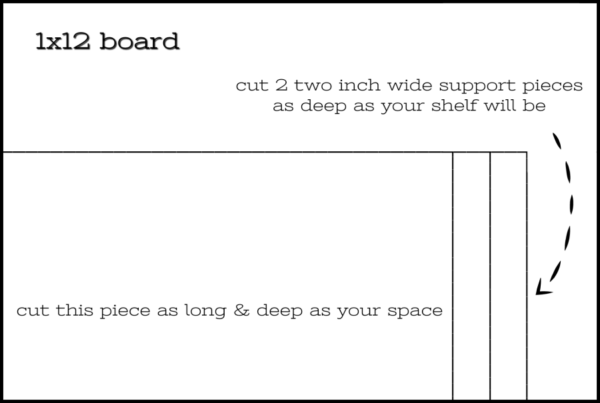
Step 2: Cut two 2″ wide pieces of wood as deep as you want your shelf.
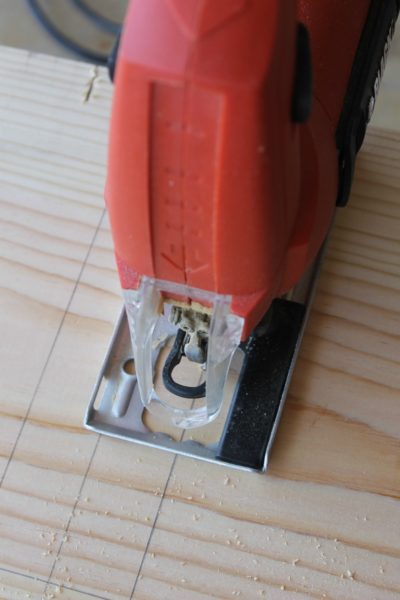
Next, use your jigsaw to cut out the wood. Remember, when using power tools, follow all safety precautions, wear protective eyewear, and use common sense. Build at your own risk.

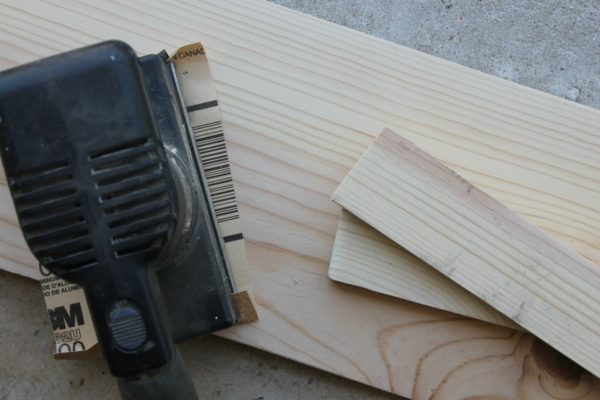
Step 3: Use the hand sander and sandpaper to smooth out the wood.
Then, it’s time to sand your wood. Pay special attention to the edges. You’ll want those to be nice and smooth for a cleaner paint job in the next step.
Step 4: Apply two coats of paint.
Painting the wood helps tie everything together. I used the same color as our bathroom vanity, but you could also pick a neutral color or match your bathroom walls. Apply two coats of paint and let your shelves dry.
Just a note: I’ve used chalky finish paint on all my bathroom vanities, and I really love it! So, if you’re on the fence about using paint with a chalky finish, I definitely recommend it!

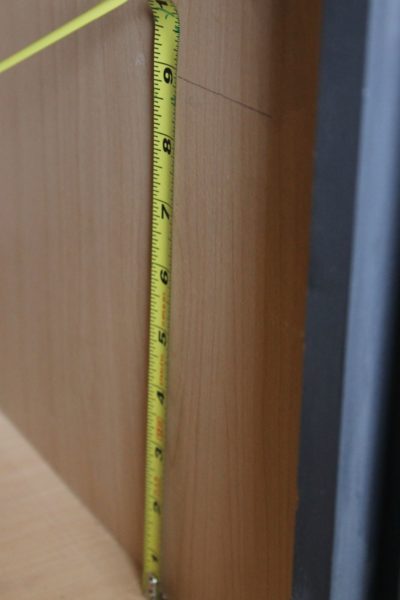
Step 5: Measure how high you want your shelf to be.
Now, it’s time to install your shelf! First, measure how high you want it to be. Mine looked best about halfway up, so a little bit less than nine inches. Make a pencil mark on both sides of your cabinet.
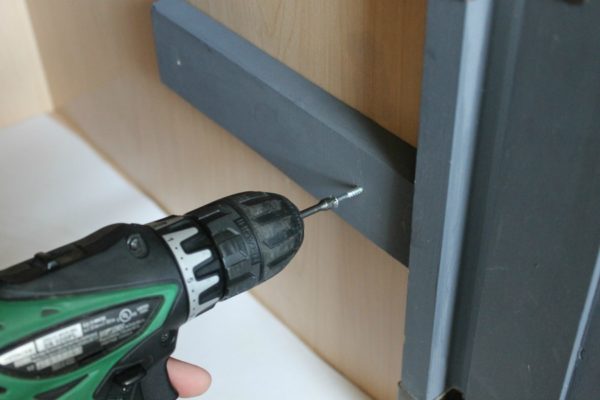
Step 6: Attach your support pieces.
Start this step by pre-drilling two screw holes in each support piece. This will prevent your wood from cracking when you go to drill your support pieces.
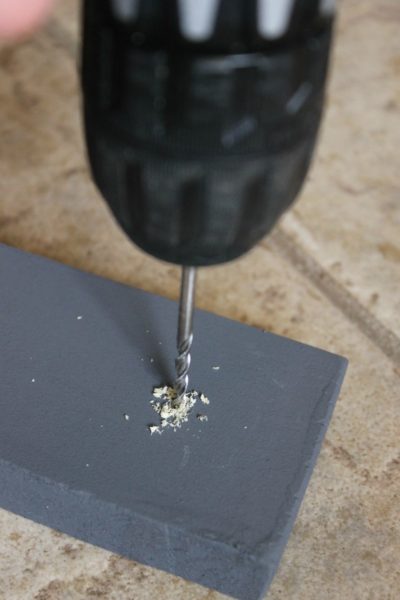
To attach the support pieces, you’ll want to use wood screws. The ones I got were barely long enough, so opt for a longer size than you might think you need. Mine worked but just barely!
Step 7: Use a little hot glue for extra support.
I was doing this project all by myself, so to hold my support pieces in place, I used just a little bit of hot glue. Before the glue is set, use a level to make sure your board is nice and straight. Then, screw the piece in place using your drill and the wood screws.
Next, set your shelf board on top of the support pieces. Again, use the hot glue to hold the board in place. I put a thin line of hot glue along the top edge of my support piece. The glue works better than a nail or screw because you can access the plumbing underneath.
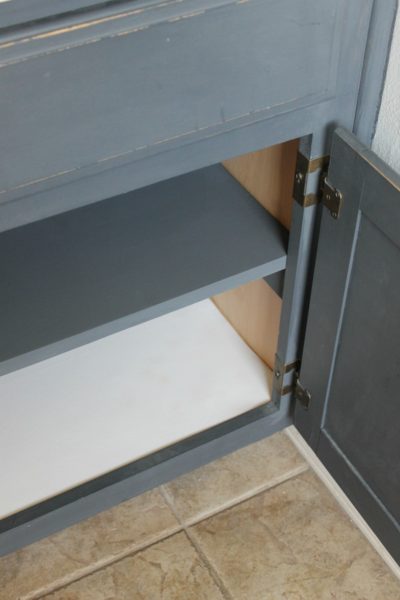
The Completed Bathroom Shelf
And that’s it—you’re done! I love the extra storage we gained from this project. Everything is so neat and organized, and the best part is we don’t have to stack things on top of each other for more space.

Maximizing Your Small Bathroom Storage
As you can see, there are lots of ways to capture extra storage space—even in the smallest of bathrooms. The bathroom storage ideas above completely transformed my space. Try them out in your space and see what sticks. You might be surprised at how much function you gain when everything has a place!
Editor’s Note: Originally published June 25th, 2018, and was revised on July 3rd, 2023 with more information.
