
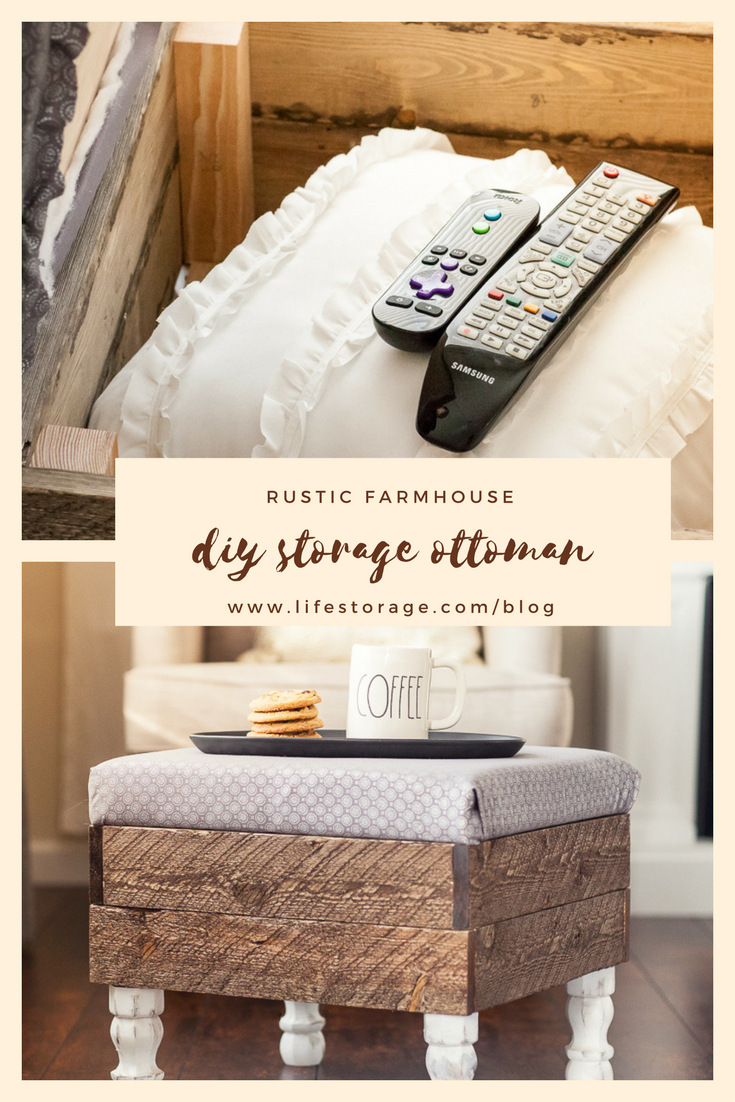
Are you looking for a chic way to sneak storage into your living room? You’re not alone! I had been looking for an ottoman for a while, and I struggled to find an option that was cute and functional. So, I decided to build my own! I chose to upgrade to a DIY storage ottoman to create some additional storage in the process.


My rustic farmhouse storage ottoman has two hinges that support the weight of the pillow and can open up to store remotes, blankets, magazines, and even pillows. It’s comfortable as a footrest and hides items that would normally become living room clutter.
Want to see how I did it? Follow my step-by-step guide to recreate the look for your own home.
Related: 12 Easy Hidden Storage Ideas You Can Actually Pull Off
What You’ll Need to Build a DIY Storage Ottoman:
- Two 1×4 boards (8-foot length)
- One 2×2 board (26-inch length)
- Plywood, ⅝” thick (18” x 18”)
- Plywood, ¼” thick (18” x 18”)
- Four legs of your choice (mine are 6” and screw-on style)
- One ¼” nails
- Nail gun
- Two hinges
- Four threaded nut inserts (if using a screw-on leg)
- Miter saw or hand saw
- Orbital sander or sanding block
- Sandpaper (I used 120 grit)
- Drill
- Wood stain (I used Minwax Special Walnut)
- Spray paint/paint in the color of your choice (I used Valspar Satin White)
- Pillow foam cut to 18” x 18”
- Fabric batting
- Fabric of choice (roughly one yard)
- Tape measure
- Scissors
- Hammer
- Craft paint (if you want a distressed look)
*Important note: remember to wear eye protection and be extremely cautious when using power tools. It’s also a good idea to wear a respirator mask and gloves when spray painting.
Once you have all your materials, it’s time to get started on your new storage bench!
Step 1: Cut your wood pieces.

Cut the wood according to these specifications to make an 18” x 18” ottoman base:
- Two 1×4 boards (8-foot length)
- Four pieces (18” each)
- Four pieces (16-⅝” each)
- One 2×2 board (26” length)
- Four pieces (6.5” each)
- Plywood, ¼” thick (18” x 18”)
- Plywood, ⅝” thick (18” x 18”)
After the base of the ottoman has been assembled (in step two below), you can cut the ¼” thick piece of plywood. Once completed, you’ll place the assembled base of the ottoman square on top of the plywood. Then, you’ll trace the inside edge. This template will be used to cut out the squares later on. Your cuts will be approximately 1-¼” squares in each corner.
The other piece of plywood (⅝” thick) should be cut into a piece 18” x 18”. This will be used for the top of the ottoman.
When you’re done cutting the wood pieces, make sure to sand all of the edges. Then, move on to step two.
Step 2: Assemble the base of the ottoman.
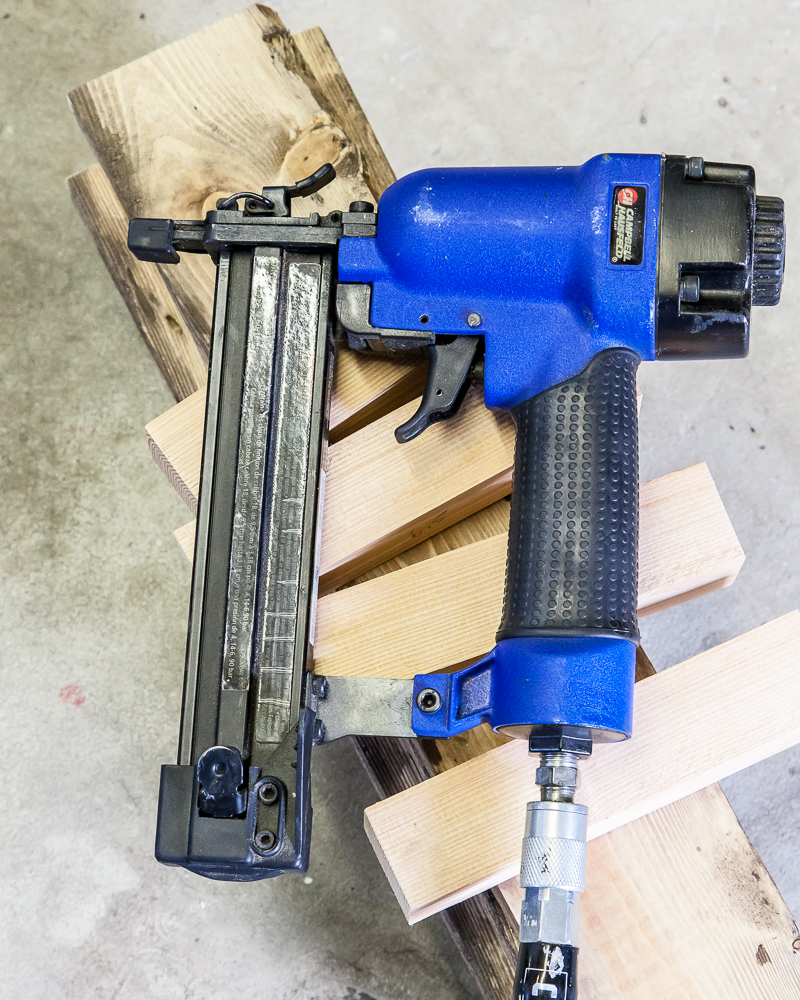
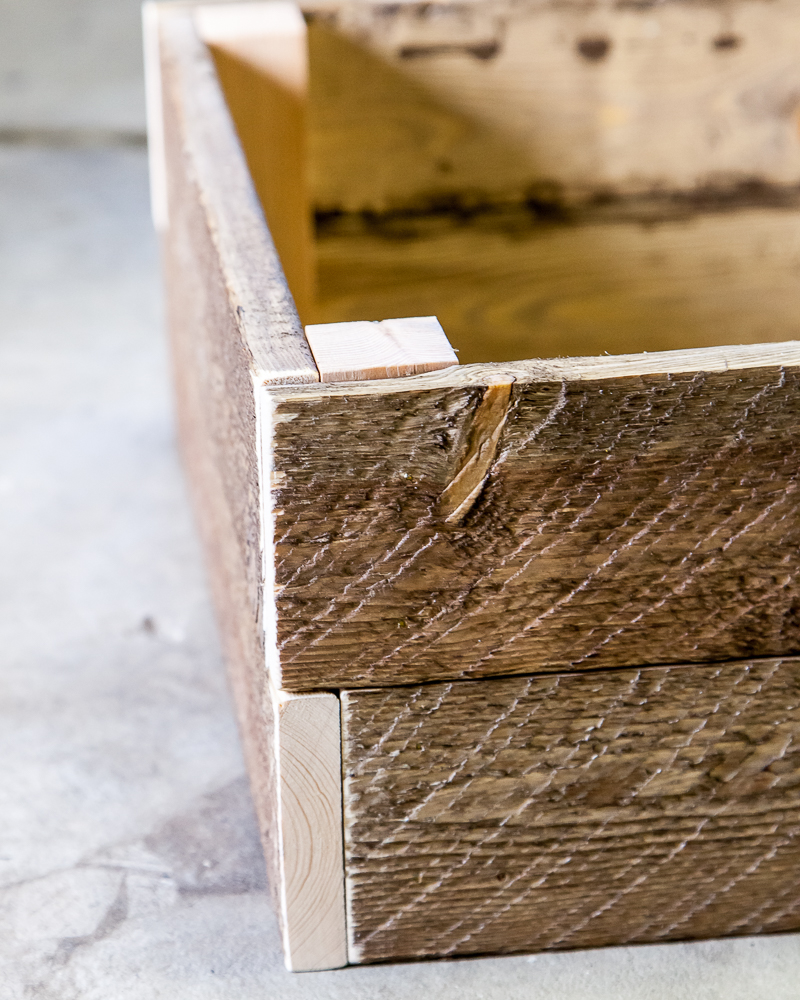
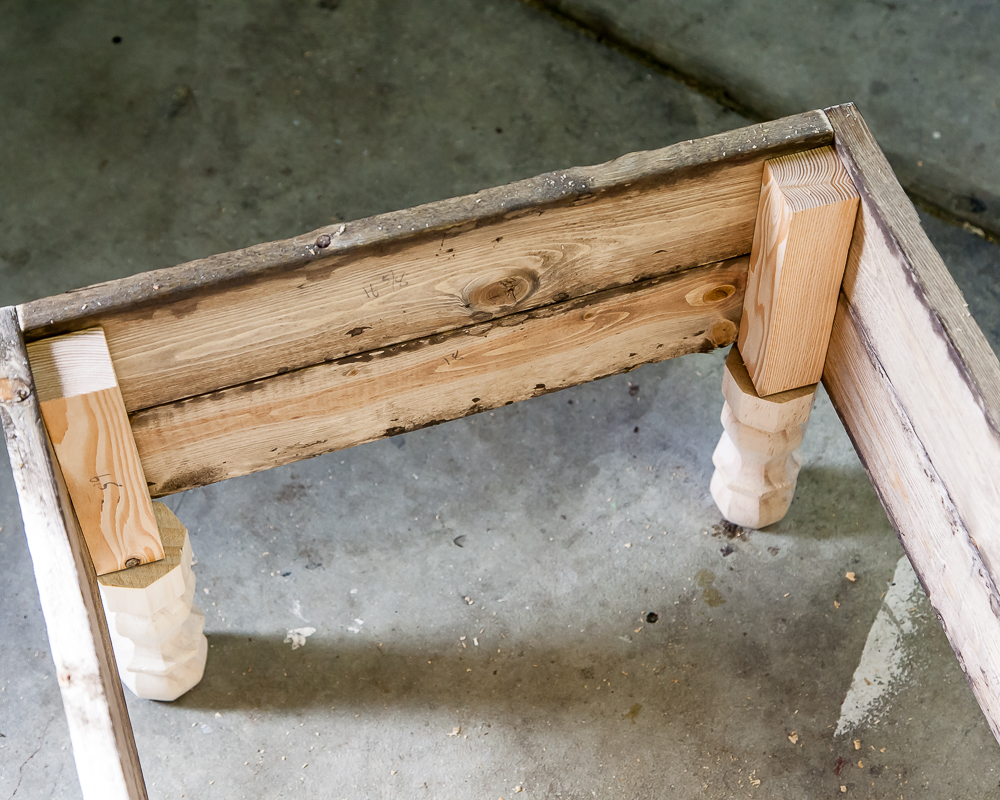
With all your wood prepped, lay the pieces on a flat surface and assemble the base. Using a nail gun, attach the side boards together. Then, place a 2×2 inside each corner. These pieces will be used to attach the legs.
Repeat this step until you have two layers of sideboard around the base.


Your ottoman should look something like this at the end of step two.
Step 3: Attach feet to the base of your DIY storage ottoman and paint.
Next, drill a hole into each of the 2x2s. From there, you’ll place the nut inserts into the 2x2s, as shown below. Then, you can screw on your four legs.


Once you’ve attached your legs, make sure your base is solid. If it’s wobbly or not quite placed right, now is the time to make adjustments. If all is well, take off the legs and paint as desired.
I sprayed mine white, then added a bit of brown craft paint to give it a distressed look. I started with pre-stained and textured wood for this project, but you can buy plain boards if you’d prefer to paint your pieces a solid color instead of staining.
Because I cut the wood, some corners needed staining, so I brushed on a wood stain to the entire base (minus the legs) to even it out.
Related: Home Painting Ideas That Will Immediately Improve Your Space
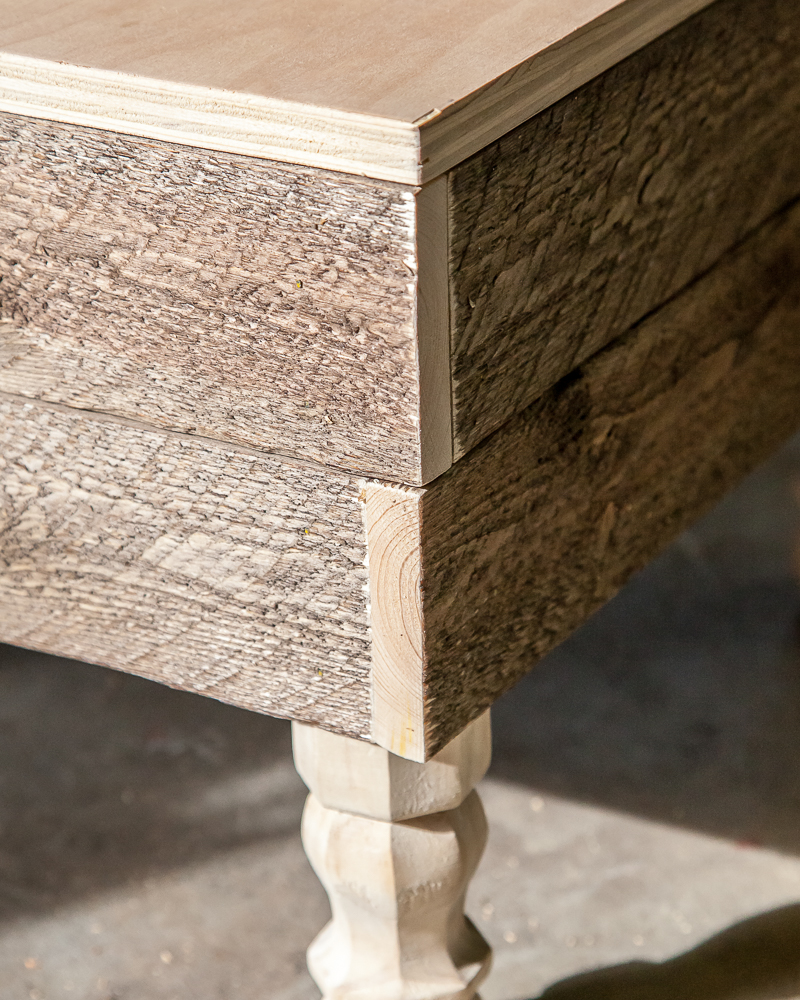
Step 4: Insert bottom plywood to the base.

This is when your DIY storage stool really starts to come together. Place the assembled base on the ¼” thick plywood. Then, trace the inside corners around the edges with a pencil to get an accurate cut.
Step 5: Prep the top base of the ottoman.
The top piece of plywood must fit perfectly, so double-check the measurements before moving on to the next step. If it’s not right, some additional cutting and/or sanding may be required.

Step 6: Cover your pillow with fabric.
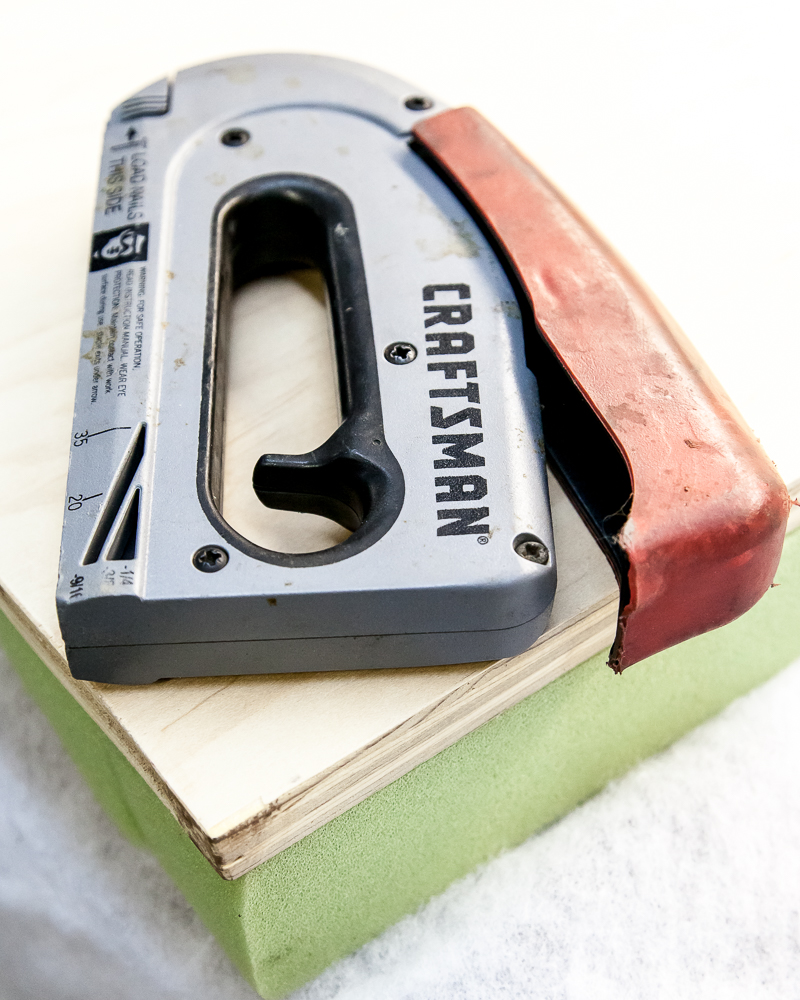
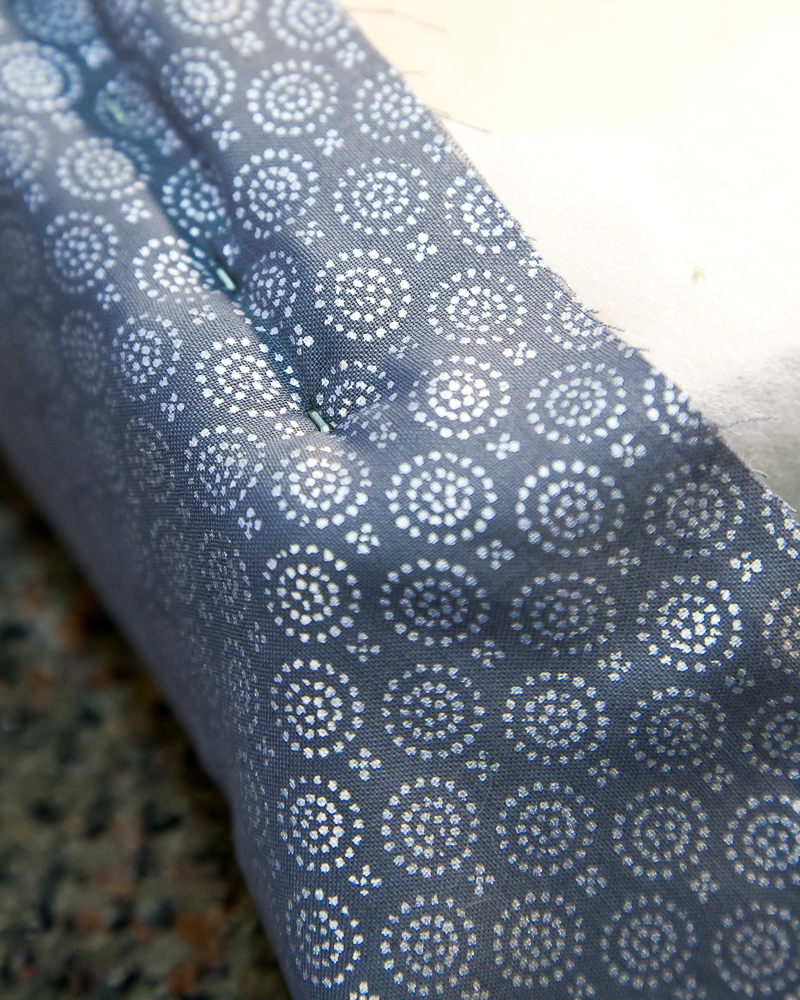
It’s time to decorate! Place your pillow foam onto the plywood, then wrap the fabric batting around the pillow and plywood. Next, staple the batting to the plywood base.
When that’s done, you’ll repeat the same step with the fabric. Begin by stapling fabric to the frame at the center point of each side. Then, staple to the frame at each corner, pulling the fabric tautly as you go.
After the sides and corners are stapled in place, continue securing the fabric until you have completed the full pillow. Pull the fabric tightly around the curved corners to eliminate tucks on the top side of the cushion.

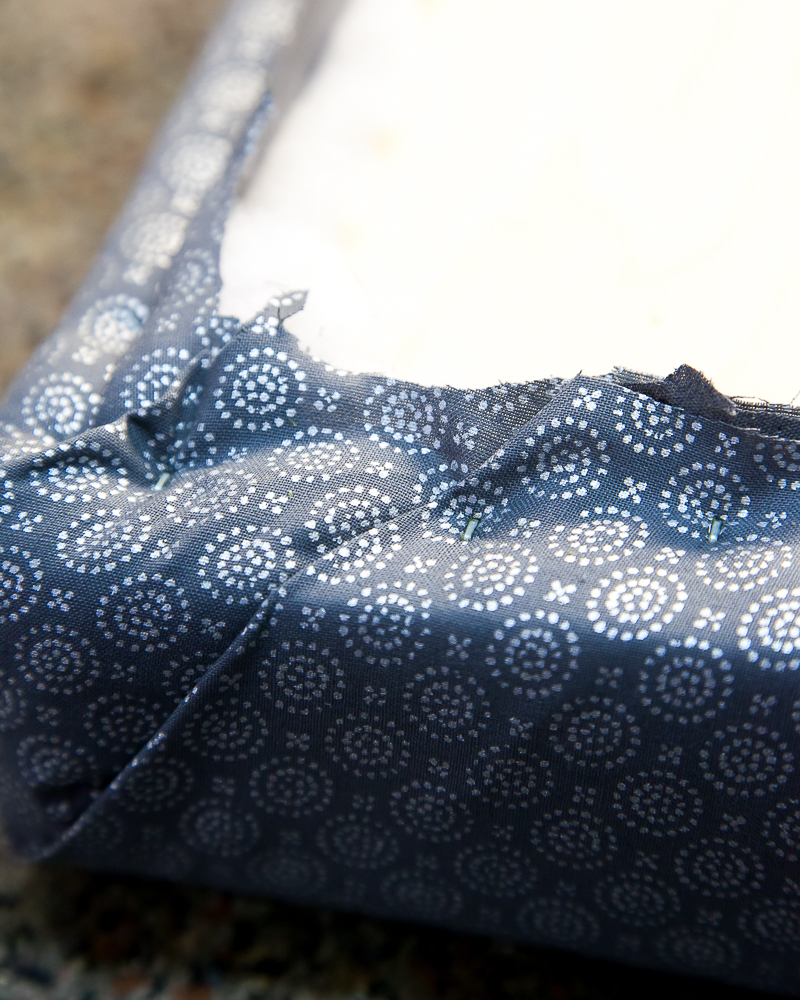
Tip: If you’re using a patterned fabric, make sure to position the design on the seat cushion before you start.
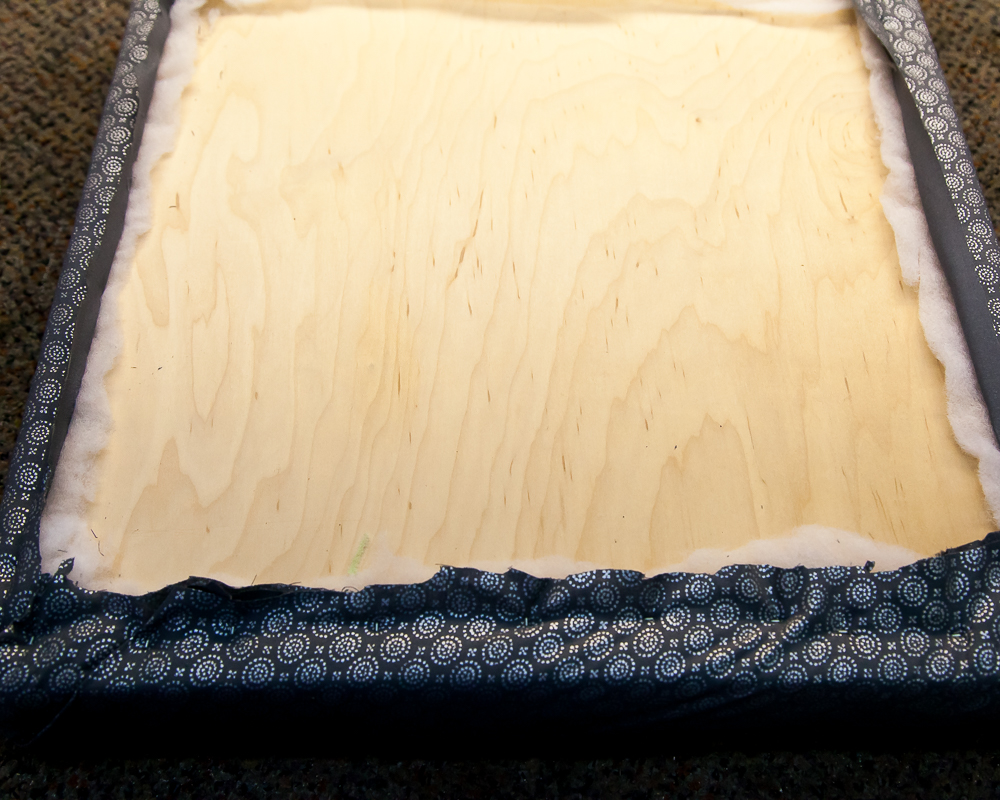
At the end of step six, here’s what your ottoman should look like.
Step 7: Attach the hinges for the storage compartment.

Last but not least, in order to use your ottoman for storage, it needs to be able to open and close. Adding two hinges is the easiest solution.
Mount the hinges using a drill. I centered the edge of each hinge about 3 inches from the sides, then drilled the hinge to the base and the plywood part of the pillow. It should feel secure when you’re done.
And that’s a wrap! Here’s my completed DIY storage ottoman in all its glory.
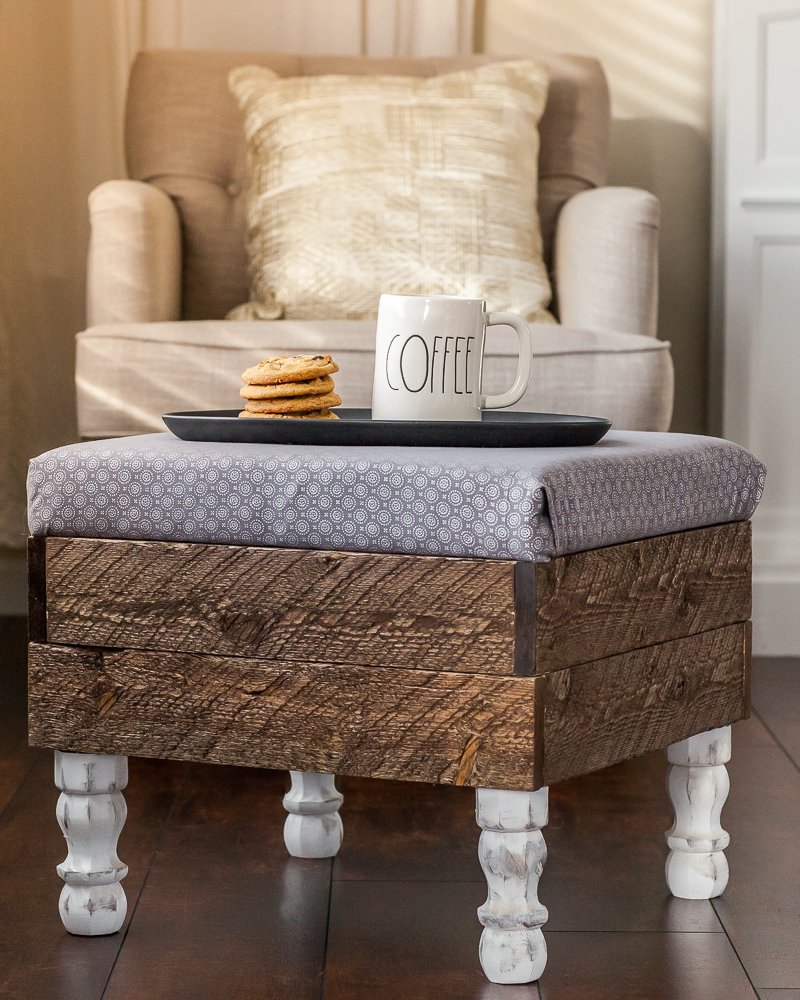
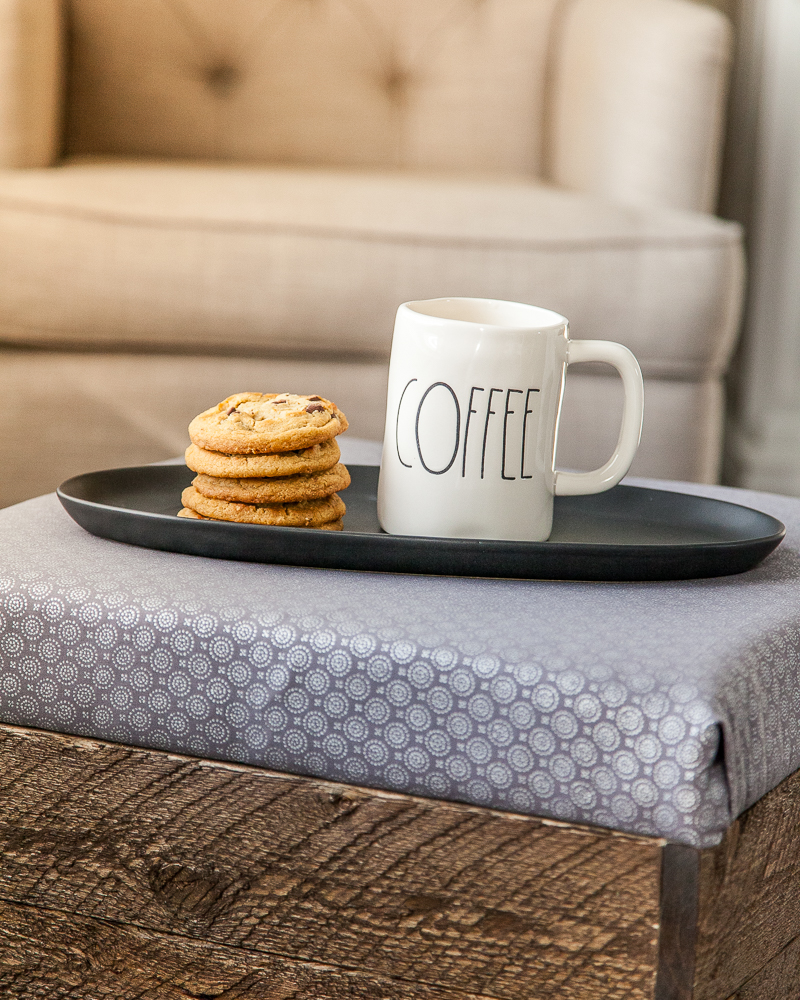
I couldn’t be any happier with how my storage ottoman plans came out! So far, I’ve been very impressed with the functionality and with how it looks. It’s so helpful to store remotes, pillows, blankets, magazines, books, and anything else that piles up in the living room.
Related: 12 Seasonal Storage Solutions Everyone Should Know
Pin for Later:
Read Next:
Editor’s Note: Originally published on November 25th, 2015, and was revised on February 2nd, 2018 & July 11th, 2023 with more information.

