

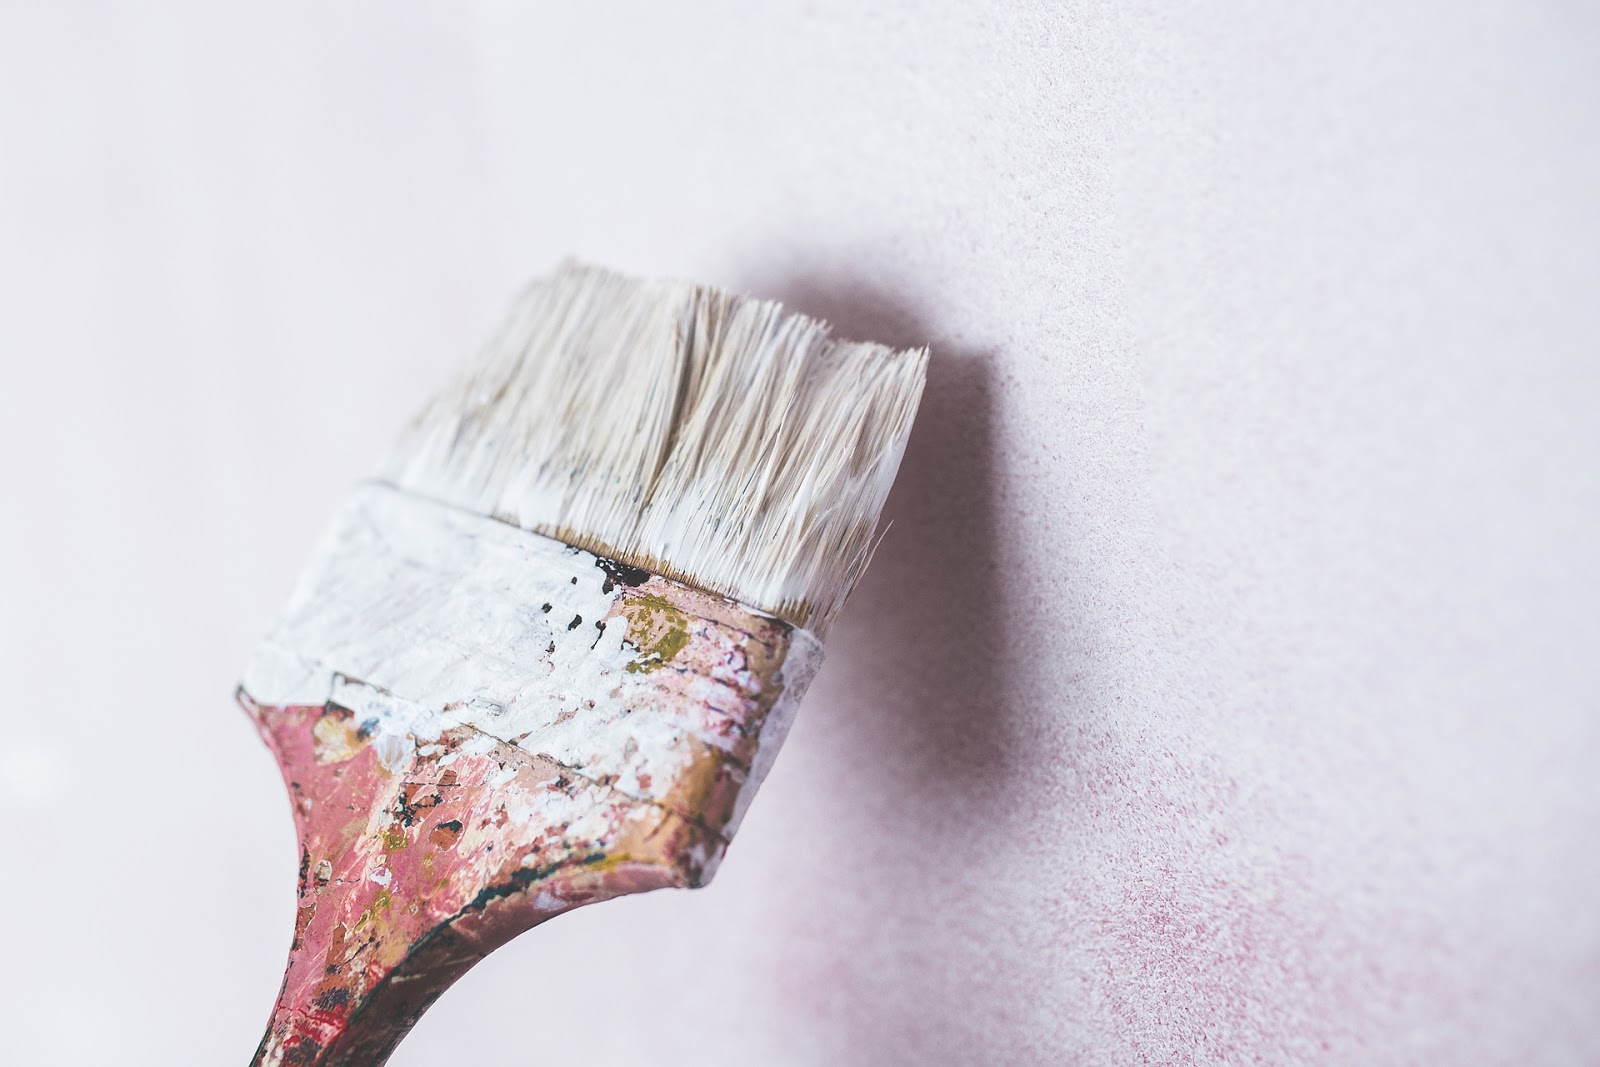
Whether you just bought a new home, are ready to freshen up a place you’ve been living in, or are planning to stage your house for a quick sale, sometimes it’s necessary to give your home a little remodel. At only $15 to $30 per gallon, painting the interior walls of your homes is one of the most inexpensive ways to give your space a whole new look.
We put together home painting ideas to help you understand the psychology behind picking the right color, how to select the right paint and primer, and simple application hacks that will drastically improve your place. Following these six steps will dramatically improve any painting project you tackle in your house.
Step 1: Pick the Right Hue Using the Psychology of Color
In order to make the most of your space, it’s important to understand the effect each color has on a person’s mood. To pick colors that set the right tones for your home, keep these in mind:
Red raises the energy level of a room. Nasheyah Dubaishi, an interior designer for L2K Design and Raymour & Flanigan, advises her clients to add red to kitchen or dining room walls, as it will increase appetite and stimulate conversation.
Yellow evokes strong feelings of positivity, happiness and creativity. Because yellow sparks communication, it’s best used in kitchens and dining rooms. It’s also used in small spaces, halls or entries to make them feel large and welcoming.
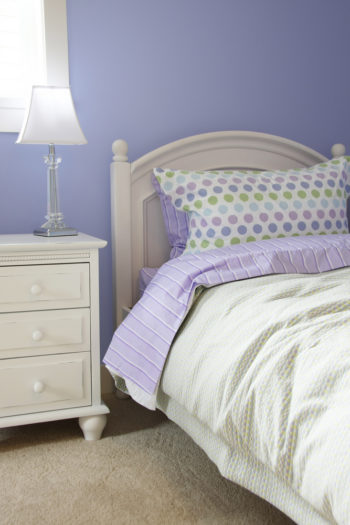
Blue brings down blood pressure, which is why it’s commonly used in calming settings such as bedrooms and bathrooms. High concentrated shades of blue, like sapphire, can add drama to a room. Paler shades make a space look larger, and light shades can make a space feel peaceful.
Green combines the freshness of blue with the joyousness of yellow–making it a color suited for almost any room in the home. Because of its connection with nature, it also has a calming effect that promotes tranquility and health.
Purple blends the serenity of blue and excitement of red. It is well-known for luxury, and can bring an exotic tone to a room. Lavender walls can add sophistication to a living room, while pastel purples can make a bedroom look young and trendy.
Orange is a very energetic color. Similar to red, it stimulates appetite, making it a great choice for a dining room or kitchen. It’s also best used to bring out the intensity in a fitness room.
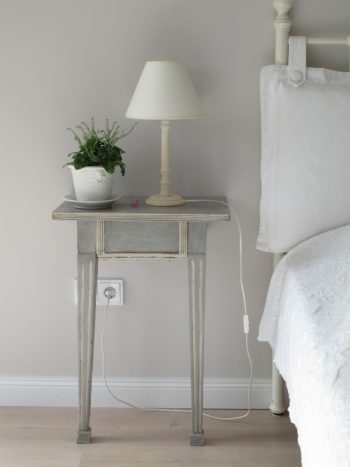
Gray has an organic sense of serenity, calmness and sophistication. Light tones of gray can make a bedroom look romantic, while tan grays can summon a relaxing beach atmosphere for a living room. When paired with white, it’s a clean and crisp combination for kitchens and bathrooms.
Brown represents nature, encouraging people to slow down. Since its earthy tone makes a room feel warm and welcoming, it’s commonly used in living and dining rooms.


Step 2: Select the Right Primer

Primers are formulated to prepare an area for painting by sealing pores, preventing stains and knots and creating a uniform surface. There are three common types of primers:
- Oil-based primers, similar to oil-based paint, provide a great barrier to keep imperfections from bleeding through. They’re best used for unfinished wood, heavily weathered wood, previously varnished wood and over existing paint that is failing.
- Latex-based primers provide a more flexible finish resistant to cracking, making them the best option for unfinished drywall, bare softwoods, brick, concrete and galvanized metal.
- Shellac-based primers are excellent at blocking stains and preventing bleed through. This primer is best used to spot prime water, smoke and rust stains, difficult wood knots and wood, metal or plastic that needs fast drying.
Step 3: Choose Between Oil and Latex Paint
When it comes to choosing the right paint for your home, there are two base options: oil and latex.
-
- Oil-based paint takes longer to dry (allowing you more working time), covers more in one coat and goes on smoother than latex paint. It’s more likely to crack over time, though, and the fumes can be pretty overwhelming. It can also be a pain to clean, since it requires solvents like mineral spirits to wash brushes (be cautious handling these chemicals). Because oil-based paint stands up to wear and tear better, it’s best used on door trims and wooden surfaces.
- Latex-based paint, on the other hand, is made primarily of water, which means it dries faster, doesn’t yellow over time, is better for the environment and is easily cleaned up with soap and water. Sometimes it swells wood, though, requiring ranging between coats. Latex paints are flexible, allowing them to adhere to a variety of surfaces; and offer the best color retention, which is great for areas with a lot of sun exposure.
Step 4: Pick the Right Finish for Your Room
Once you’ve decided on a paint, you’ll have to pick the appropriate sheen (or glossiness of the paint). According to Dominic Fulciniti from Buffalo Paint and Wallpaper, people usually use a lower sheen on walls and higher sheen on trim.
- Matte or flat has no shine at all. It’s commonly used to paint ceilings to avoid too much reflecting light and in high-traffic areas like bathrooms and kitchens.
- Eggshell has a flat finish with a little luster (like a chicken’s egg). It covers walls imperfections and is great for areas that don’t receive a lot of scuffs, resists stains well and can be wiped with a wet rag. It’s commonly used in bathrooms, kids’ rooms and kitchens.
- Satin has a pearl-like finish and is often described as velvety. Since it’s easily cleaned, it’s best for family rooms, foyers, hallways and bedrooms. It does reveal application flaws from rollers and brushes, and touch ups can be a little tricky.
- Semi-gloss reflects more light, allowing any imperfections to shine through. It also stands up best to water and cleaning, making it a great option for a kids’ bedroom, bathroom, trim, doors or furniture.
- High gloss is the most durable, has the highest sheen and is the easiest to clean. It works best in sticky-finger areas, such as cabinets, trim and doors. It’s not recommended for interior walls, since it’s too shiny and reveals every imperfection.
When you decide on a paint, be sure to take a picture of your lid with the formula information. This way, you’ll ensure the exact paint color if you have to come back for more.
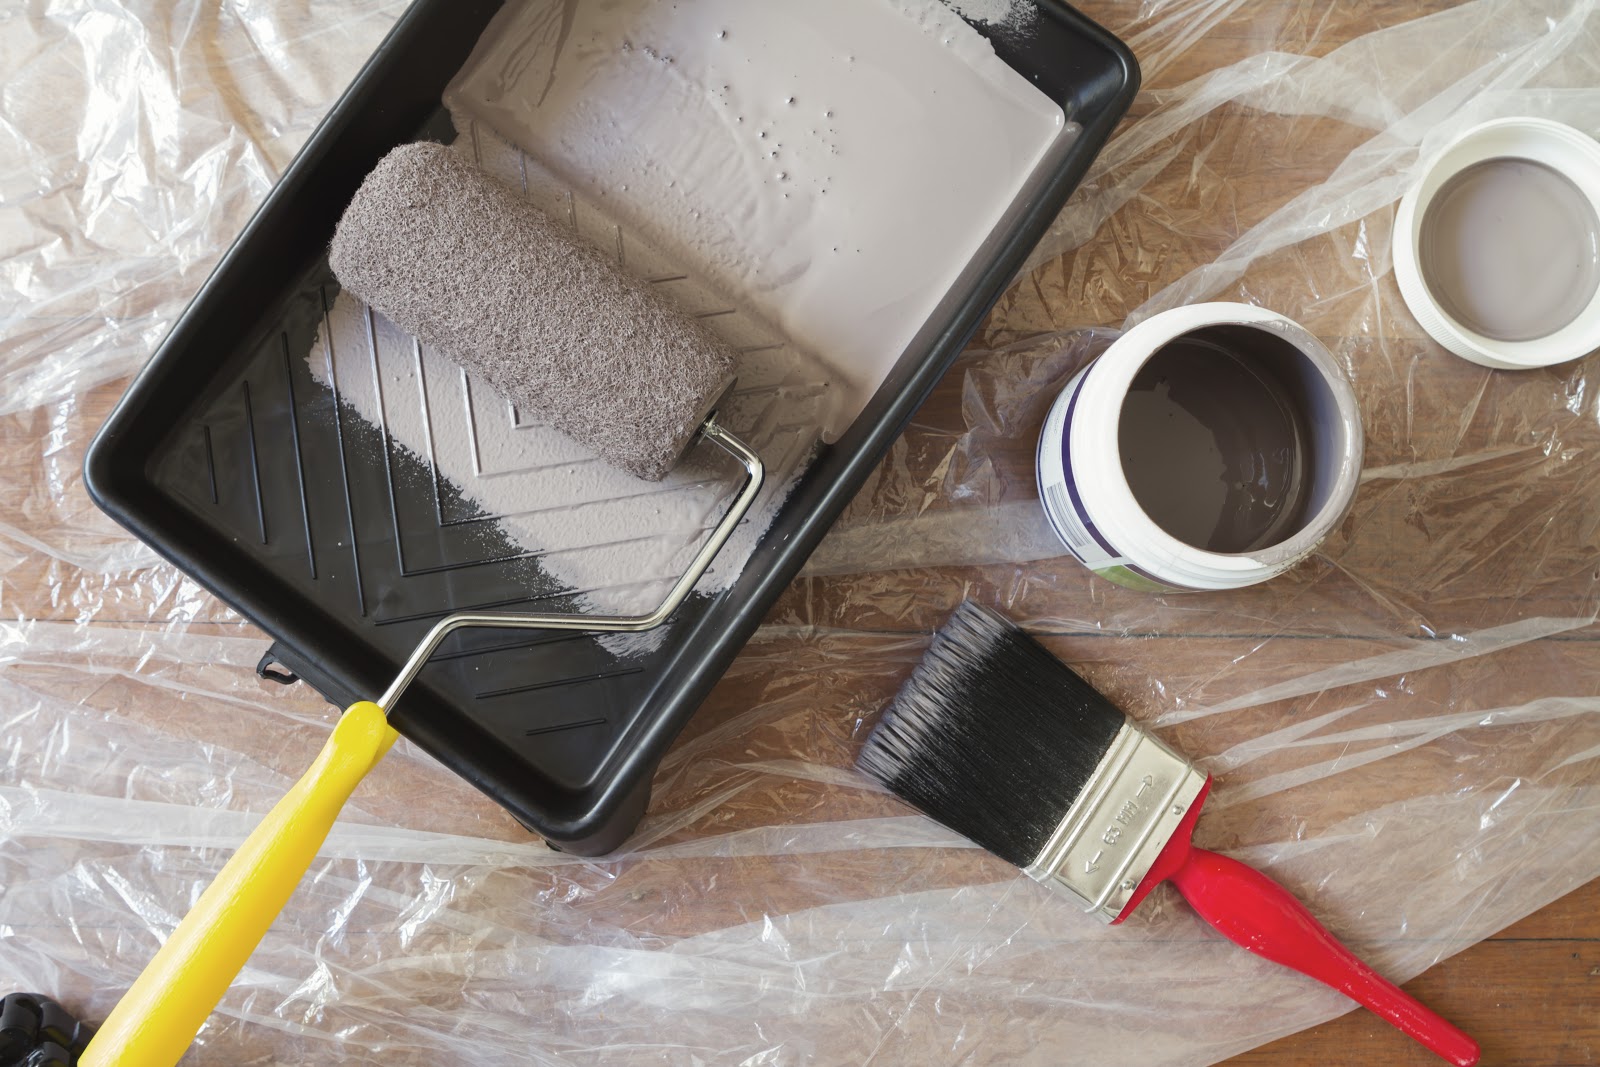
Step 5: Match the Applicator to the Paint
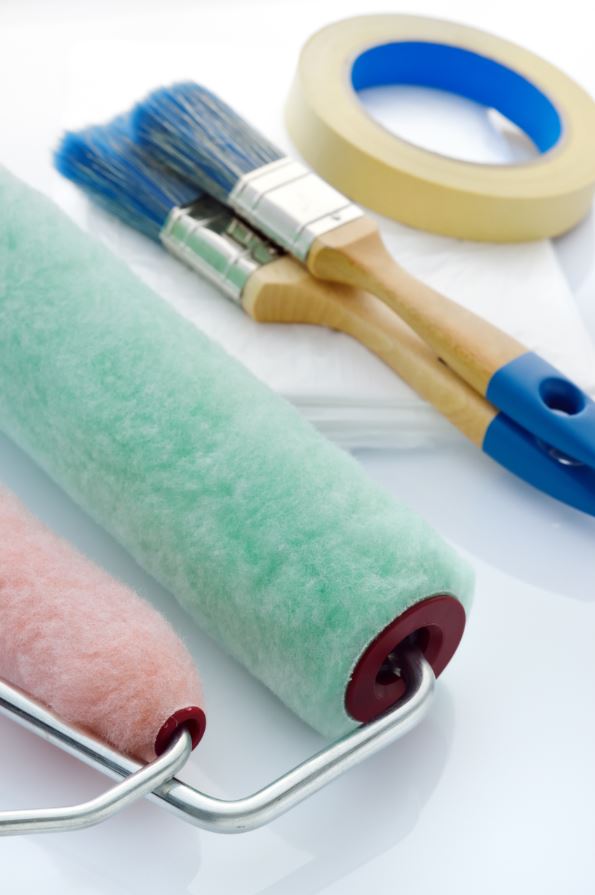
Selecting the proper applicator for your paint job is just as important as the paint itself.
“You can buy the most expensive, high-quality paint out there,” Gina says, “but if you buy cheap applicators–your walls are going to look terrible.”
- Brushes. There are two types of brush bristles: natural and synthetic. Natural brushes, made with animal hair, are best used with oil-based paint. Synthetic brushes, which are made from nylon or polyester, should always be used with latex-based paint.
- Rollers. Rollers are fast and easy to use, making them excellent for large surfaces. Like brushes, you should only use synthetic fibers for latex-based. You should paint smooth surfaces with short-nap (or length of the surface) rollers and rough surfaces with a long-nap roller.
- Pads. Pads and sponges hold less paint than brushes and rollers, but are especially helpful with cutting corners and painting areas where walls and ceilings meet.
Step 6: Let’s Get Painting: Tips and Tricks
Now that you’ve covered your bases, it’s time to start a plan of action. Follow these simple painting hacks to make your life a lot easier:
Nix the fumes.
If you don’t love the smell of paint fumes, just put add one tablespoon of vanilla extract per gallon and mix it thoroughly. Not only will it hide the fume scent, but it’ll leave your home smelling like vanilla cookies.
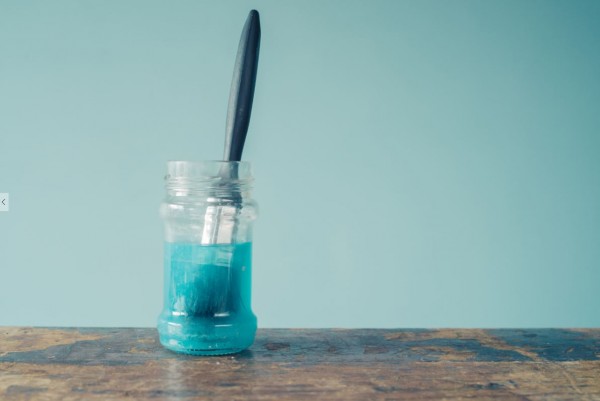
Clean your brushes with vinegar.
Cleaning paint brushes is never easy. To make it simpler, soak paintbrushes in hot vinegar for 30 minutes to break up the gunk. Then, give them a good wash with soap and water.
Vinegar can also help when painting metal. Before painting a metal area, wipe it down with vinegar. It’ll help keep it from cracking.
Protect areas with Vaseline.
If you have a spot that you don’t want painted (like screws, key holes or hinges), cover it with Vaseline, and then paint over it. The jelly will act as a protective layer, and you’ll be able to simply wipe it away when you’re done. You can also use a Vaseline to neatly paint trim along glass. Use a Q-tip to apply the jelly, and then wipe away any paint that gets on that area.
DIY paint scraper.
To avoid making a mess with a dripping paintbrush, wrap an elastic band around a paint can. Use it to smooth away excess drips before painting and to avoid paint from oozing out mid-swipe.
Prep before the primer.
Paint won’t stick to dirty surfaces–so use your dry cloth Swiffer on your walls to remove any dirt and dust. Then, Nasheyah suggests wiping down walls with Windex to cut away any grime that has built up over time. Let this dry the night before painting.
Lint-roll your paint roller.
Chances are fuzz and dust have accumulated on your paint roller over time. Since this debris will end up in your paint and on the wall, make sure it’s gone. Eliminate excess fuzz by swiping it with a lint roller right before painting.
Soften your tape.
Hard tape is difficult to mold into the necessary tight crevices. To soften the adhesive, simply place it in the microwave for 10 seconds.
By following these home painting ideas, you can improve the look of your space in no time.