Preparing your home to sell can feel like a full-time job. It’s a daunting process, and every little detail could impact your selling price—including your paint job.
Touching up the paint in and around your house goes a long way towards making your home feel more polished. A nice coat of paint helps make a positive first impression with buyers, and it’s a relatively low lift compared to home renovations or upgrades.
Not exactly a home painting expert? We’ll walk you through how to touch up paint around your home and get you one step closer to a successful home sale.
How to Touch Up Paint in a Nutshell:
Touching up your paint is a bit more involved than just opening a can of paint, but it’s still an easy DIY for the average homeowner. Here’s the general process you’ll want to follow. (We’ll go into more detail on each step in the following sections!)
- Lay down a tarp to protect your floors.
- Cover hardware, baseboards, air vents, and any other obstructions with painter’s tape.
- Wipe down your painting surface and let it dry completely.
- Fill nail holes and repair any dents as needed.
- Paint and let dry!
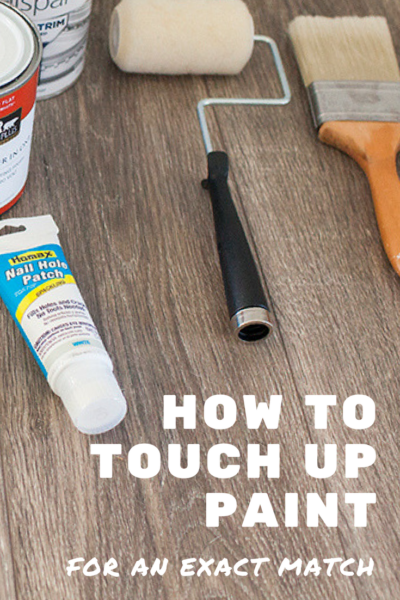
Here is a step by step video and some important tips on how to touch up paint for an exact match.If you’re more of a visual learner, here’s a step-by-step video with some important tips on how to touch up paint for an exact match. Ready for the specifics? Here’s how you’ll begin your touch-up process on interior walls.
Retouching Paint on Interior Walls
Touch Up Tools
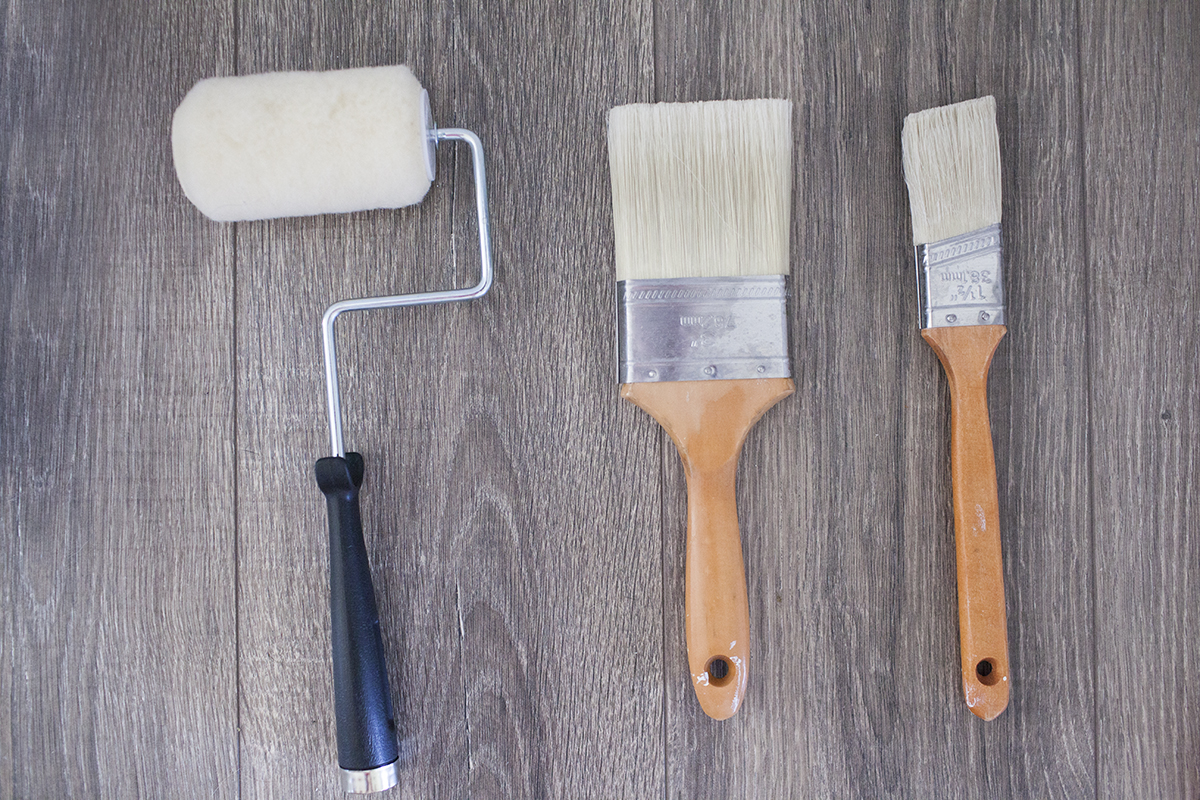
If you’ve never touched up paint around your home, you may not be familiar with all of the helpful tools. While you don’t need a ton of unique supplies, these items will make the job easier.
- Small Angled Paint Brush
- Foam Paint Roller
- Paint Tray
- Paint Can Opener
- Sanding Block
- Magic Eraser
- Nail Filler
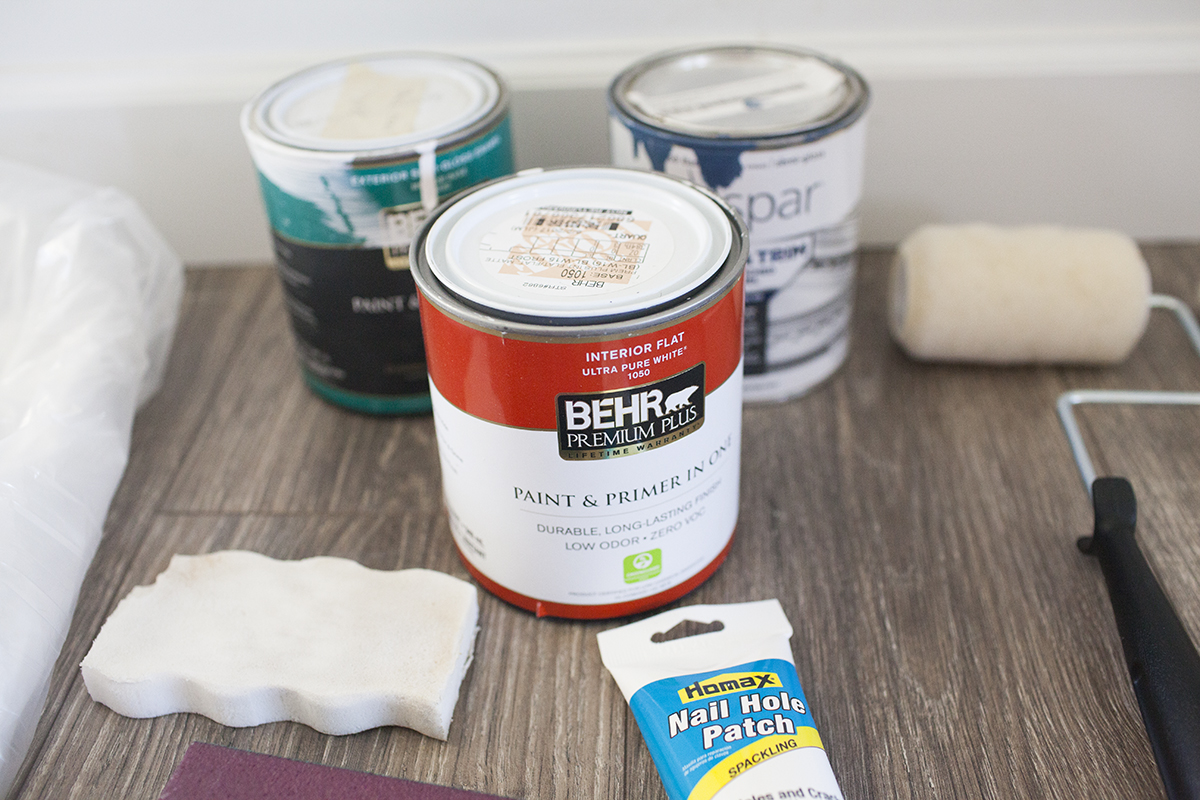
Buying the Paint
Before you can touch up any paint, you have to have paint to begin with. If you’re painting your home for the first time, know that not all paint is created equal. Brands will vary in price points, so you can start by understanding your budget and narrowing your options accordingly.
Next, you’ll want to choose your paint color. Not all brands have the same color ranges, so make sure the brand you choose has an option that matches your home. And since you’re painting your interior, stick with paint that’s labeled “interior” rather than exterior.
You’ll also need to choose your finish. If you’re matching an existing color in your space, choose the same finish to get the best match. If you’re starting fresh, opt for whichever finish you prefer.
When you’re ready to purchase, it may be tempting to think buying more is better. Unfortunately, paint can go bad and separate in certain climates, so just get enough for your current project plus a little extra. You don’t want to store gallons of paint indefinitely, so once you have what you need, save the barcode label (or write down the paint color and finish) for future reference.

Pro tip: When painting your home, keep a running list of paint colors, finishes, and brands. When you need more paint for long-term touch-ups, you’ll always know exactly what to buy.
Touch Up Painting House Prep
By this point, you have your supplies and the right paint color. Now, you can start prepping for your touch-ups.
After protecting your floor with a plastic tarp:
- Wrap any nearby hardware, baseboards, vents, or outlets with painter’s tape.
- Clean the surface of the wall you’re touching up. You can keep it simple with water and dish soap, but this step gives you a clean slate so the paint goes on smoothly.
Just make sure the wall is completely dry before you move on.
Finally, you’ll want to repair any holes in your walls from nails or other damage. You’ll fill in those areas with nail filler, and once they dry, sand the area to level the surface. Then, you’re ready to paint!
Touch Up Painting
The painting step itself is pretty straightforward, but here are a few professional tips for touch-up painting:
- If you’re using your home’s original paint, stir it completely and take a look before you start. Old paint will look watery or discolored, so replace it if that’s what yours looks like.
- When you apply the paint, and it’s still wet, don’t panic if it’s not a perfect match right away. Wait until your paint is fully dry to evaluate the blend.
- If you’re touching up a large area, use a small roller brush. Larger areas were likely painted with a roller brush originally, so you’ll get the closest texture match with this approach.
For smaller areas, use a small angled brush for the same reason.
How to Store Touch Up Paint

When you’re done, store your paint so it’s accessible for any future touch-ups. Paint needs to be stored in an airtight container, so you can either use the original can (if it can be completely re-sealed) or a glass jar with an airtight lid.
Paint also needs to be stored at room temperature, so garages and sheds are unlikely to work out. (Hint: Climate-controlled storage is an excellent option for storing paint. Learn more about the benefits of climate controlled storage here.)
Label the paint can with the location the paint was used, the year it was purchased, and the finish you chose. Not sure how long you can store it? Read this guide to find out how long leftover paint lasts.
Start Your Home Touch Ups
Now that you know how to touch up your home’s paint, it’s time to start! Your space will look its best in no time—just in time for your home to hit the market.
Editor’s Note: Originally published on August 18th, 2017, and was revised on July 17th, 2023 with more information.
More Home Staging Resources
- Learn how to prep your home for an inspection.
- Get ideas on staging a house for a quick sale.
- See creative ways sellers have added curb appeal without spending a lot of money.
- Consider renting a storage unit to hide clutter or extra furniture while staging your home.
More Painting Resources
Leave a CommentPin for Later: