
Moving a fish tank, even a few inches, can be challenging. It’s not as simple as getting a few strong friends and shimmying the aquarium full of water in the direction it needs to go— especially if you plan on relocating it to an entirely new home.
Fish (or any household pets, for that matter) require special consideration during the moving process. (Think it’s particularly stressful for you and your family? Imagine not being able to comprehend or understand what’s going on!) Luckily, cracked glass, damaged aquarium parts, and distressed fish can all be easily avoided by learning how to move a fish tank the right way.
So whether you’re moving down the street or across the country, check out our complete guide to prepping, packing, and transporting a fish tank to another house to ensure it arrives safely at its intended destination.
Related: The Best Apartment Move Out Checklist for the Unprepared
How to Move a Fish Tank: A Step-By-Step Guide
Note: Additional steps may be needed if you have live coral, tropical fish, or a heated tank.
Preparing to Move Your Fish Tank
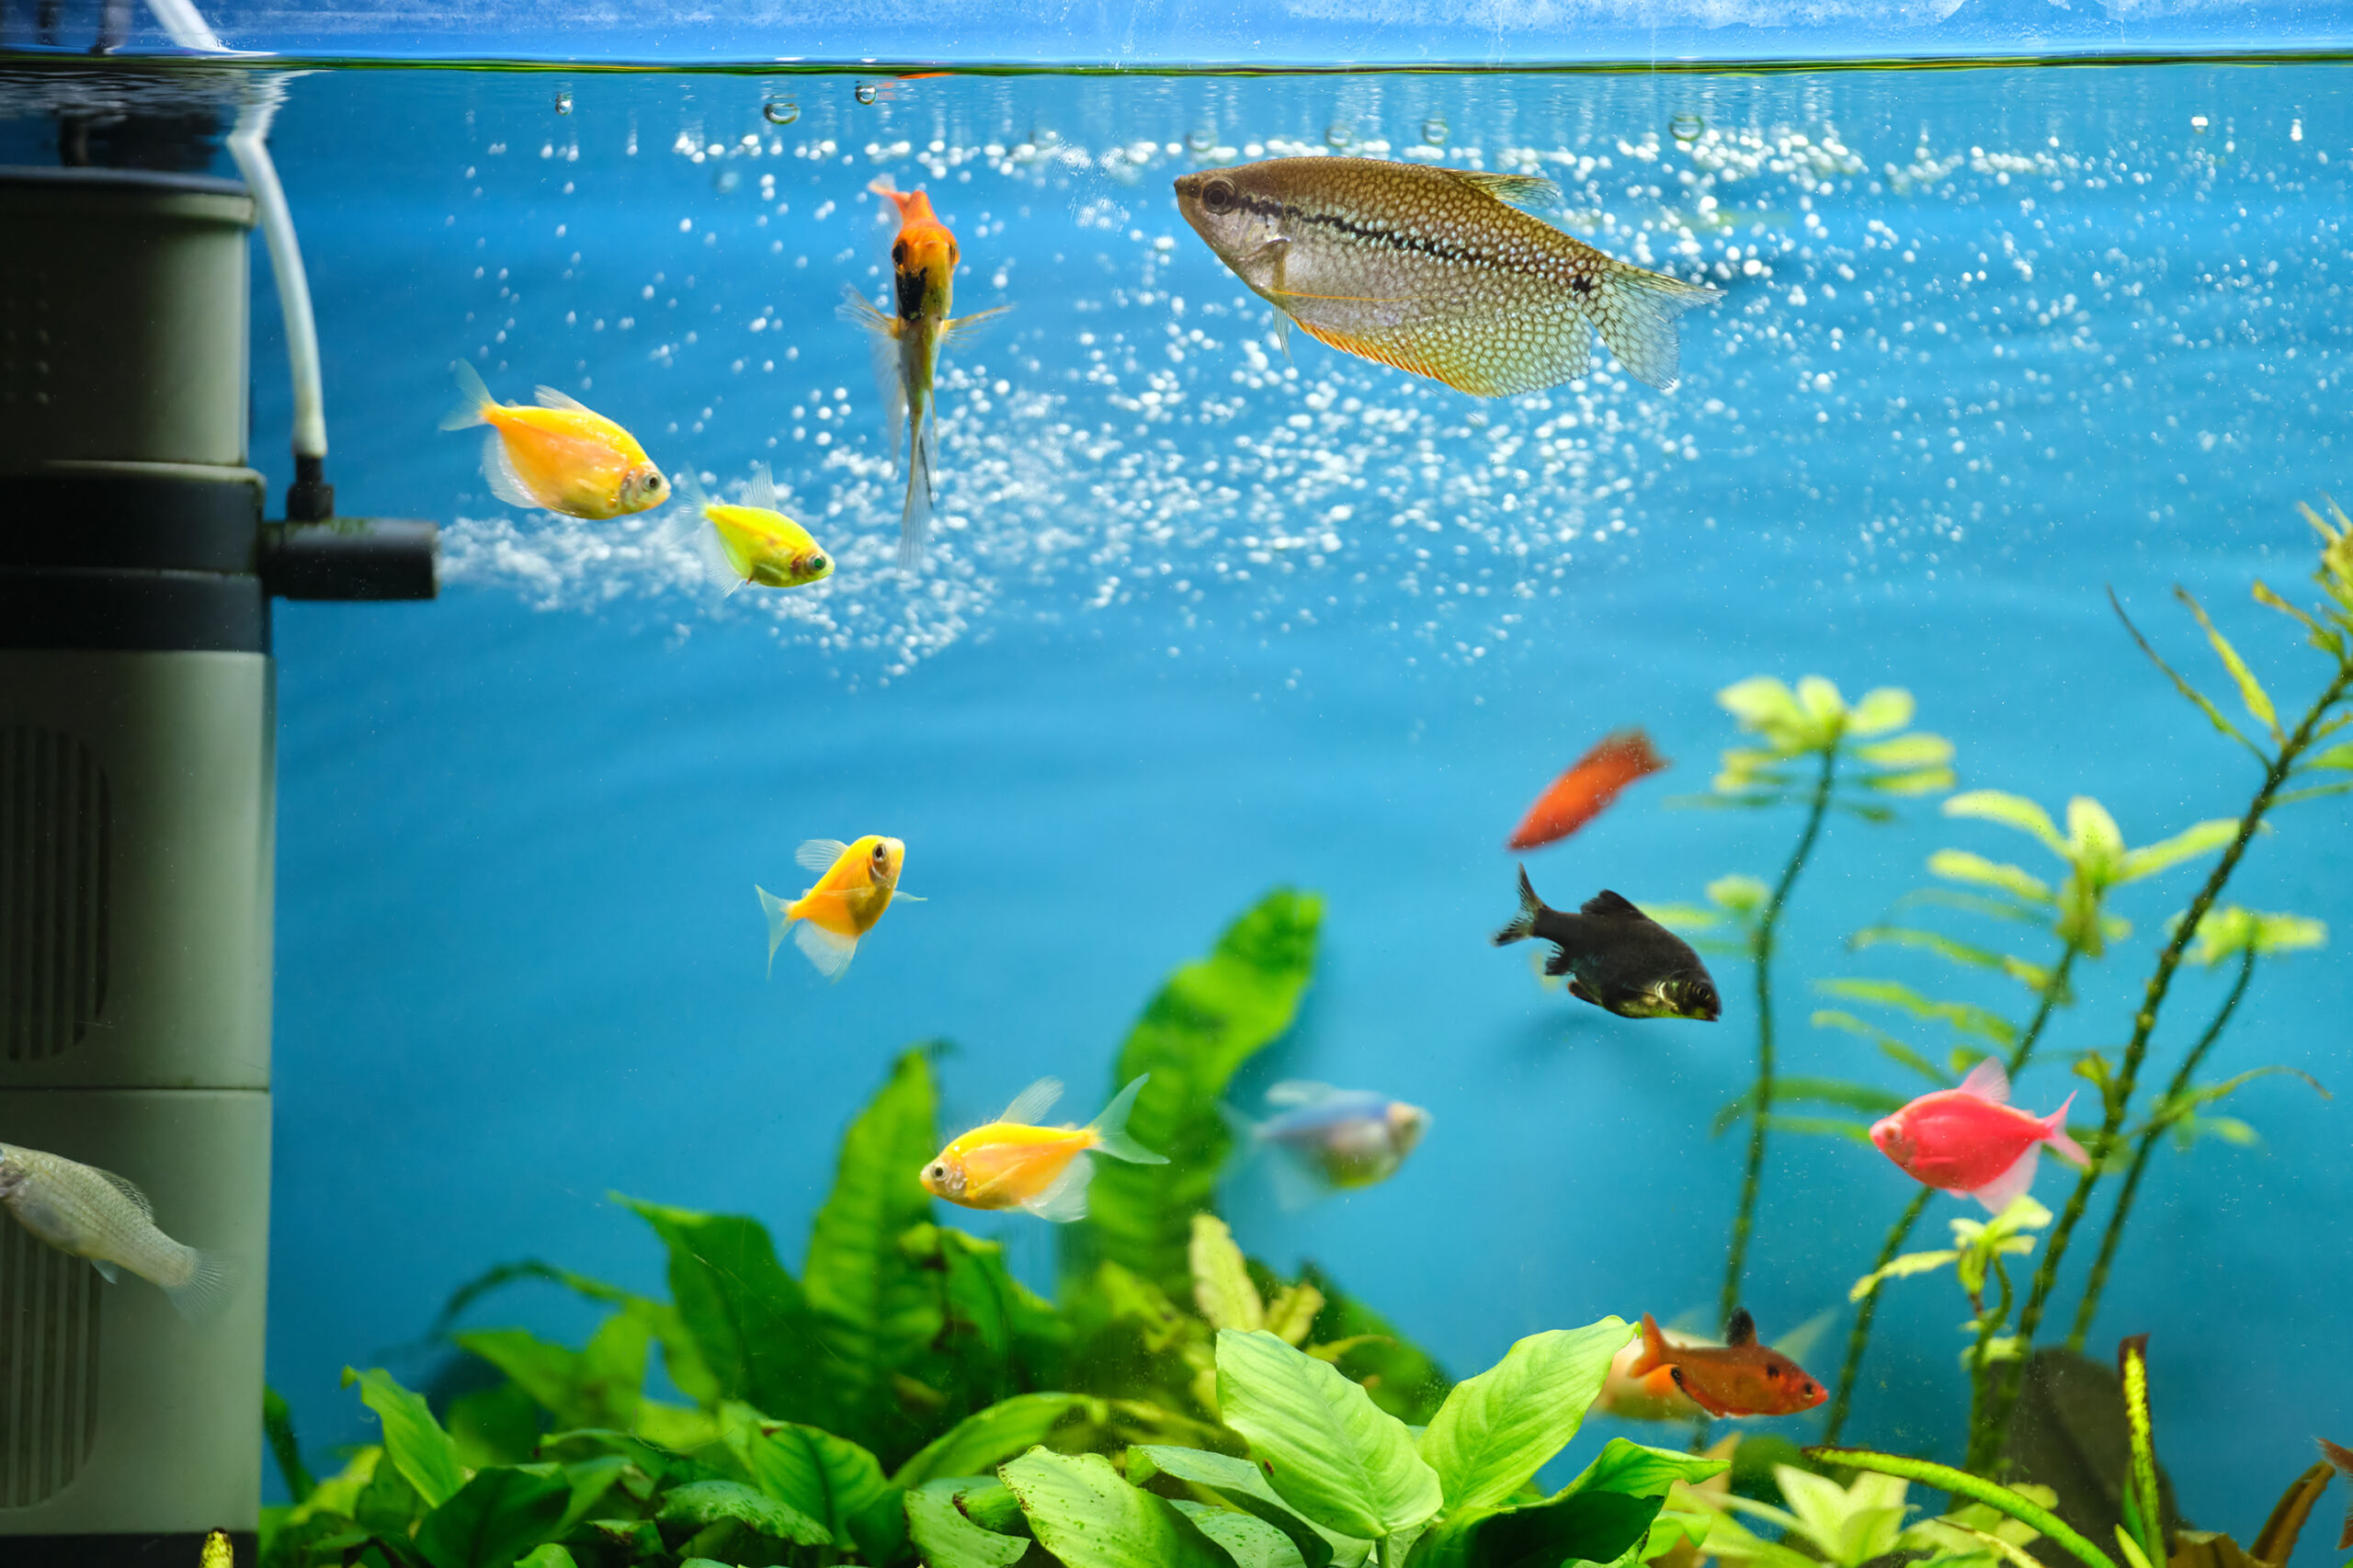
Can you move a fish tank with water in it?
Leaving water, rocks, and gravel inside a fish tank during moving can quickly become a costly mistake. Not only do you risk damaging the aquarium itself, but the weight and rapid movement of the water can put unprecedented stress on the tank’s seals. If this doesn’t create a leak immediately, it can definitely increase the chances of a leak occurring down the line. Plus, fish are susceptible to their environment. They likely wouldn’t be able to survive the stress of sloshing around in a moving truck.
1. Gather supplies to empty the tank
For the reasons stated above, the first step in safely moving a fish tank is emptying it entirely. But don’t dump out your water just yet! It’s important to have everything you need on hand before beginning the emptying process.
What items do I need to empty and move a fish tank?
Here are a few supplies to help you transfer your water and create a temporary home for everything inside the tank during this time of transition:
- Fishnet. Use this to remove the fish and any live coral or plants.
- Five-gallon buckets and/or plastic bags for fish and plants. If you are moving small fish to another room or home less than an hour away, you can use plastic bags. Larger fish require five-gallon buckets with lids. Use separate buckets for live plants that should stay completely submerged in water for the move.
- Water siphoning hose. This will help you transfer the water from the tank to the five-gallon buckets.
- Fish tank packing supplies. You’ll need tape to secure your bucket lids for the move, plus additional boxes for equipment, decorations, and the tank itself. A label maker can also help you stay organized, but masking tape and a marker also work fine.
2. Prep the tank and your fish ahead of time
Moving a fish tank isn’t a do-it-in-one-day type of project. It’s important to consider all the important details ahead of time to give your fish time to adjust and yourself time to complete the necessary steps. For example, it’s a good idea to stop feeding your fish 24 hours before the move. Doing this helps keep their transport containers cleaner during the move. (Just remember to feed them again on schedule once the tank is set up!)
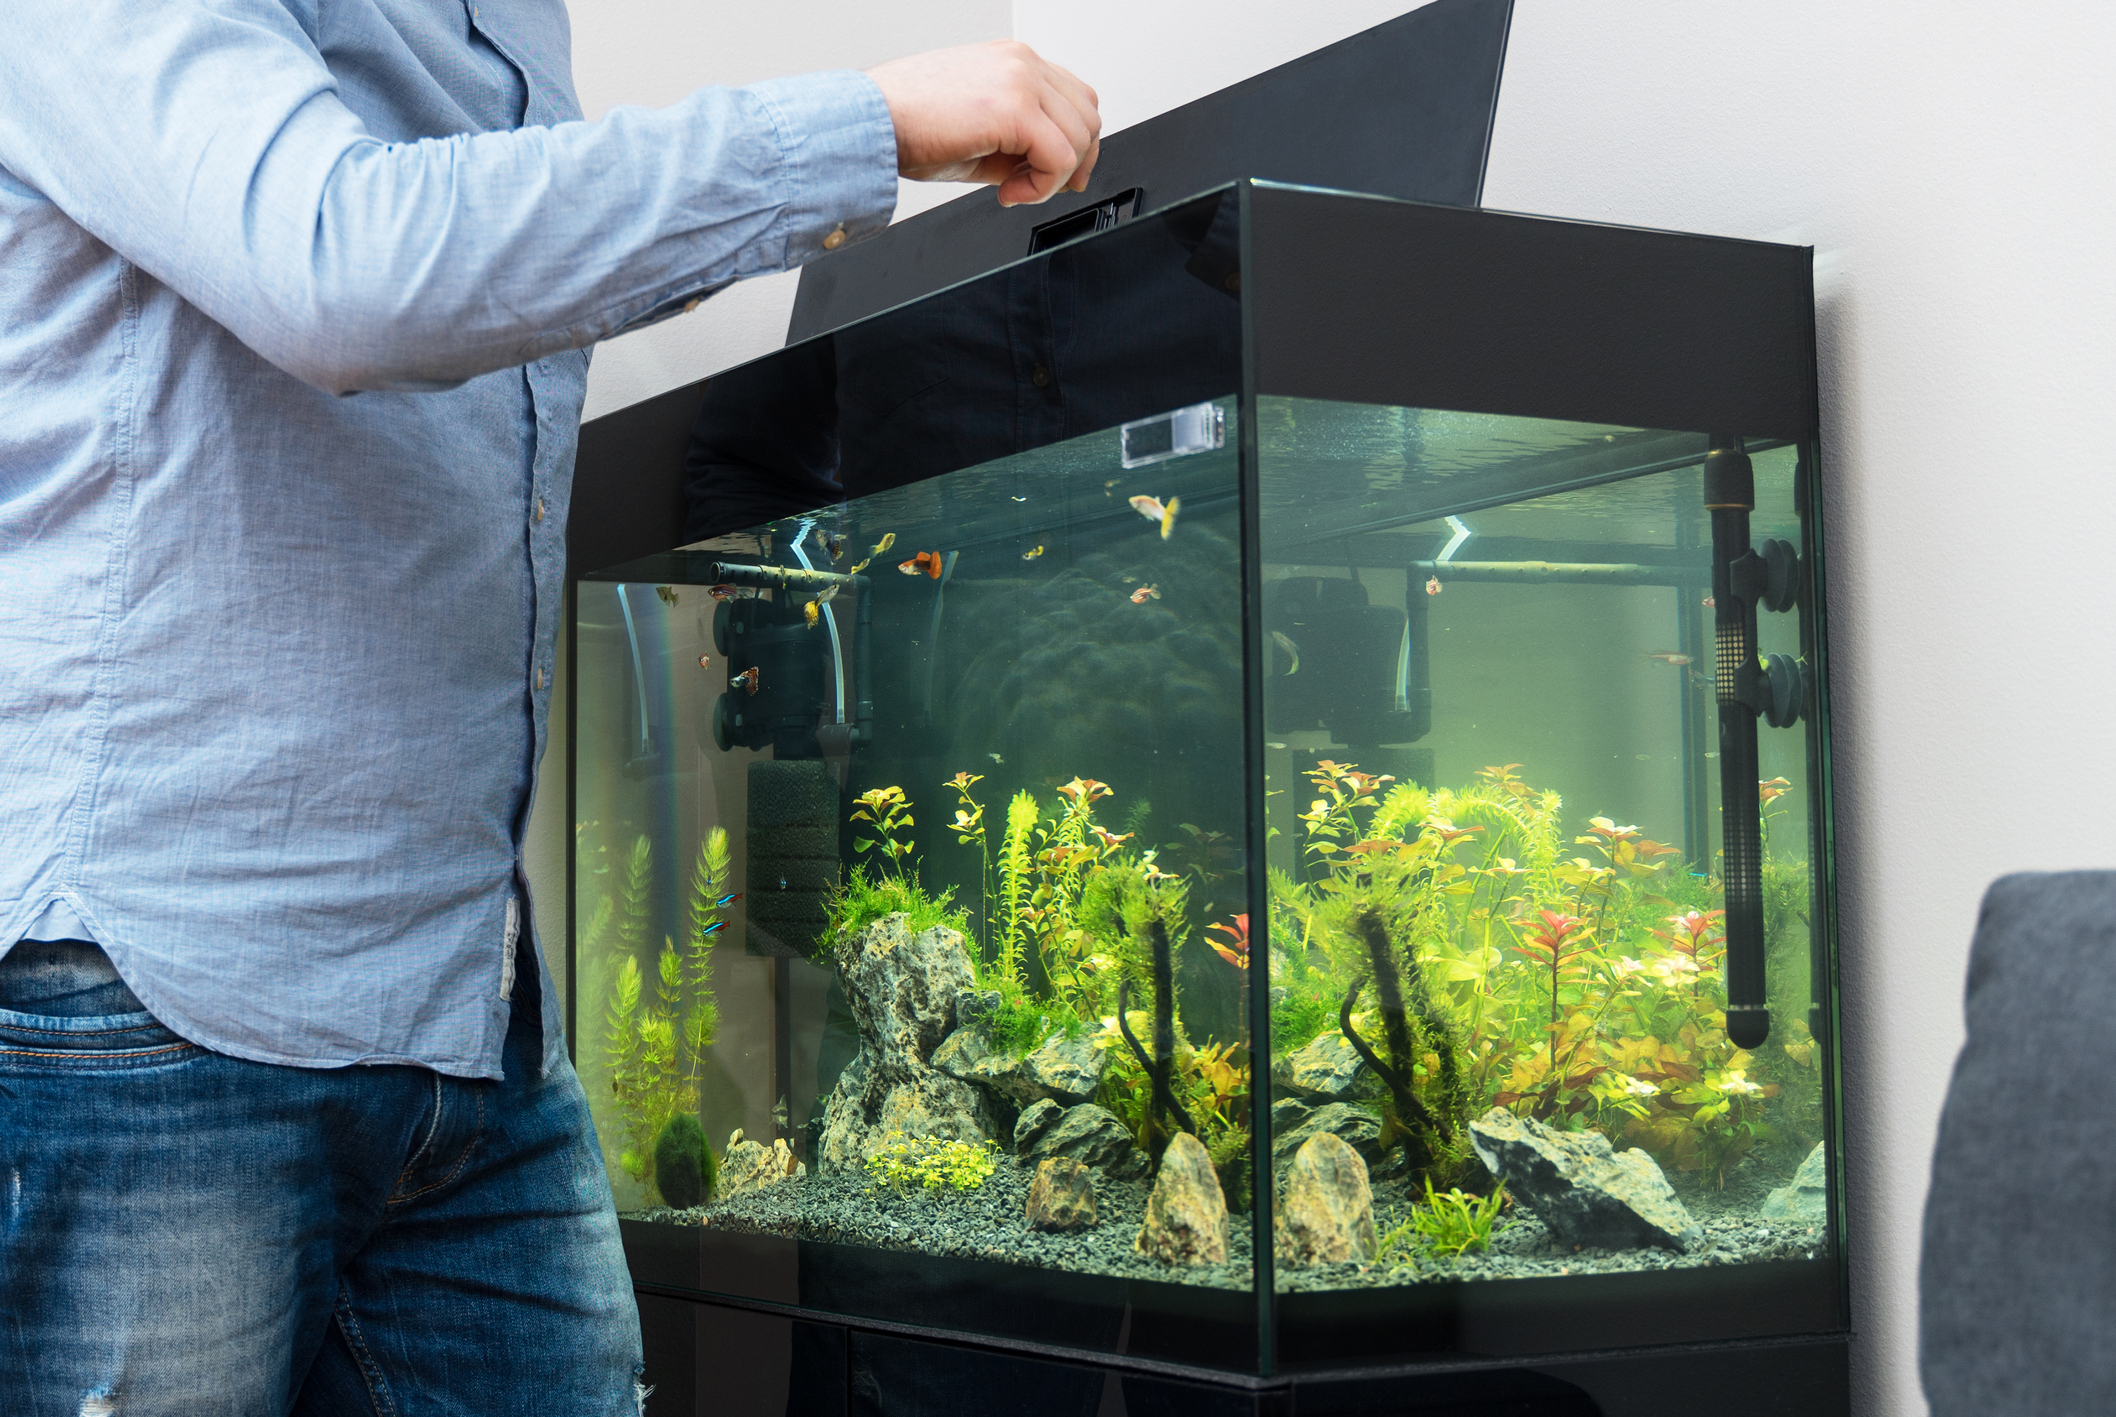
Before moving, you’ll also want to photograph your current fish tank setup. That way, you’ll remember how all vital equipment was positioned for easy replication. Once you’re confident that you’ve got enough photos, turn off and remove any additional fish tank equipment you have, like a filter, pump, fan, or heater. Keep the filters damp and pack all the equipment in its original packaging if possible.
Related: How to Protect Your Furniture When Moving
3. Siphon water from the tank and remove the fish
Of course, you’ll want to minimize the time your fish spend in bags, buckets, or containers in any way possible during your move. But keeping the fish in the tank while you remove other items is a mistake, as fish can be easily spooked and stressed out from drastic changes.
To minimize stress, remove all of your fish before you disturb them or pack up anything in their home and try to create an environment in the moving container that is as close to what they’re used to. To do this, take a water siphon and fill up the fish containers with a little bit of tank water.
Next, move the fish carefully into the buckets with a fishnet. Fill the remainder of the container accordingly (depending on how many fish are inside), and leave plenty of air at the top. You can fit a few smaller fish that get along into each five-gallon bucket; otherwise, it’s a good idea to give each fish their own moving container.
How long can fish stay in a bag?
As a general rule of thumb, it’s encouraged to only keep fish in a bag for a few hours. However, this can be tricky to accomplish if you have a complicated or particularly long move. At most, fish can survive for about 6-9 hours in a sealed plastic bag as long as other conditions are met. Remember this knowledge when deciding whether to bring your fish to a new home!

4. Remove remaining fish tank items
The only other items in an aquarium that will require special care while you’re moving are live plants and coral. Before moving these items, use the fishnet to remove any large rocks or decorations you can dry off and pack separately. Next, submerge the coral and plants in their own bucket with fish tank water.
5. Siphon and save the remaining water
To streamline the move and replicate your aquarium’s environment once it’s in its new location, you’ll want to save as much of the original tank water as possible. This step is especially crucial for saltwater fish tanks since saltwater prep can be time-consuming.
If you cannot preserve enough water to refill the tank, be sure to take the proper steps to prepare new water before filling up your aquarium again. It’s important to note that it might take 24-48 hours for fresh water to be ready for the tank, so be sure to do this in advance and have extra on hand just in case you need it.
6. Remove gravel or sand
Once you’ve got all of the water and accessories out of your fish tank, remove the sand and gravel and give it a good rinse and pat down. (It may even be a good idea to give your tank a deep clean since it’s completely empty anyway!) Store your sand and gravel separately with the “dry” items, and remember to label everything. Pack the lid separately by wrapping it in bubble wrap.
Packing a Fish Tank for a Move
7. Pack the fish tank inside a cardboard box
Fish tanks are extremely fragile, and one wrong move can damage the glass or seams beyond repair, so proceed with caution.
Cut a piece of foam board to line the bottom of the tank. Then, fill the remaining space with packing paper. Wrap the entire tank in a solid layer of bubble wrap and carefully place it inside a sturdy cardboard box. The tank’s original box would be ideal, but a box with at least two inches on each side of the tank will also work.
Once the fish tank is inside the moving box, fill the blank space around it with a cushion of packing material and seal it up. Be sure to label the box with an arrow indicating which side is up. If the tank is too big, use the bubble wrap on the sides and strap it securely into the moving truck with nothing around it that can fall on it.
Related: How to Rent, Load, and Drive a Moving Truck
Transporting a Fish Tank
8. Move the fish tank with care
As with any fragile item or piece of furniture, take your time moving the fish tank. Positioning it inside of your moving truck is crucial, so if you’re using professional movers, be sure to communicate that ahead of time.
Some additional aquarium moving tips to consider:
- Don’t stack anything on top of the fish tank when moving.
- Don’t put the fish tank on top of other boxes where it could potentially fall off or tip over.
- Move the fish, coral, and plants in a temperature-controlled environment. (Inside the car with you works great.) Don’t leave them in the garage or outside for very long, as drastic temperature changes can be detrimental.
- Consider hiring fish tank movers if the idea of moving an entire aquarium seems daunting. Sometimes it’s better to leave it to the experts, and there are professionals out there that provide aquarium-specific moving services to take the burden off of your shoulders.
Related: 3 Common Moving Company Scams (And How to Avoid Them)
9. Reassemble the fish tank as soon as possible
Congratulations, you’ve moved! Before you run to set up your fish tank immediately, make sure you’re solid on where you want to set it up in your new home. After all, it would be a pain to have to go through the entire moving process again in a few months! Plan out your aquarium’s new location before moving day using painter’s tape to measure different spots. (This can also make your movers’ lives a lot easier, too.)
How to Reassemble a Fish Tank After a Move
- If you move on an especially hot or cold day, allow the fish tank to come to room temperature slowly before filling it back up with water.
- After the tank is at room temperature, carefully inspect it for any cracks or chips.
- Unpack all of your accessories first and start to fill the tank with the base gravel or sand.
- Next, arrange rocks, accessories, and the necessary equipment without turning it on.
- Fill the tank about halfway with the prepared fish tank water. Next, add in your coral and live plants. Finally, use the fishnet to add the fish back to the tank carefully. Use the water from the fish and plant containers to fill the tank the rest of the way after you sift away any built-up waste in the containers.
- Once the tank is settled, wait an hour or two before turning on equipment like the pump or heater. If you turn on the pump too soon, many of the particles that were disturbed during the move or while you were setting up won’t have a chance to settle.
Moving an Aquarium Doesn’t Have to Be a Pain
Once you’ve set up your fish tank in its new home, it’s time to slowly introduce your fish back into their environment. (Or purchase new fish, if that’s the route you decided on instead.) Be sure to check on your fish often for signs of stress and resume feeding as normal. If you have trouble with any of your fish or plants before, during, or after the move, you can always contact a local fish shop for advice.
Have you successfully moved a fish tank to a new house or apartment recently? Share your best moving tips with us on social media!
This post originally appeared on the Life Storage blog on 3/8/21 and was revised on 4/19/23 to provide new information.


