The mudroom or entryway is one of the very first things people will see when they enter your home. It is also the place where your family is constantly coming and going. Therefore, the entryway needs to be an organized space where you can have a designated spots for shoes, backpacks and coats.
At the same time, the area needs to look cute enough to make a good first impression on guests as they enter your home. This is sometimes easier said than done! Let me show you how you can tackle this tough area with a few easy DIY projects, including an easy DIY mudroom bench tutorial.
When we first started this project, I was planning on just making a simple DIY mudroom bench. It will be a spot for my kiddos to sit down and take off their shoes, I thought. Then things kind of snowballed, and it turned into a complete entryway makeover. It’s funny how that happens sometimes!
Easy Home DIY Projects Designed to Impress
As you may know, we just built and moved into a brand new home this past summer. You might remember when I shared 21 Things to Do Before Selling Your Home. I am so happy that the selling, building and moving part is over with! Now, I am having fun decorating and organizing our new home. We built open shelving for our kitchen right off the bat, and I have so many more projects planned. A DIY mudroom bench seemed like another fun one to tackle.
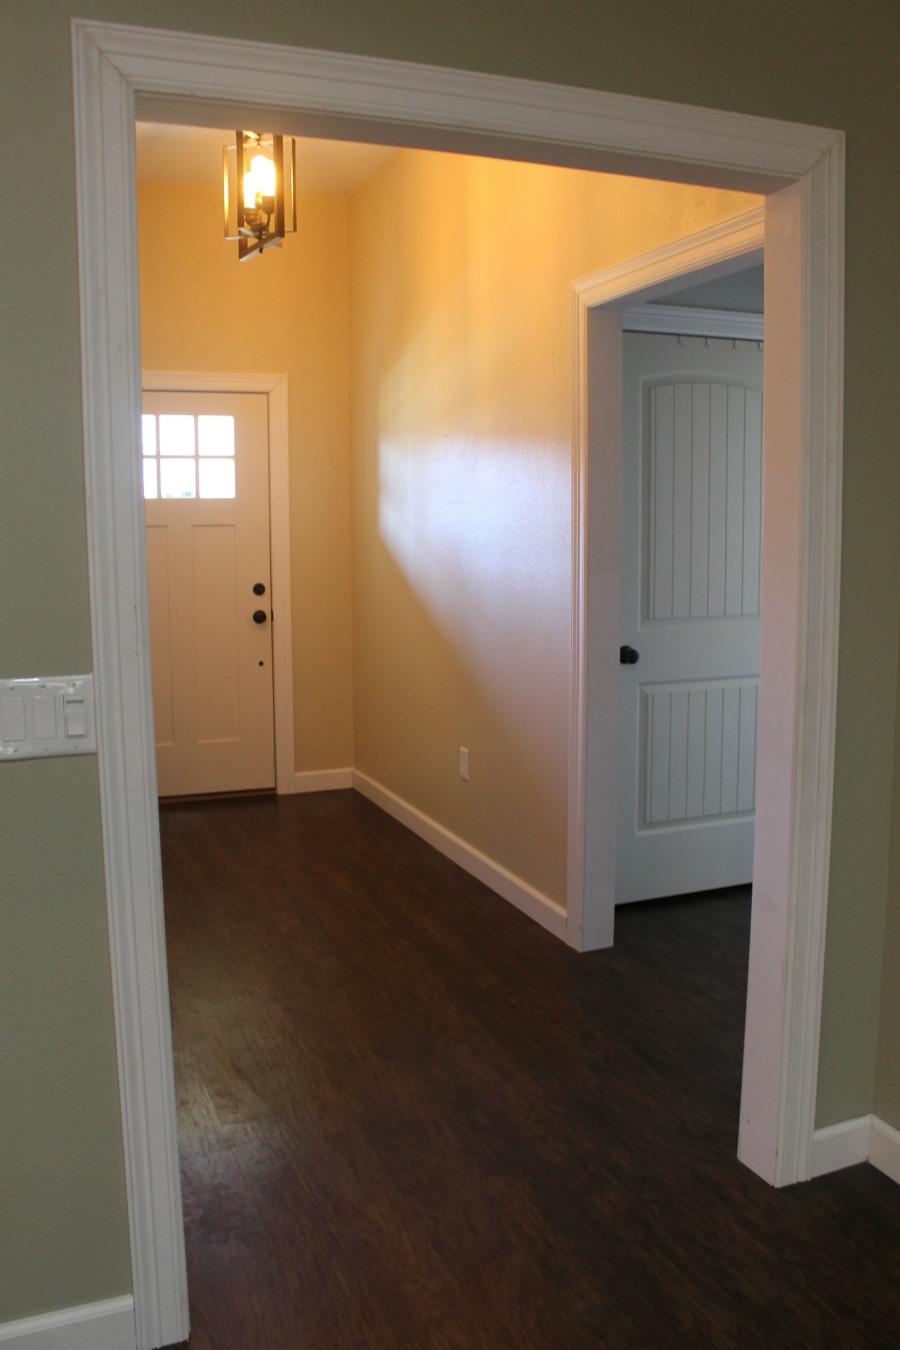
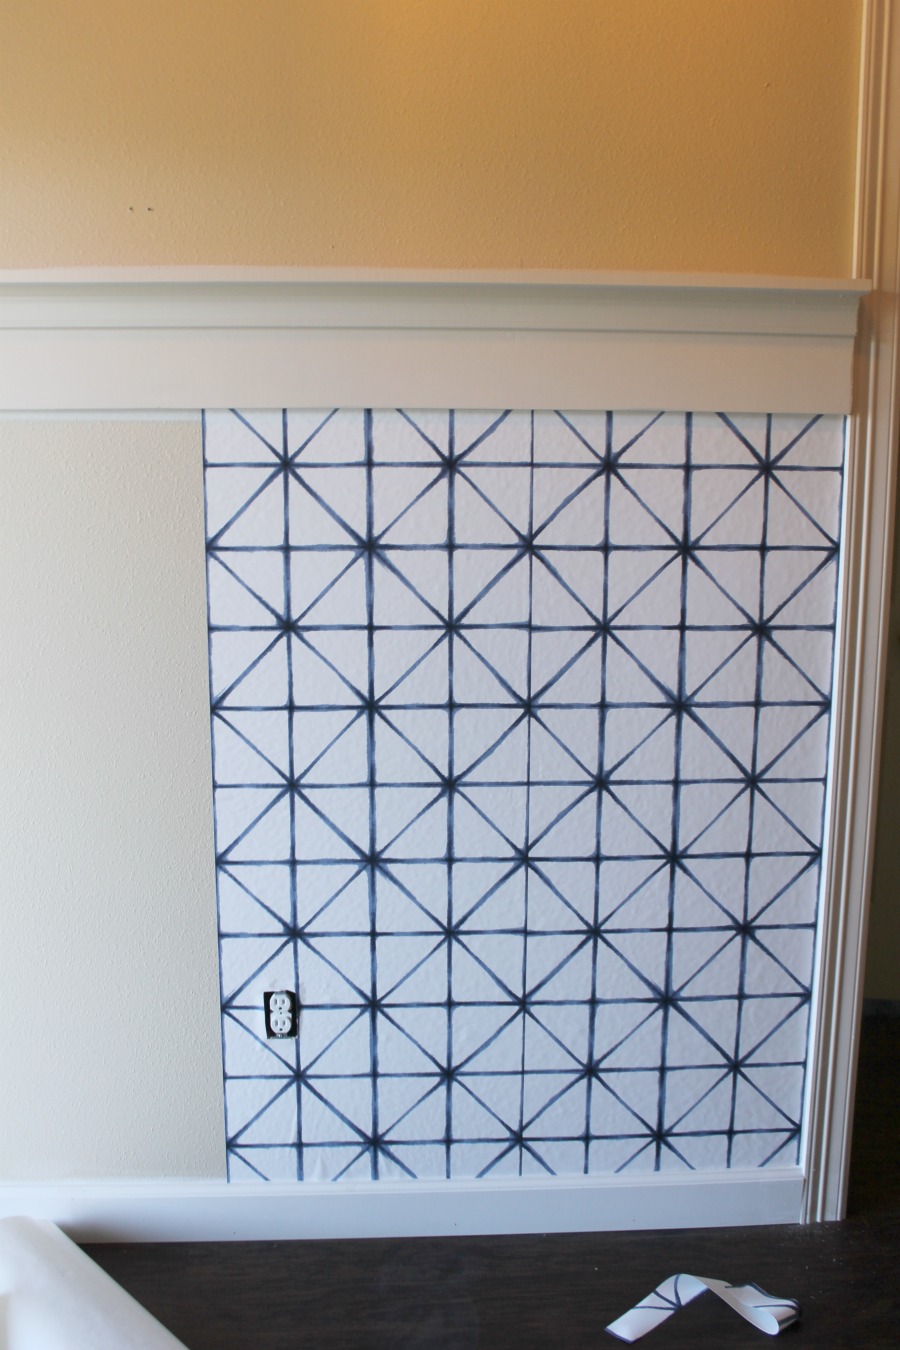
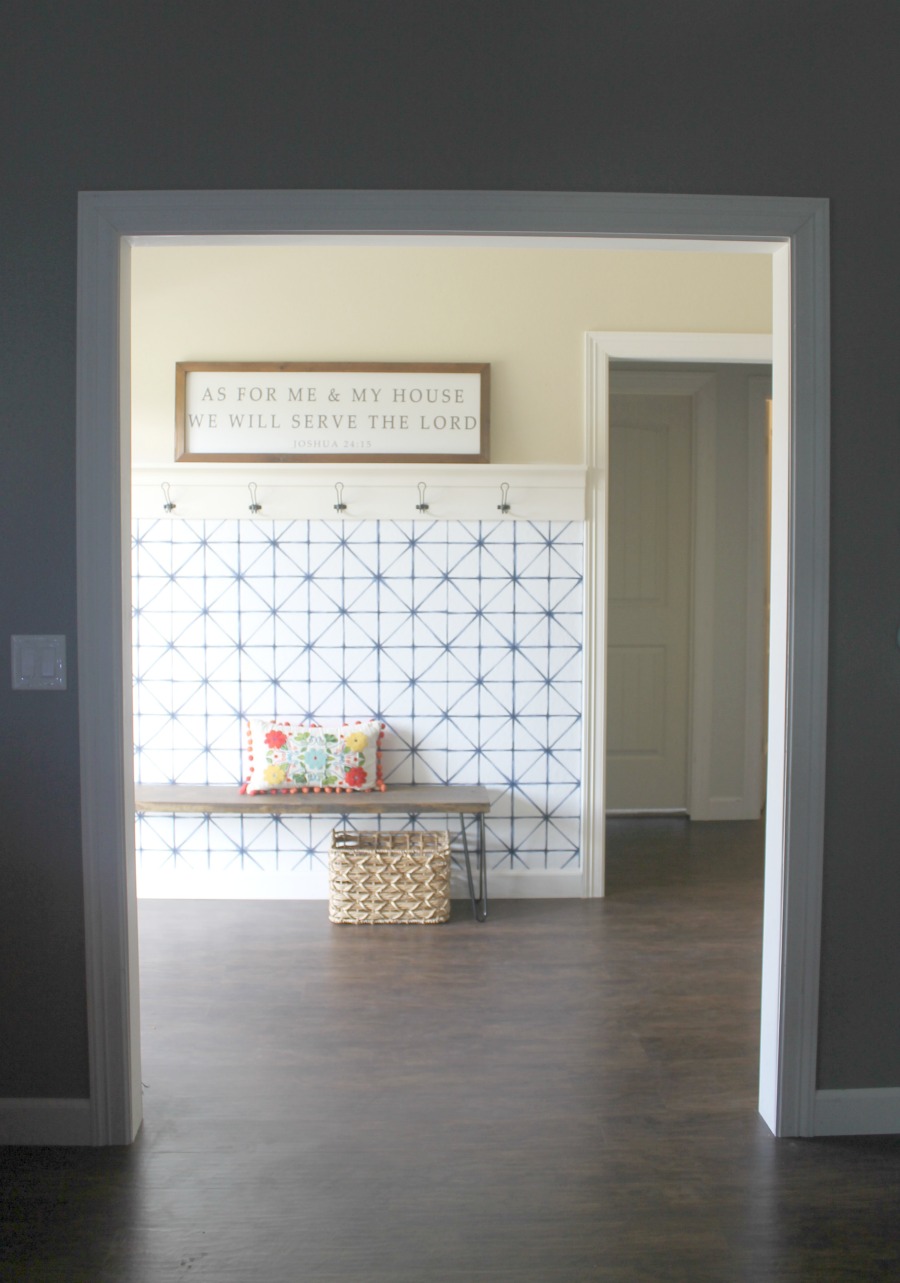
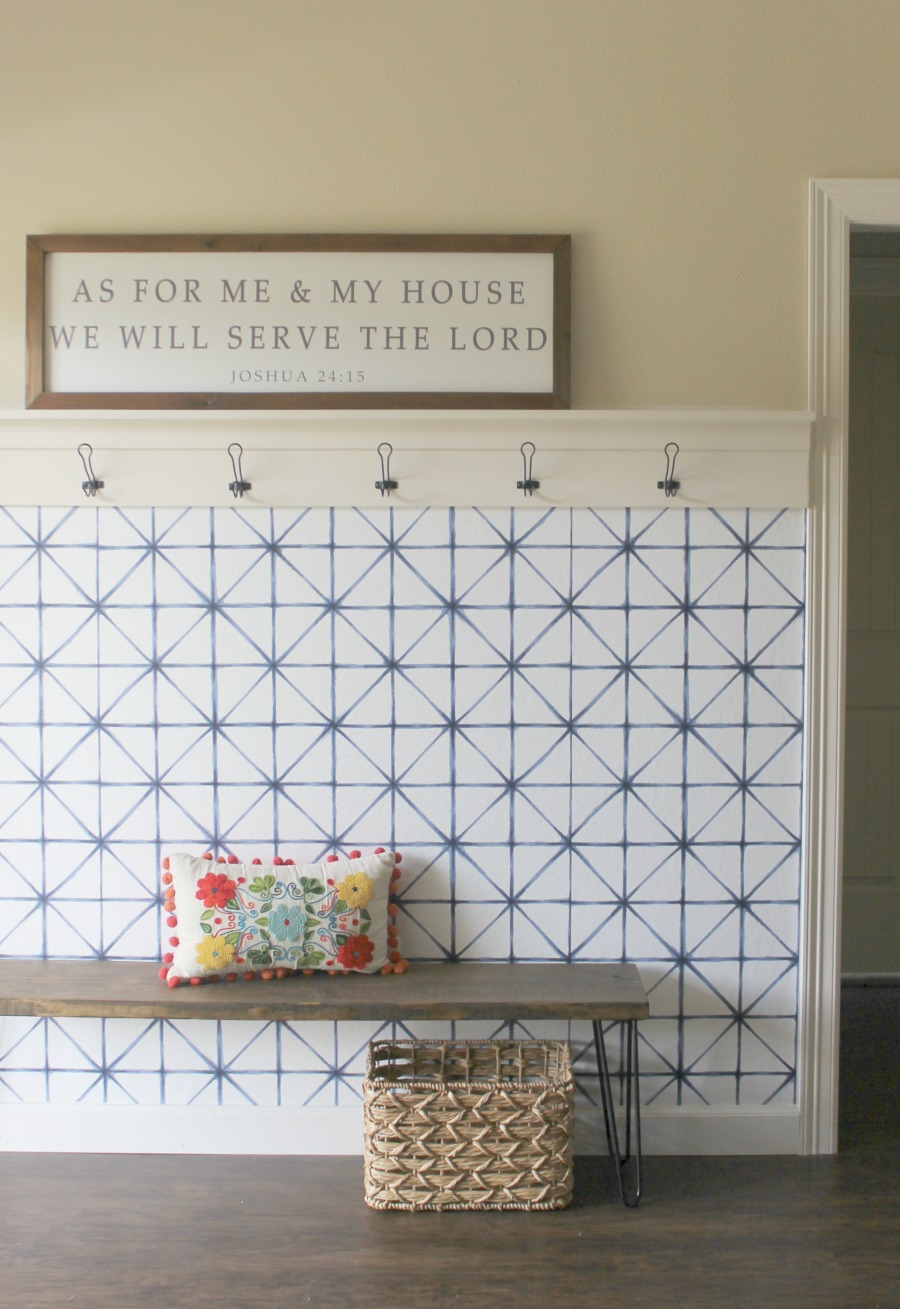
This is what our entryway looked like when we moved in. I knew a cute bench would fit the space perfectly!
Buuuuut if you build a bench, you’re going to need a spot to hang your jackets, right? So, before I get to that bench tutorial. Let me show you an easy way to add some hooks and a shelf to your entryway.
How to Give Your Entryway a Makeover
You will need a few supplies:
- 1×4 board
- 1×8 board
- piece of wood trim
- table saw
- nail gun
- nails
- drill
- wood screws
- stud finder
- level
- hooks
- sander
- sandpaper
- wood filler
- caulk (paintable)
- caulk gun
- painter’s tape
- paint
- paint brush
***Use extreme caution and common sense when using power tools. Follow all manufacturer’s instructions, wear safety gear and build at your own risk.***
Entryway Makeover Step #1: Measure
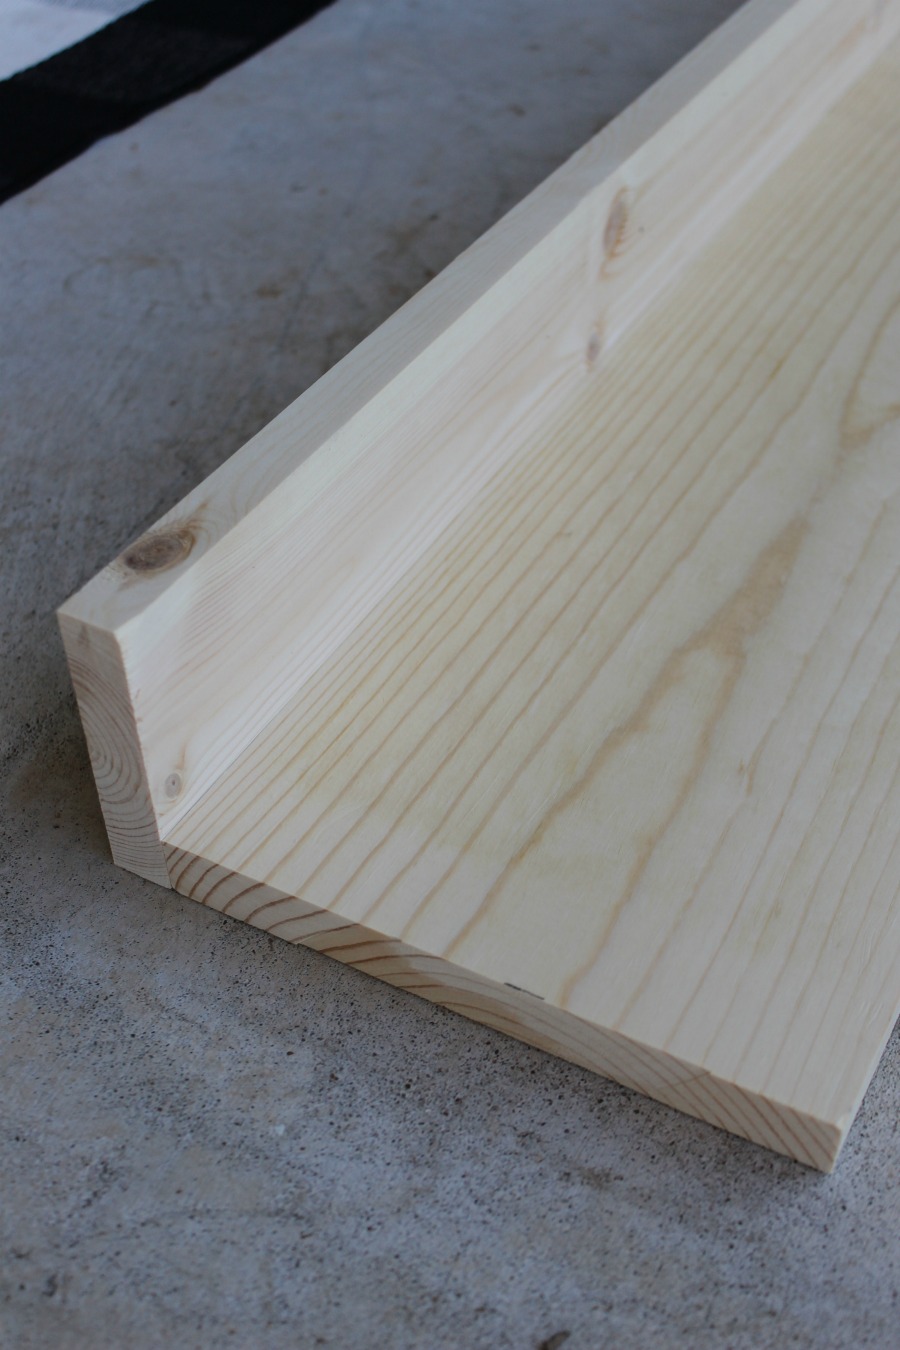
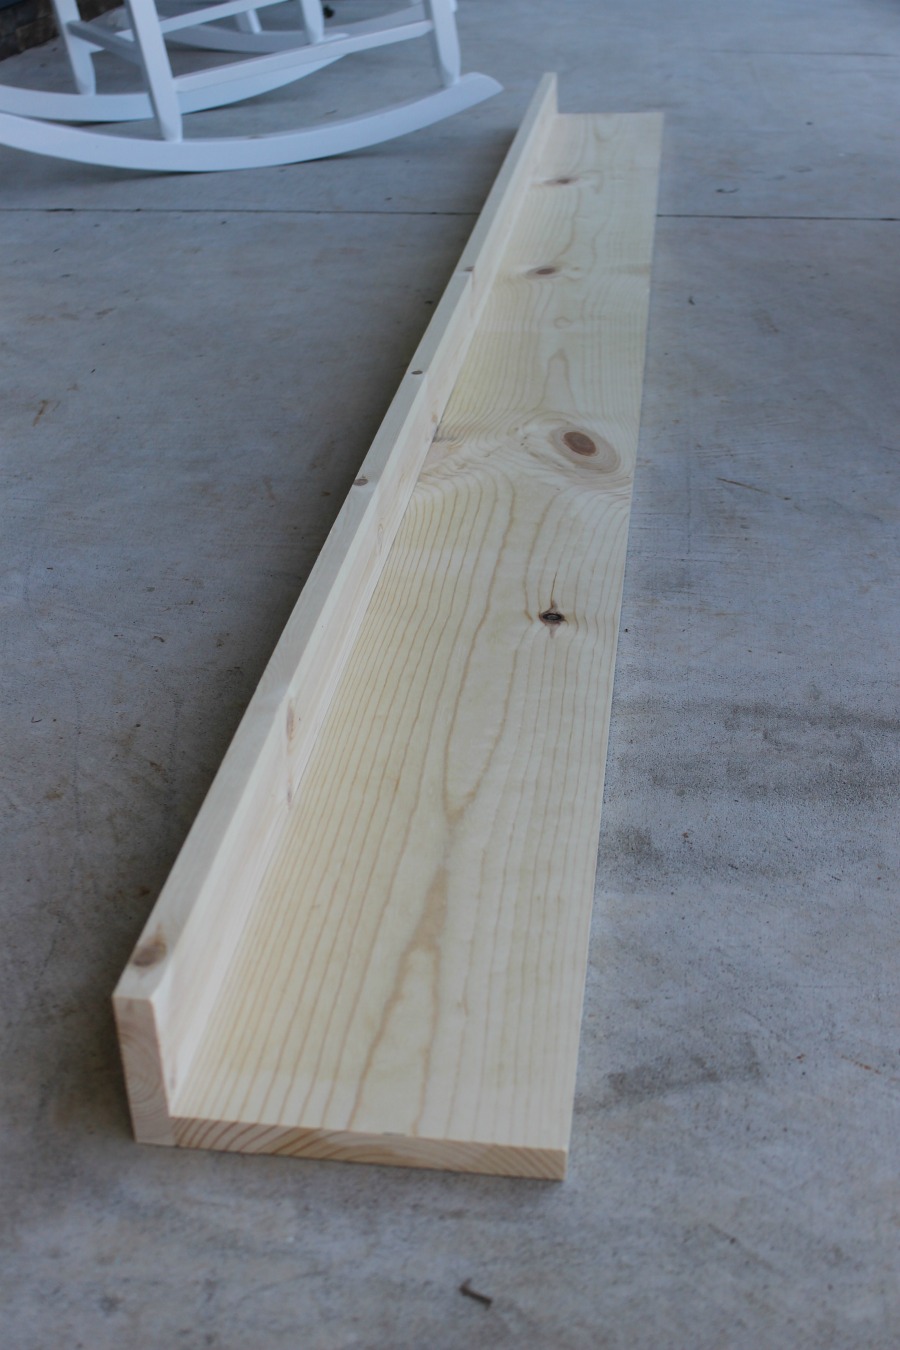
First, measure your space. You will need to cut a 1×4, a 1×8 and piece of wood trim to fit. Our space was a little bit over 8 feet. Yours might be shorter or longer. Sand your wood pieces well with a hand sander. Using the nail gun, nail the 1×4 piece to the 1×8 (pictured below).
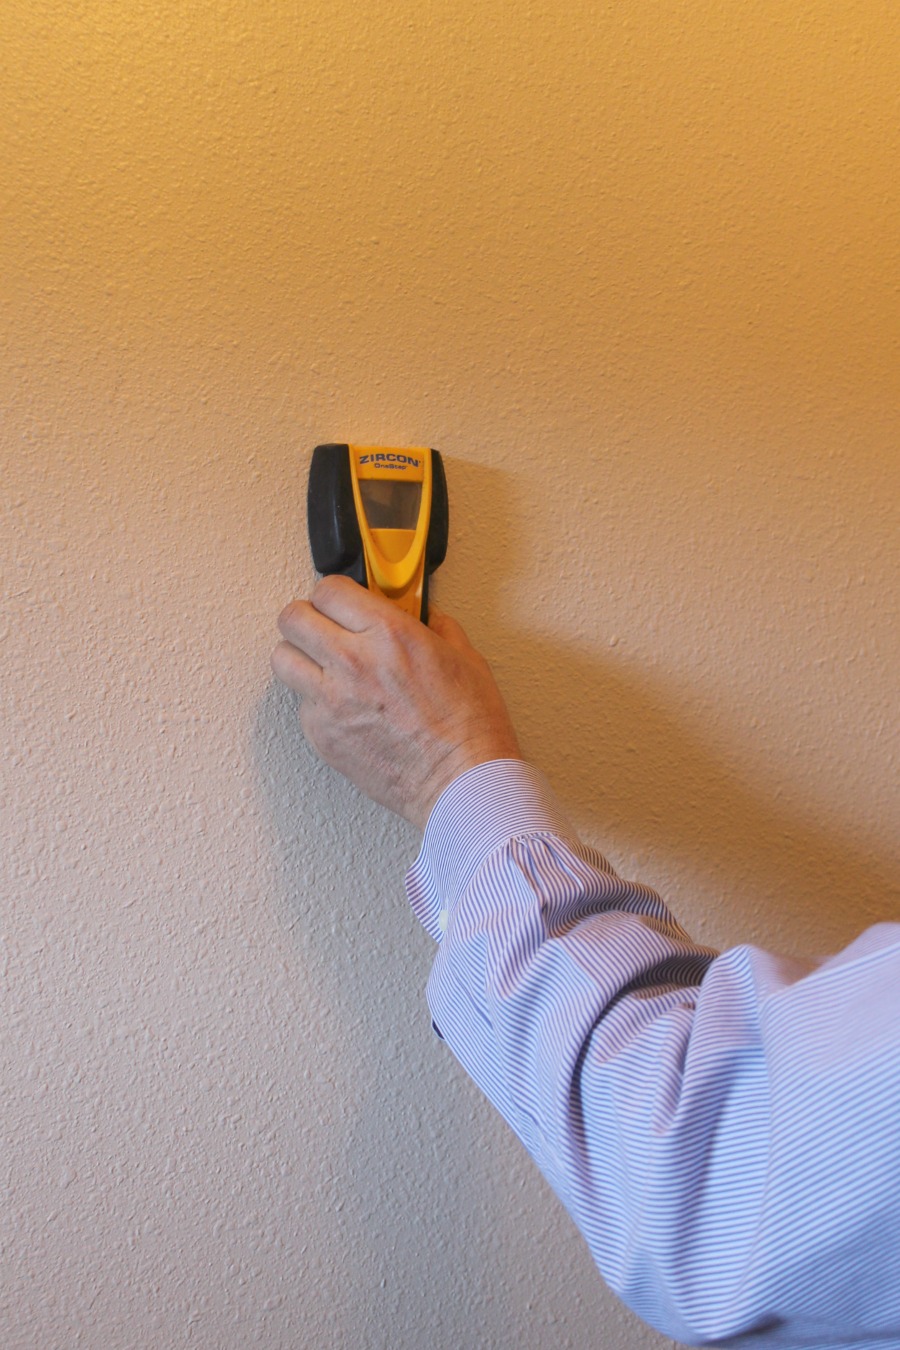
Entryway Makeover Step #2: Use a Stud Finder
Next, you will use a stud finder and mark each stud on your wall with a pencil. This is important! You want your hooks to be able to hold everything from coats to heavy backpacks. So, you are going to want to screw your shelf into the studs.
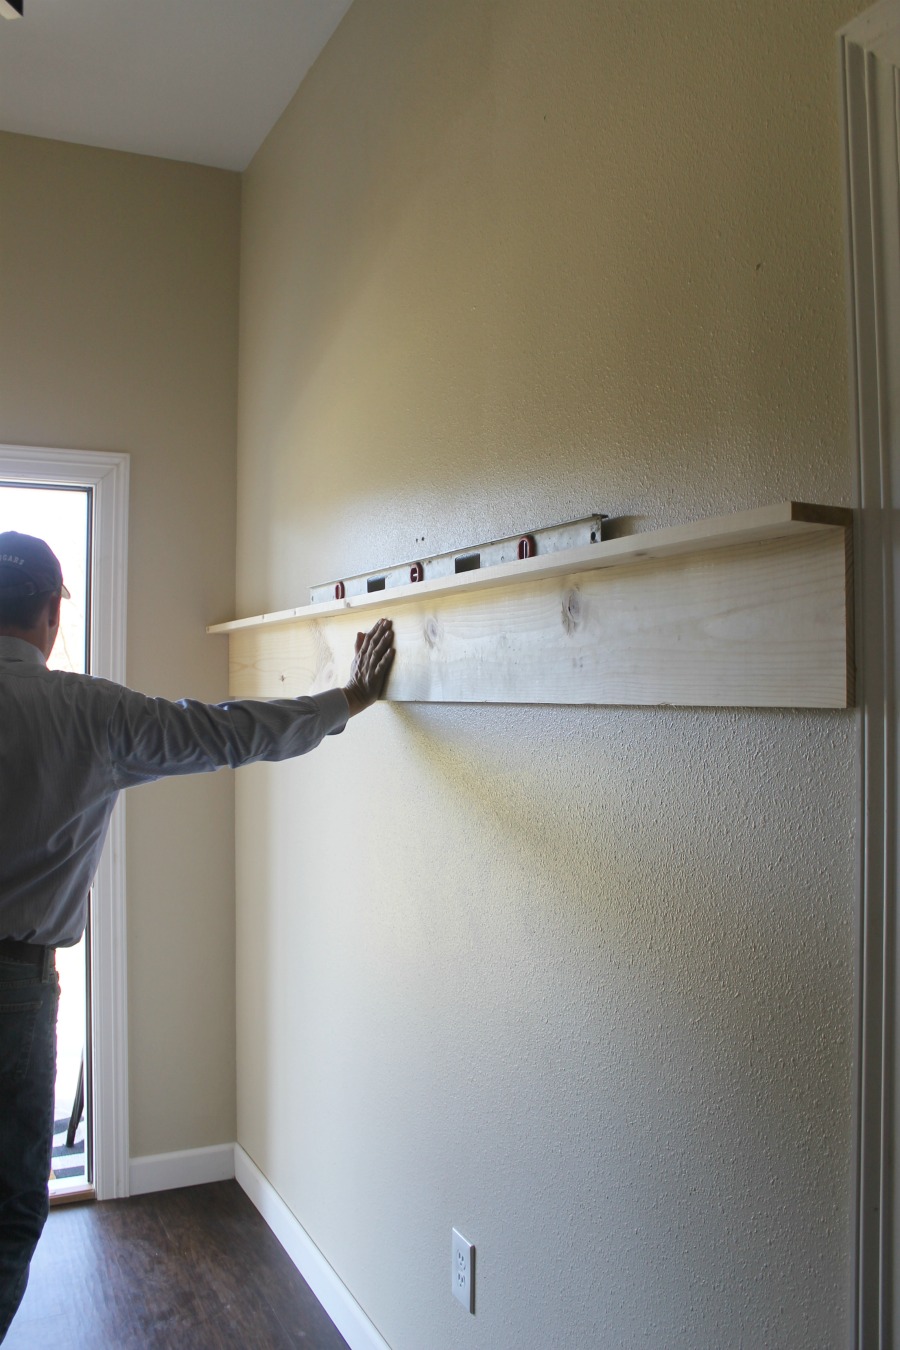
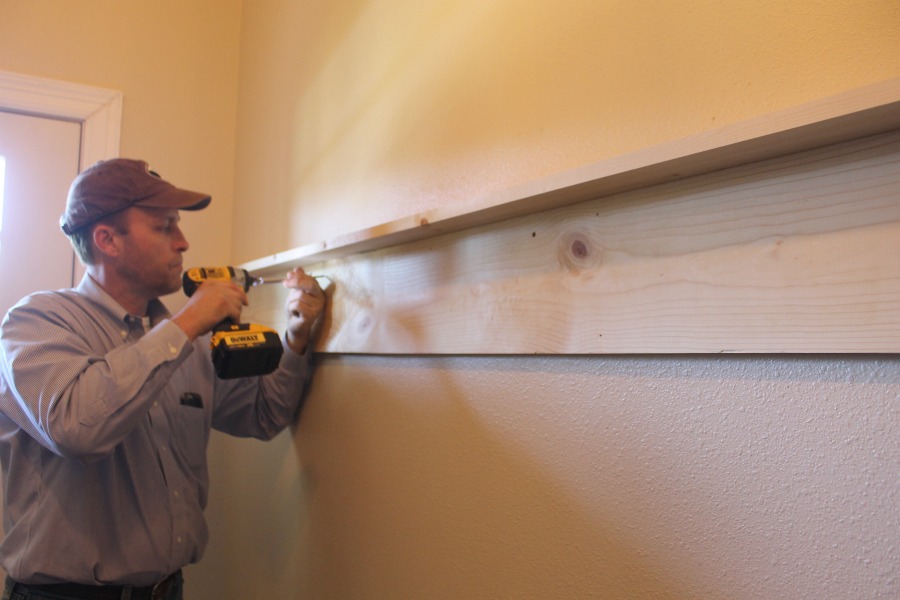
Entryway Makeover Step #3: Place Your Shelf
Next, you will place your shelf into place on your wall. This in a 2 person job, even though only one is pictured below. Use a level to get everything just right and straight.
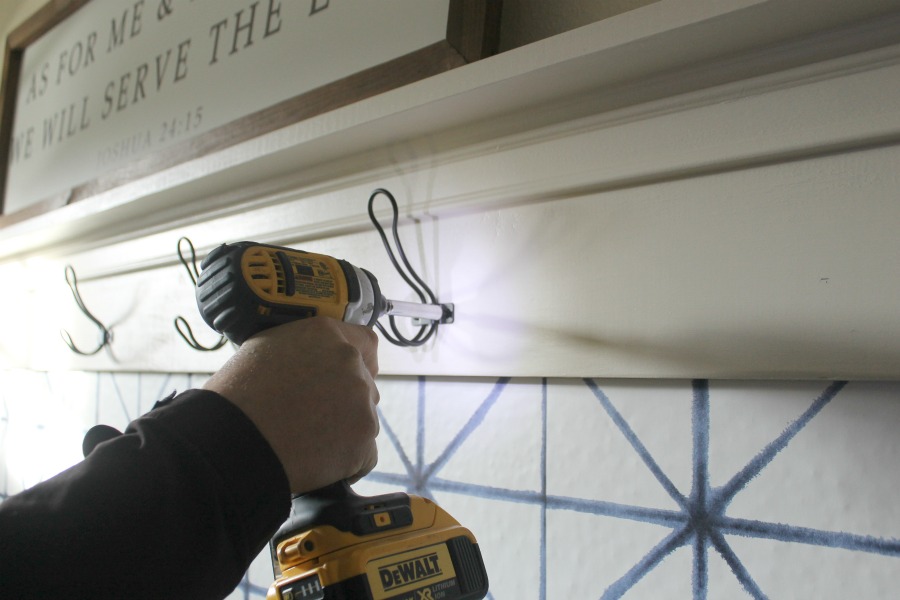
Entryway Makeover Step #4: Attach the Shelf
Next, you will use wood screws and a drill to attach this shelf to the wall. Tip: Screw the screws just under thetop 1×4 shelf. When you nail your trim piece in place, all the screws will be hidden!
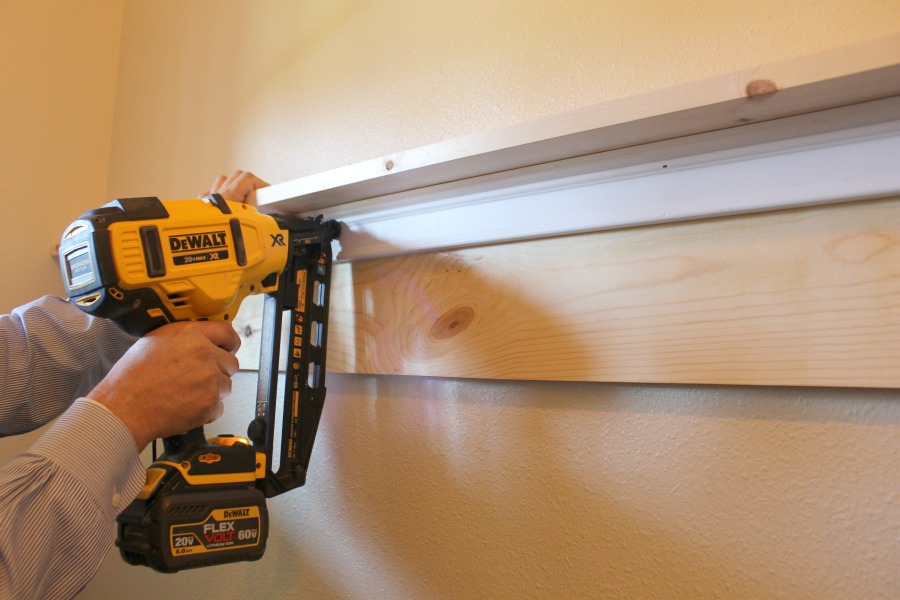
Entryway Makeover Step #5: Attach the Trim
Then using a nail gun, attach the trim piece just under the 1×4 shelf.
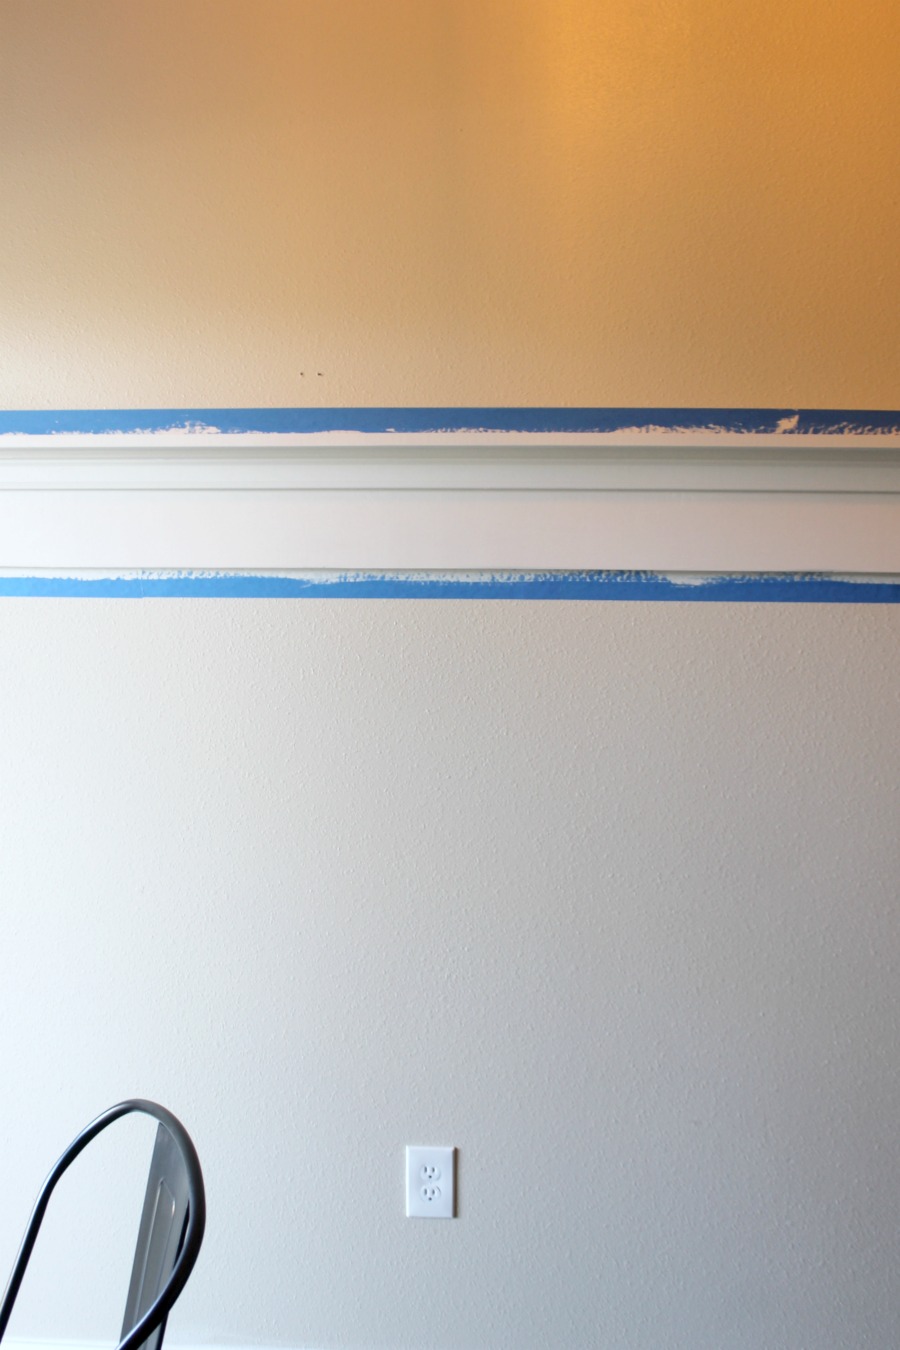
Entryway Makeover Step #6: Fill, Sand and Paint
Now you can fill in your nail holes with wood filler. Let dry and then sand.
FYI: We popped a few nails in along the bottom of the 1×8 just to keep it all nice and snug.
Next, use a caulk gun and paintable caulk to fill in cracks or spots the boards meet. This will give it the shelf a nice built-in look. Once everything has dried, tape off your shelf and then paint. I did two coats of trim paint, letting it dry between coats. After you paint the last coat, remove the painter’s tape and let dry.
Entryway Makeover Step #7: Decorate!
Are you into the wallpaper trend? I’ve been intrigued! I thought it would fun to try it out on this project. The trick is to get removeable and repositionable wallpaper. I don’t know how long I’ll keep it up. My hubby was not a fan! It’s starting to grow on me, though.
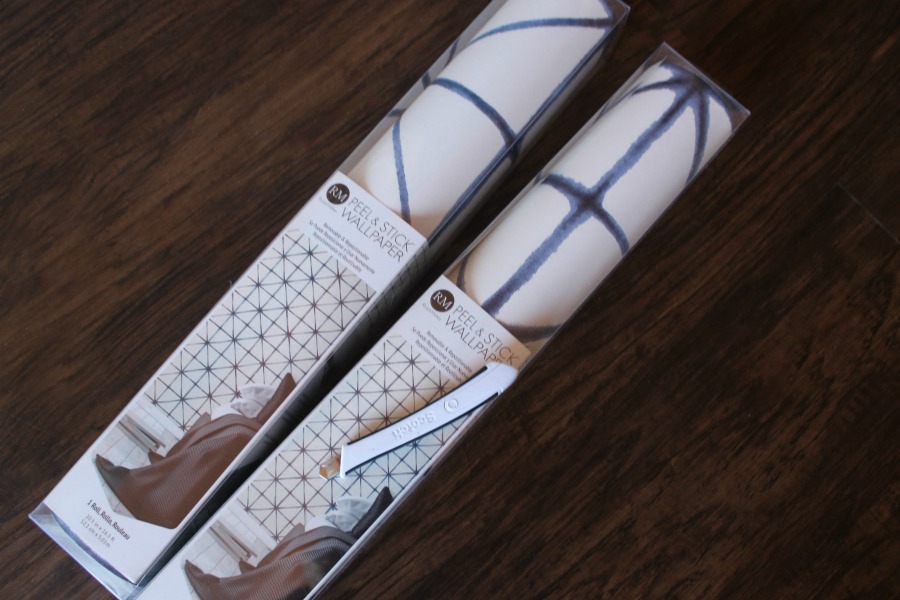
Wallpaper is also a two person job. My nine year old was my second person! You simply start on one end and work across. If your wallpaper has a pattern like ours, be sure to line it up correctly.
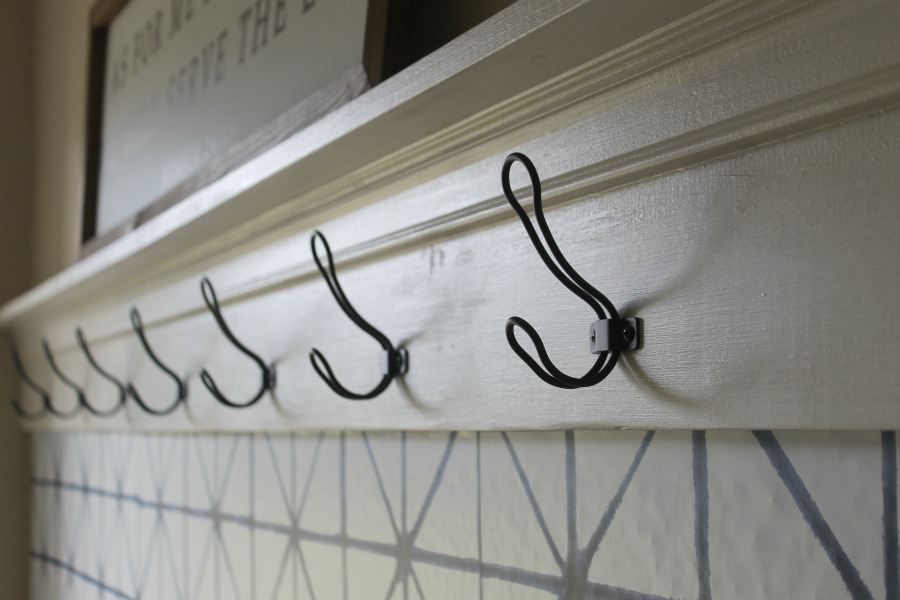
Entryway Makeover Step #8: Add Accessories
The last thing we did was add the hooks with a drill across the bottom.
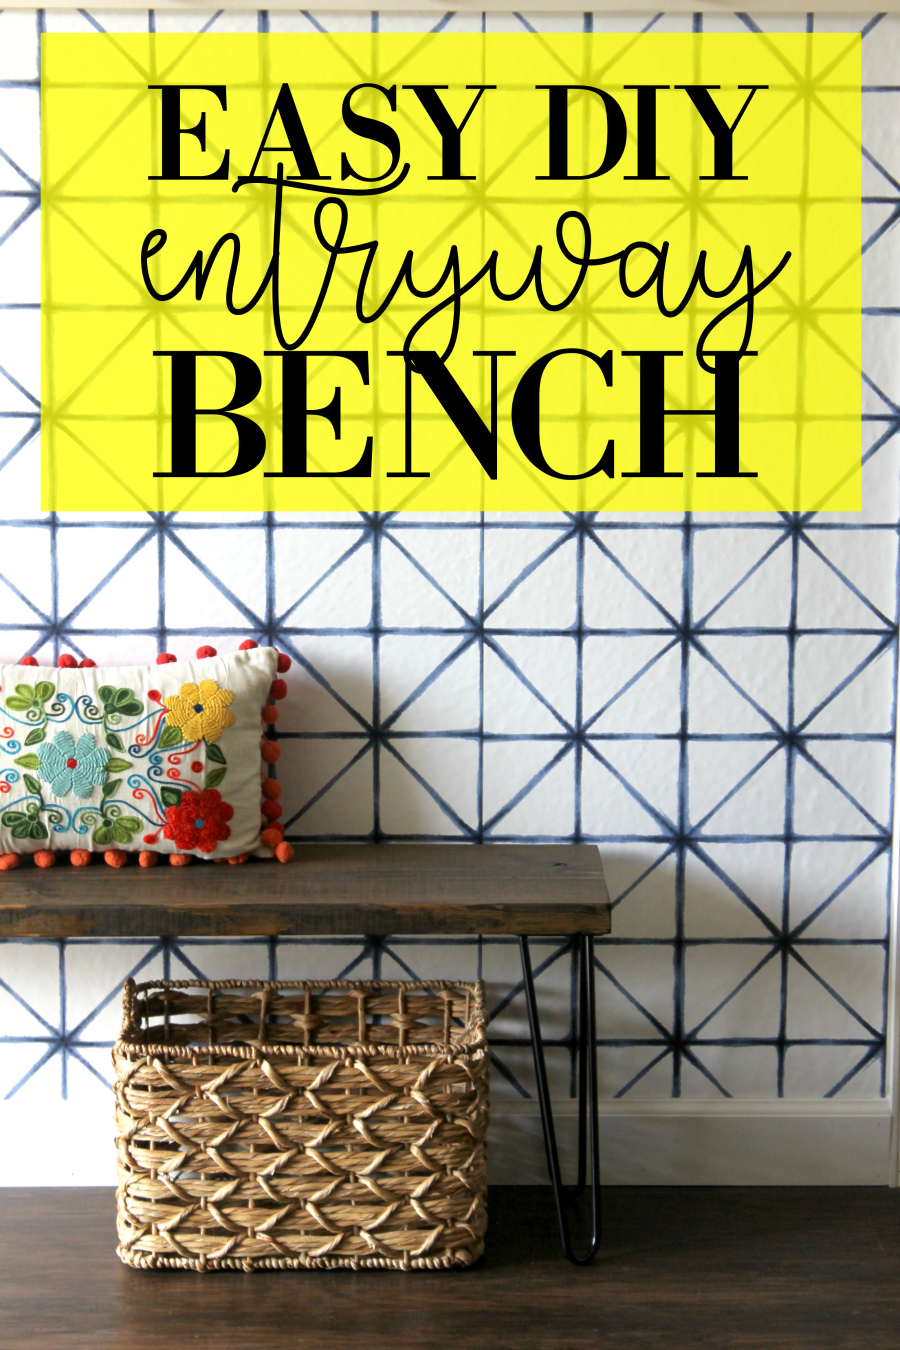
Tutorial: Easy DIY Mudroom Bench

Alright, let’s get to that bench tutorial (my original plan!). This is the easiest project! If you’ve never tackled a DIY project before, and you would love to, then this is your project! 🙂 So easy, and it turns out amazing!
For this project you will need:
- 2×12 board
- table saw
- stain
- sandpaper
- sander
- wood stain (or paint)
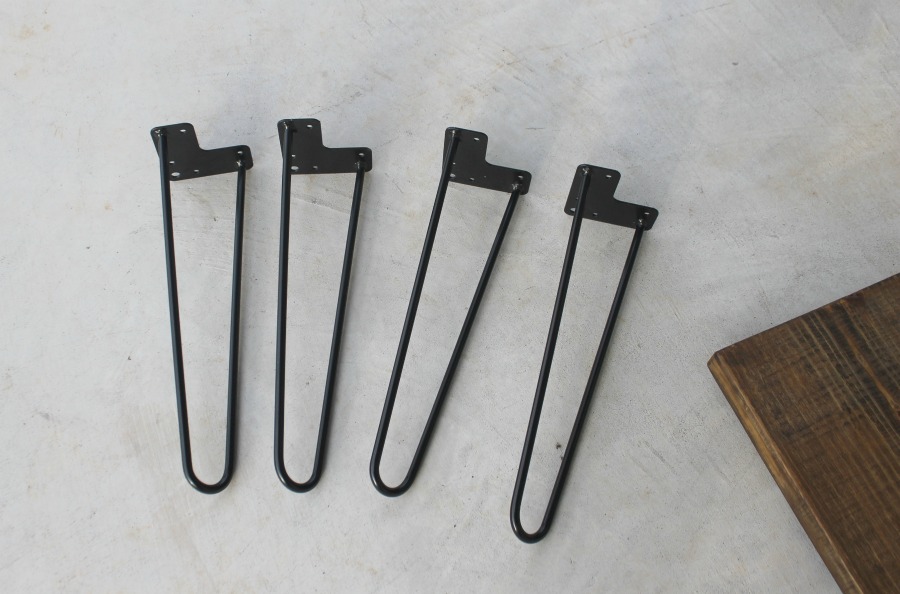
- 4 hairpin legs (18 inches)
- drill
- wood screws
***Use extreme caution and common sense when using power tools. Follow all manufacturer’s instructions, wear safety gear and build at your own risk.***
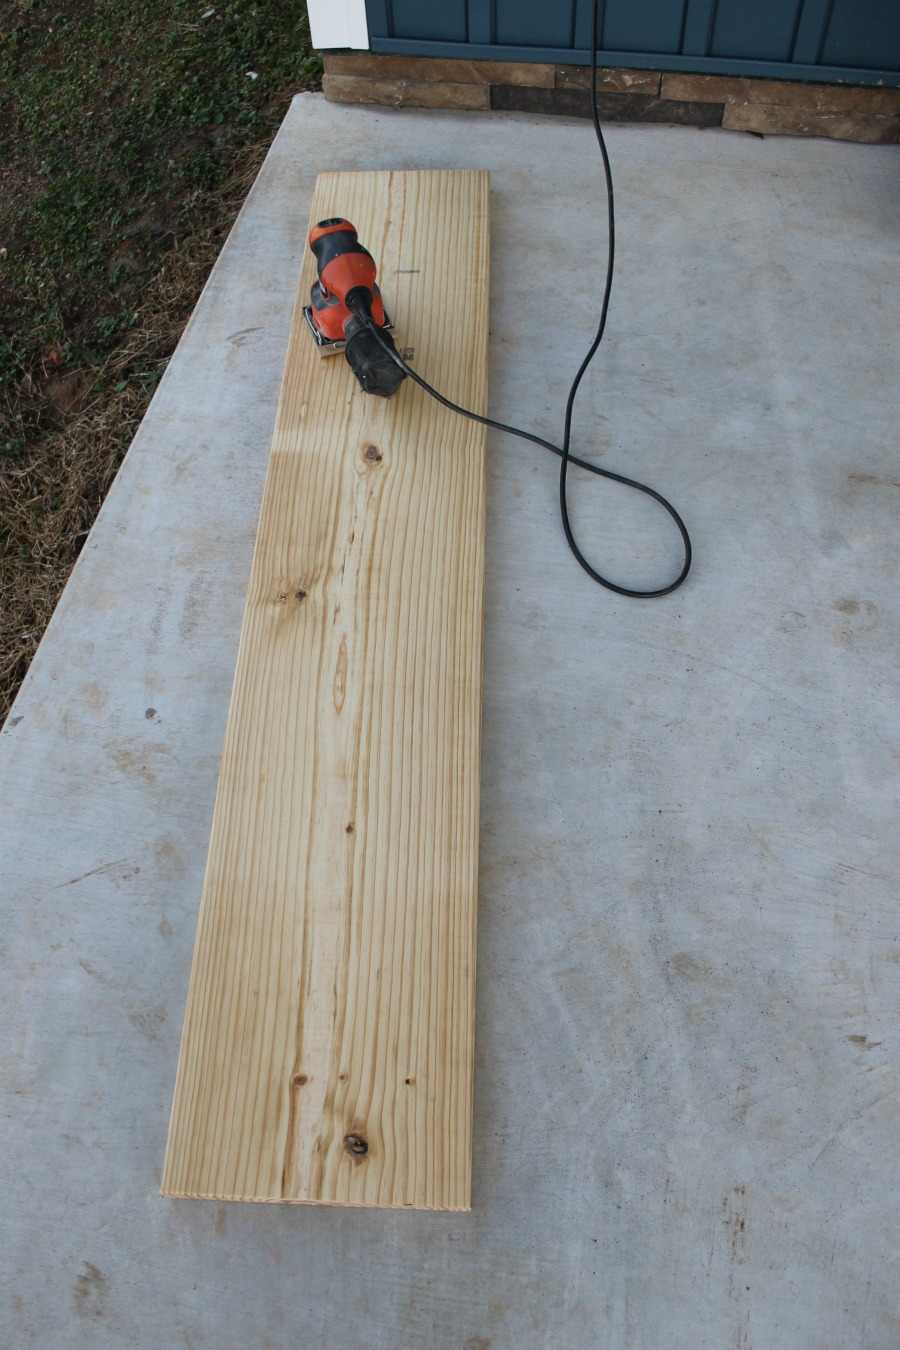
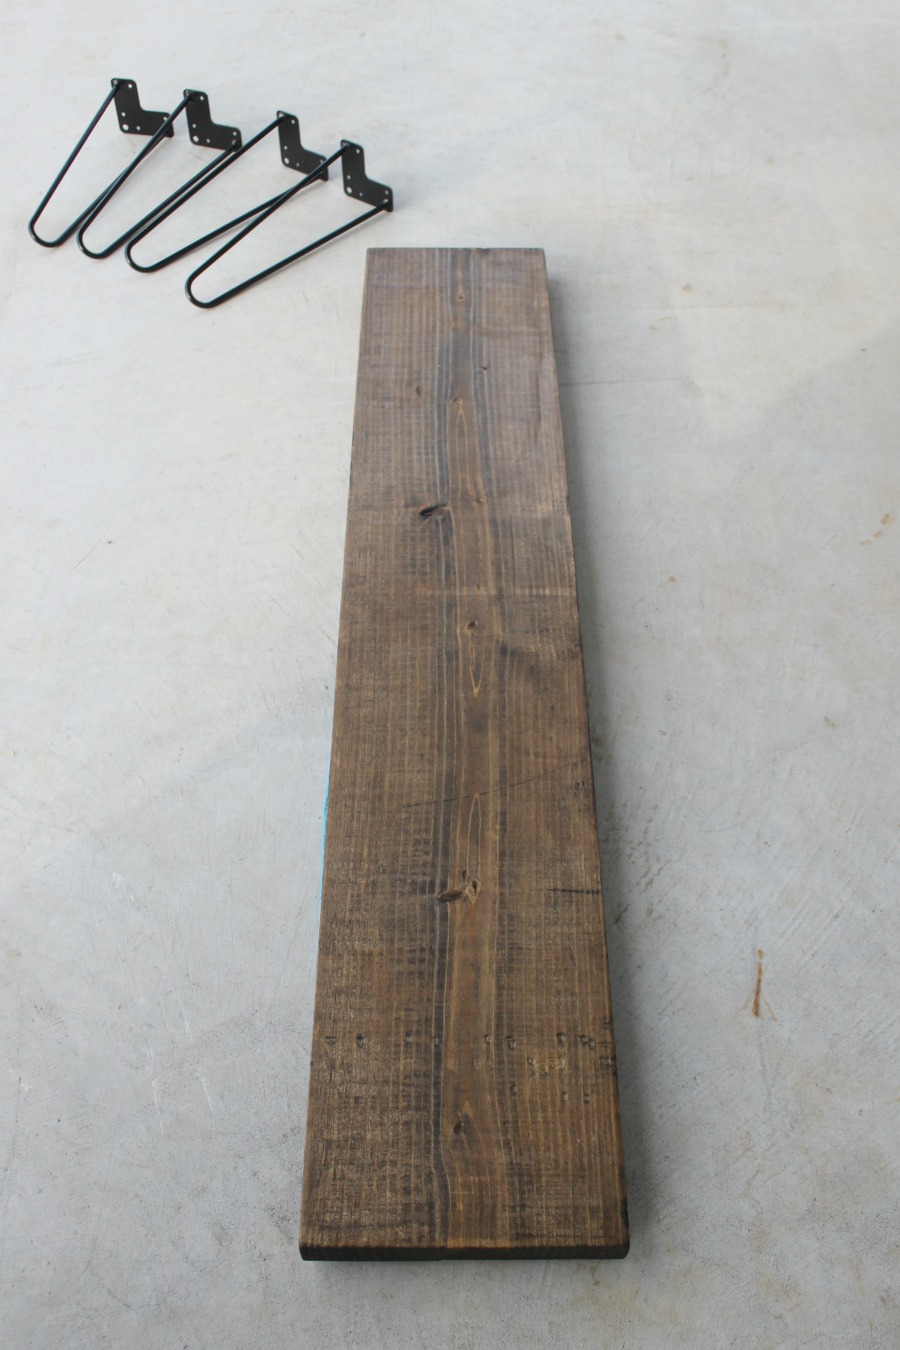
DIY Mudroom Bench Step #1: Cut Boards
For the shelf project, we used 1 inch thick boards, for this bench you are going to want something a little bit thicker. A 2×12 board is perfect! I cut our board down to 5 feet long. You can cut yours to fit your space. Sand your board well with a hand sander.
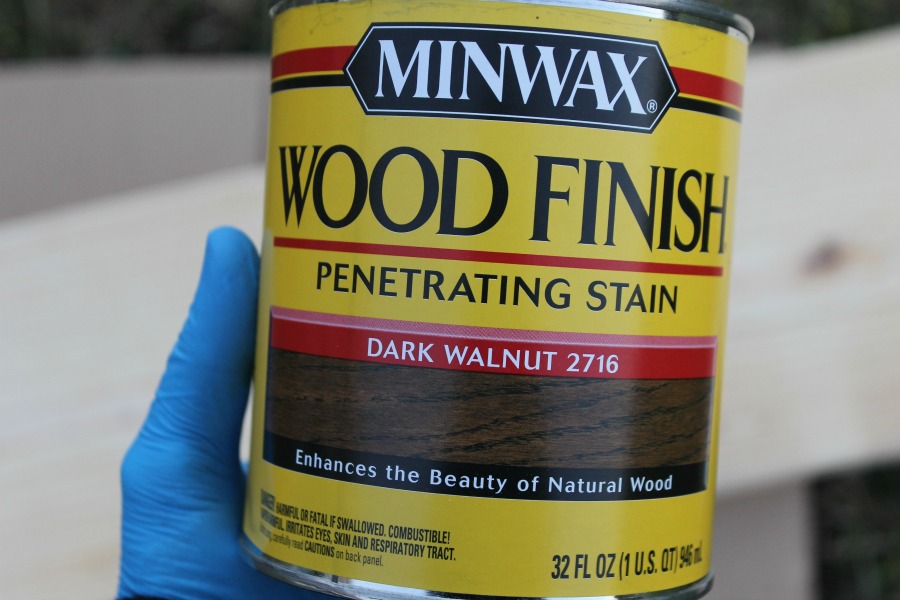
DIY Mudroom Bench Step #2: Stain Both Sides
Next, I stained my board (both sides) with wood stain. I used my favorite color: dark walnut! I’ve used this stain on my DIY farmhouse bench and for my son’s under the bed storage crates. Both of those are easy DIY projects to tackle, too!
DIY Mudroom Bench Step #3: Attach the Legs
Once your board is dry, it’s time to attach the legs. Hairpin legs are super popular right now! I kind of love them.
Assembling this bench is too easy! Simply attach a leg to each corner using a drill.
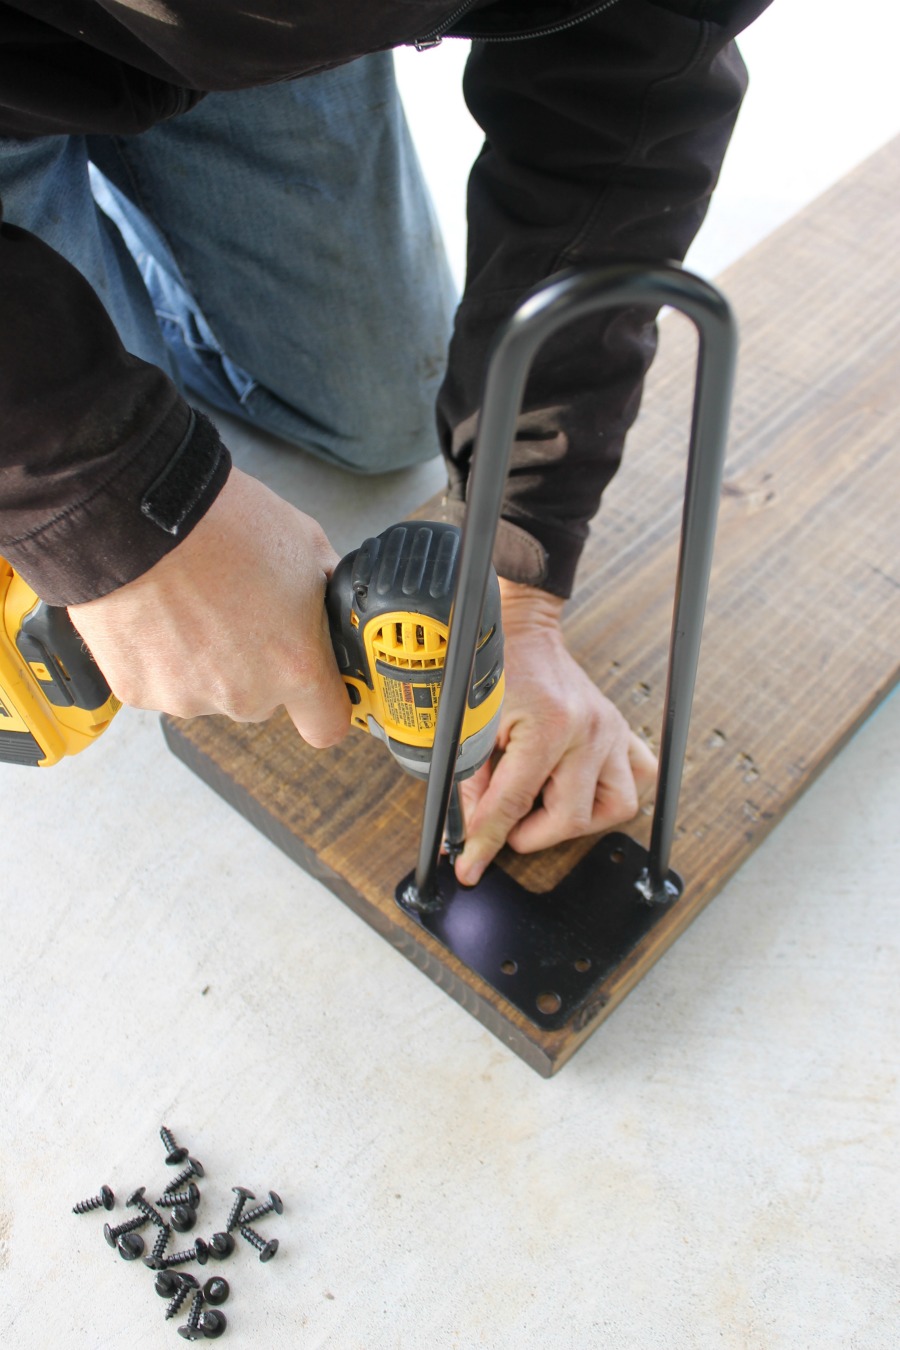
I told you this was easy!
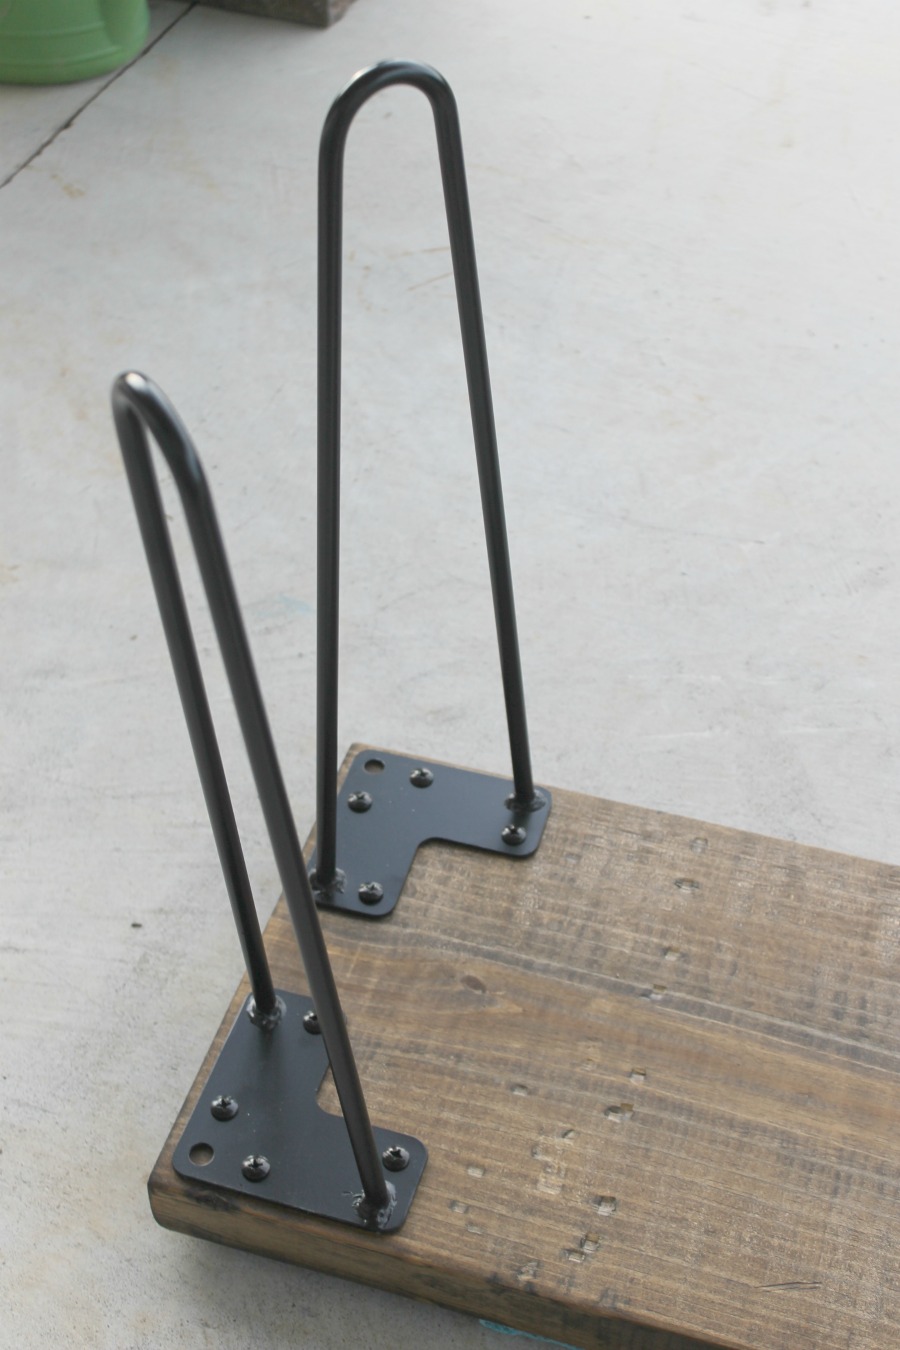
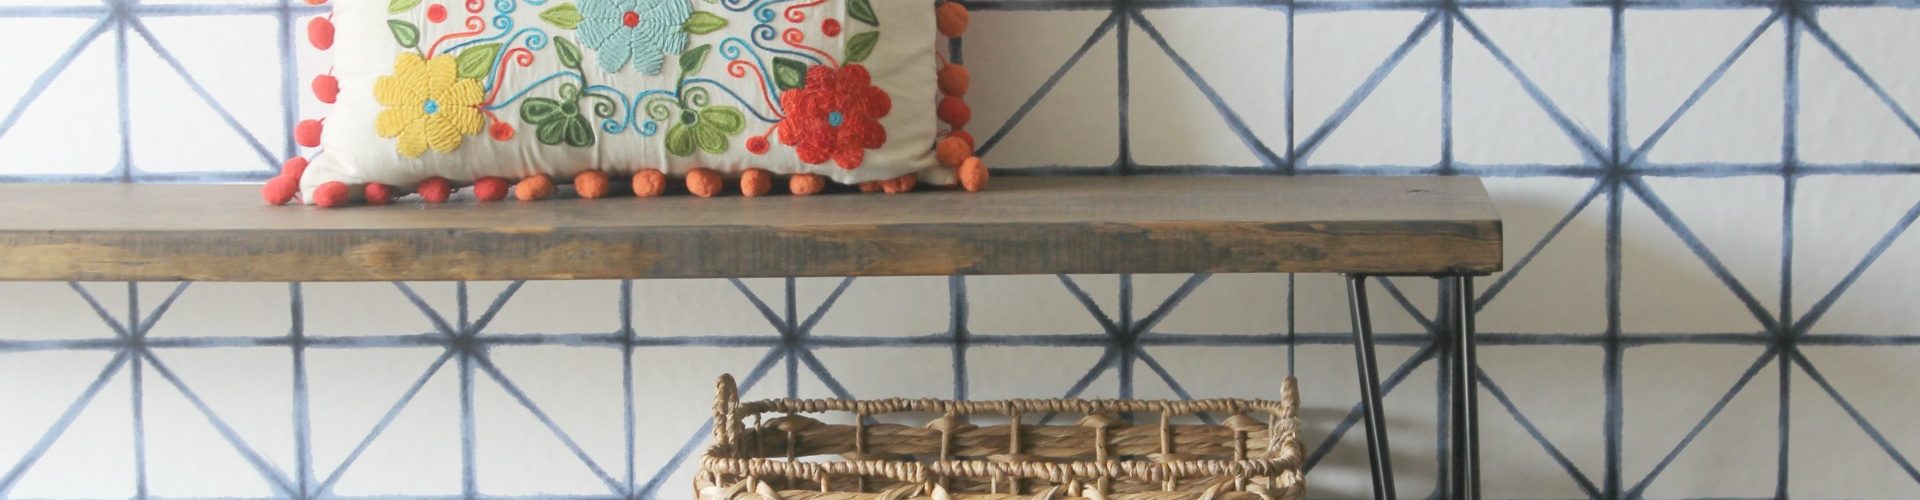
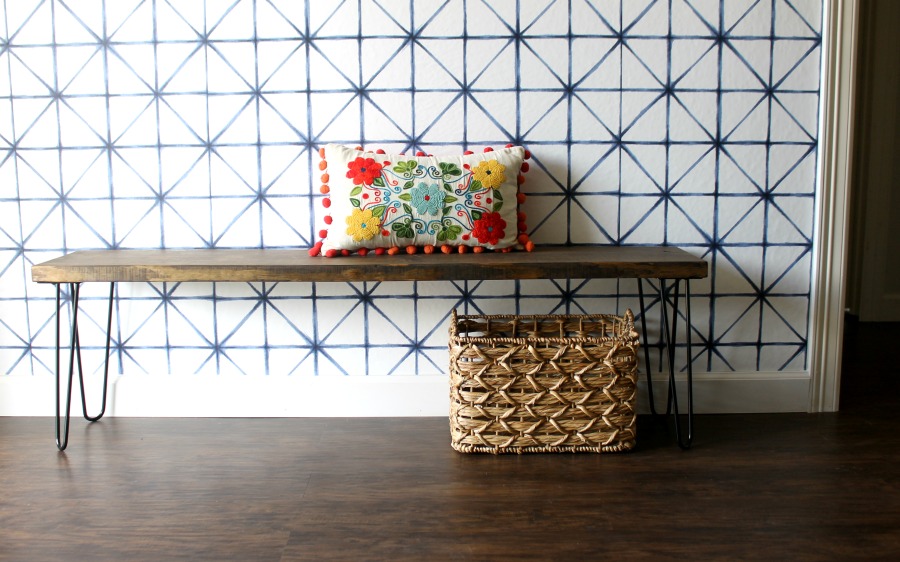
DIY Mudroom Bench Step #4: Ta-Da!
Flip it over, and you are done. I kind of want to make more of these!
Slide a basket or two underneath for shoes, and you have a cute entryway that is both organized and functional.
Does your entryway need a little help? How could you organize it? Let me know in the comments below.