
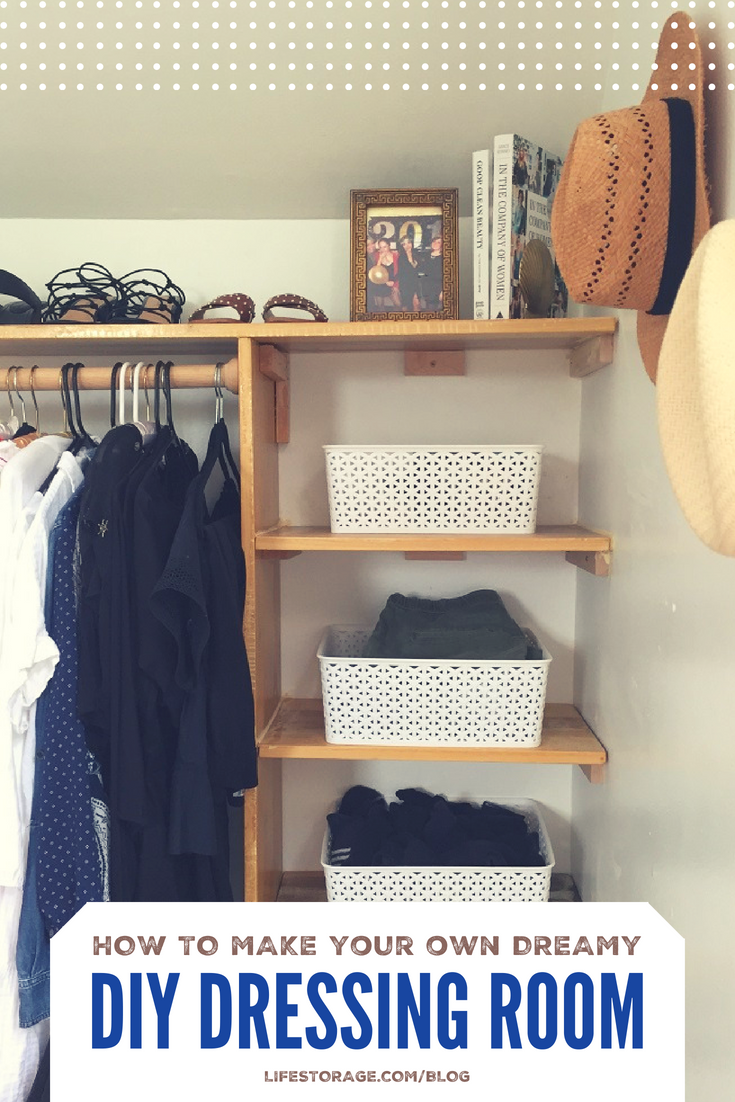
Are your dresser drawers or closets overflowing? Do you have an extra bedroom to spare? This DIY dressing room project might be the perfect solution for you!
Transforming an extra room into the dressing room of your dreams doesn’t have to be expensive. This transformation can be as simple as adding some key storage pieces and seeking out some organizational hacks.
Keeping your own personal wardrobe and sense of style in mind, here is a four-step guide to turn any spare bedroom into the walk-in closet you’ve always wanted. I will also share some photos from my own personal journey of turning a spare bedroom into my dream closet.
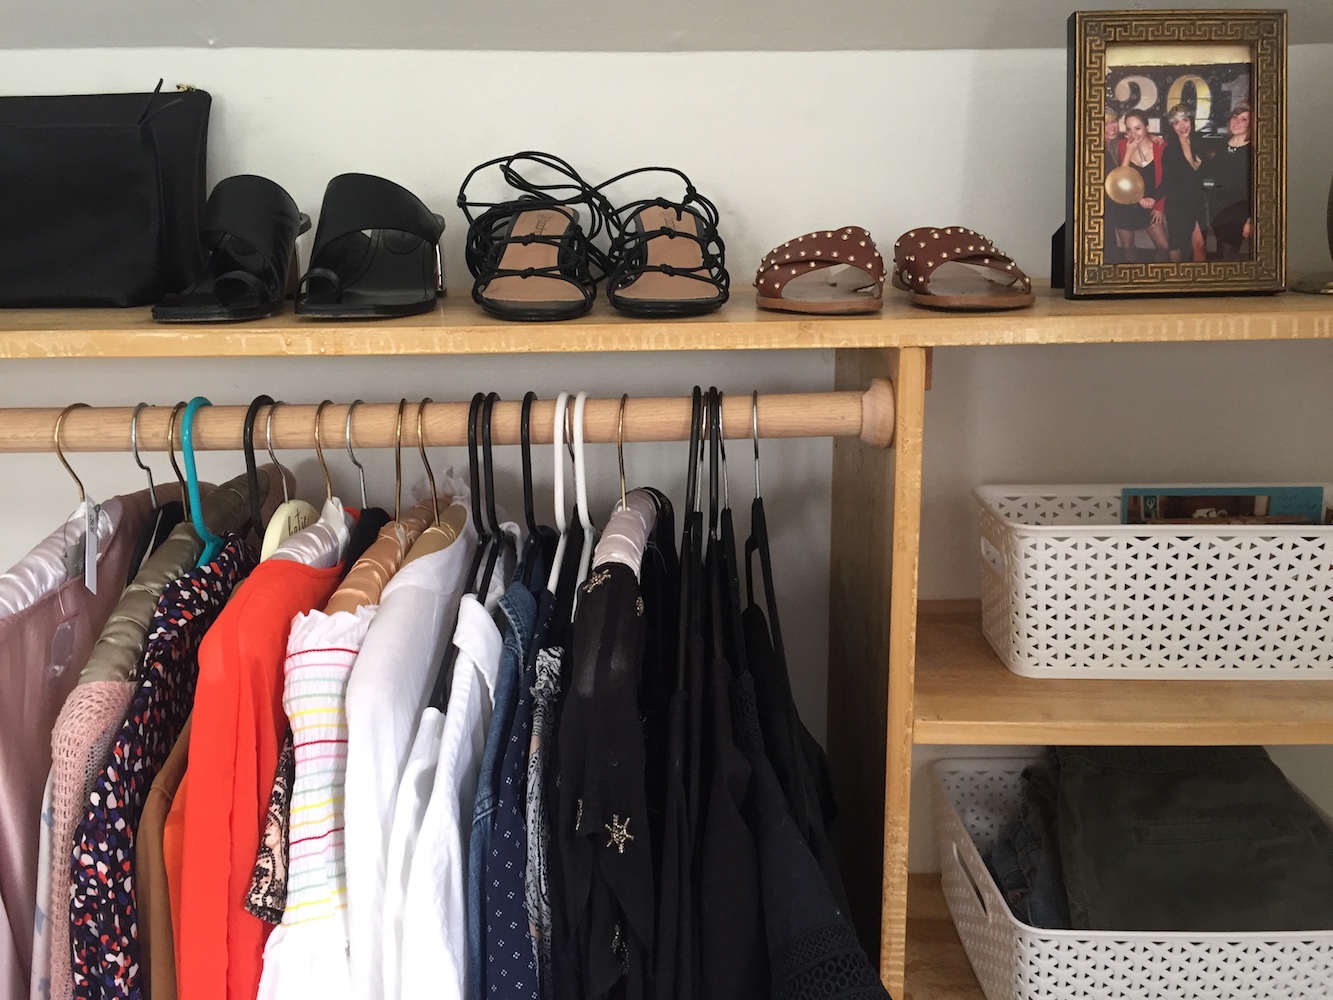
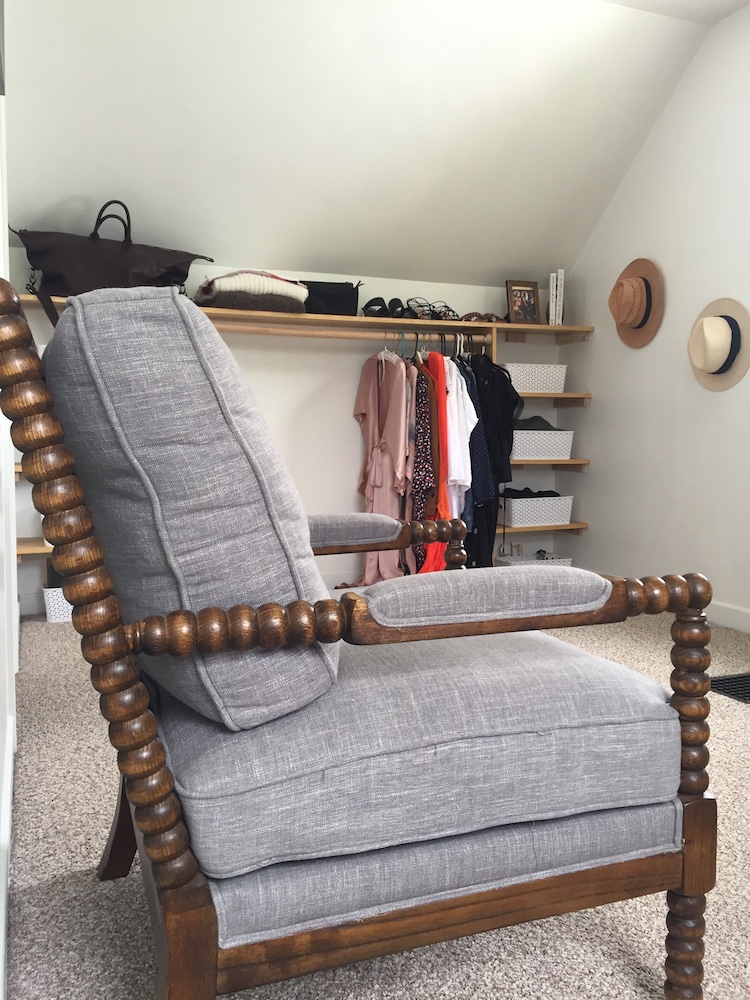
DIY Details: For my DIY dressing room, I opted for built-in wooden shelves and comfy furniture. The interior design style of the room is inspired by my taste for neutral textures and subtle accents.
DIY Dressing Room Step #1: Get Inspired
What do you envision your ultimate DIY dressing room to look like? If you are having trouble pinpointing the exact kind of jaw-dropping closet you’d like, there is a ton of inspiration out there to help get you started.
Find Inspiration Online
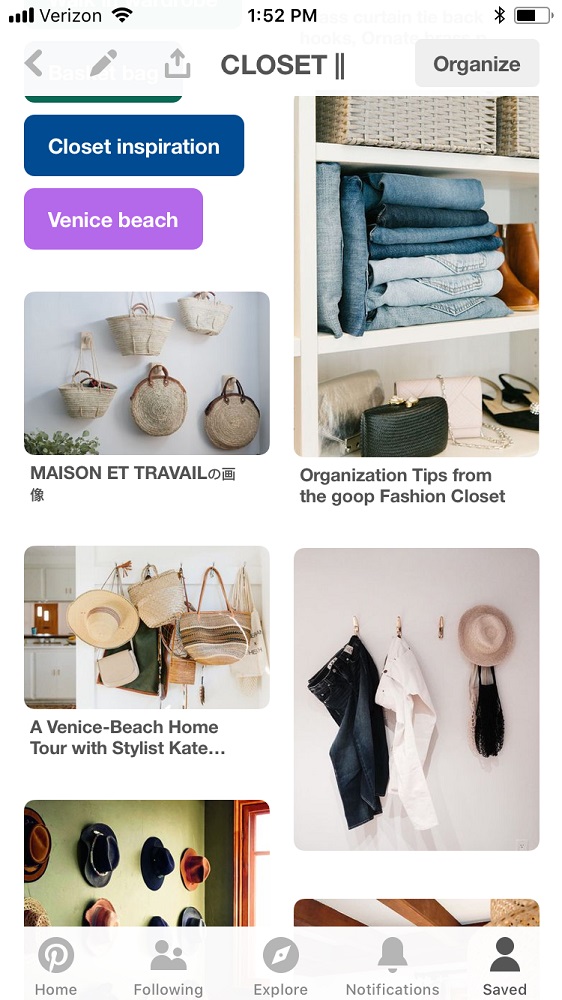
Design idea platforms such as Pinterest, Houzz or even online magazines provide a wealth of knowledge and inspiration when it comes to creating your DIY dressing room. If you are drawing a blank when it comes to identifying your own personal interior design style, begin a quick internet search to try and get those creative juices flowing. You can even create a mood board to begin to visualize how all of the design elements you’re looking for will start to come together.
Walk Around Your Home
Another way to generate some inspiration for your future DIY dressing room is to take a walk around your home. Look for patterns within your wardrobe and with accent pieces in different rooms of the house. This can help you to identify the interior design style you are looking to create in your closet space. Do you tend to gravitate towards a bohemian style with rich textures and colors? Or are you more into a contemporary style, being drawn toward bright, open, neutral spaces? Whichever your style, looking to pieces you already have around you will help you get on the right track to create a cohesive look for your closet.
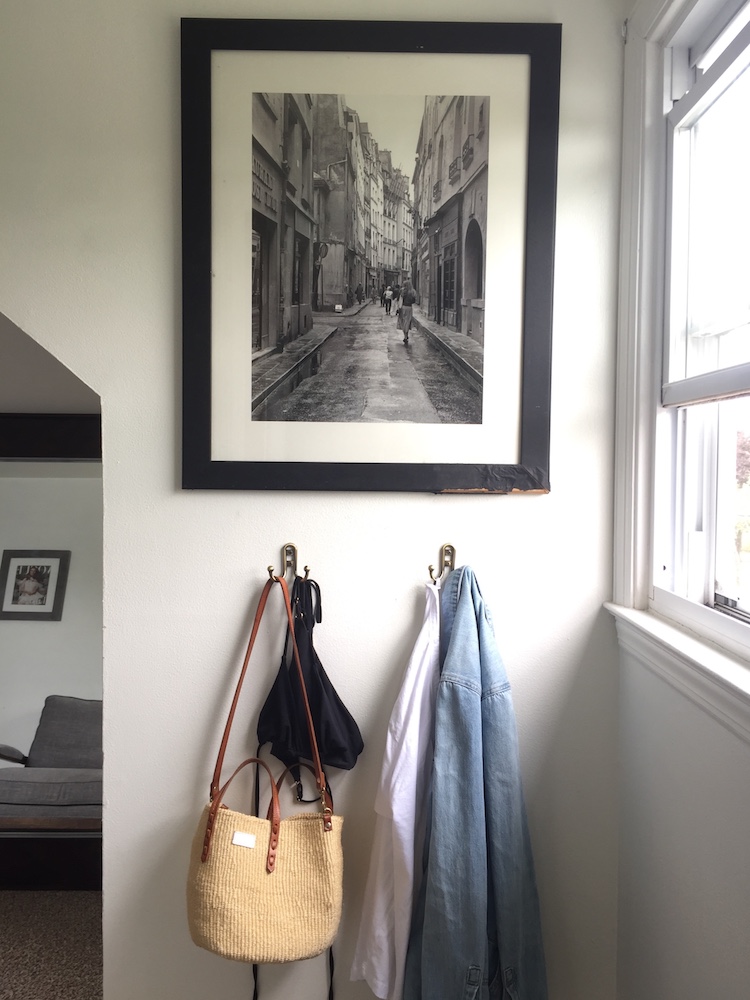
DIY Details: This photo is of my personal DIY closet inspiration board. With my interior style leaning toward traditional global, I am drawn to neutral colors and textures – as they help to layer in subtle accents in a space. I am not a fan of folding clothes, so having hooks purposely placed around the room was a must so I could easily hang items I wear or use often. This also helps keep my favorite pieces easily visible and within reach—as opposed to being buried in a pile or hidden in a drawer.
DIY Dressing Room Step #2: Take Inventory

After you have some inspiration and your closet style identified, now is the time to take a good, hard look at your wardrobe. Do you have more sweaters than pants? More jewelry than shoes? More hanging items than folded? Having a clear inventory of your clothes will help you prep for what types of storage and organizational pieces you will need for your DIY dressing room.
Take Inventory of Your Wardrobe
At this step of the process, it’s also important to do a spring cleaning of your wardrobe. Getting rid of any items that you really don’t use, like or wear will help make the most of your new closet space. A good rule of thumb is, if you haven’t worn it in a year, you likely will never wear it again.
When discarding items, there are a few great ways to make sure your old clothes don’t go to waste. Donating them to your local second-hand store, or even reselling your better pieces online can be great alternatives to tossing out your old clothes.
DIY Details: I got rid of several garbage bags full of clothes during this process. Looking back, this a was a key step to understanding what type of long-term closet storage I really needed—and it felt great to donate my old clothes to a good cause (my local Goodwill).
DIY Dressing Room Step #3: Draw Up Your Plans
Now that you have a handle on your wardrobe, it’s time to measure your space and put pen to paper. (Or mouse to document, if you prefer.) After all, a goal without a plan is just a wish!
Measure, Shop, and Build
First, measure your space to see what pieces can fit where. Next, draw out what the final space will look like. If you are custom-building storage, make sure your measurements are correct. This will be extremely important for accurately sourcing your materials.
After you have your sketch, it’s time to shop! Hit up your favorite home improvement websites or local hardware stores. Here you will find all of the key pieces, materials and storage items you outlined in your plans.
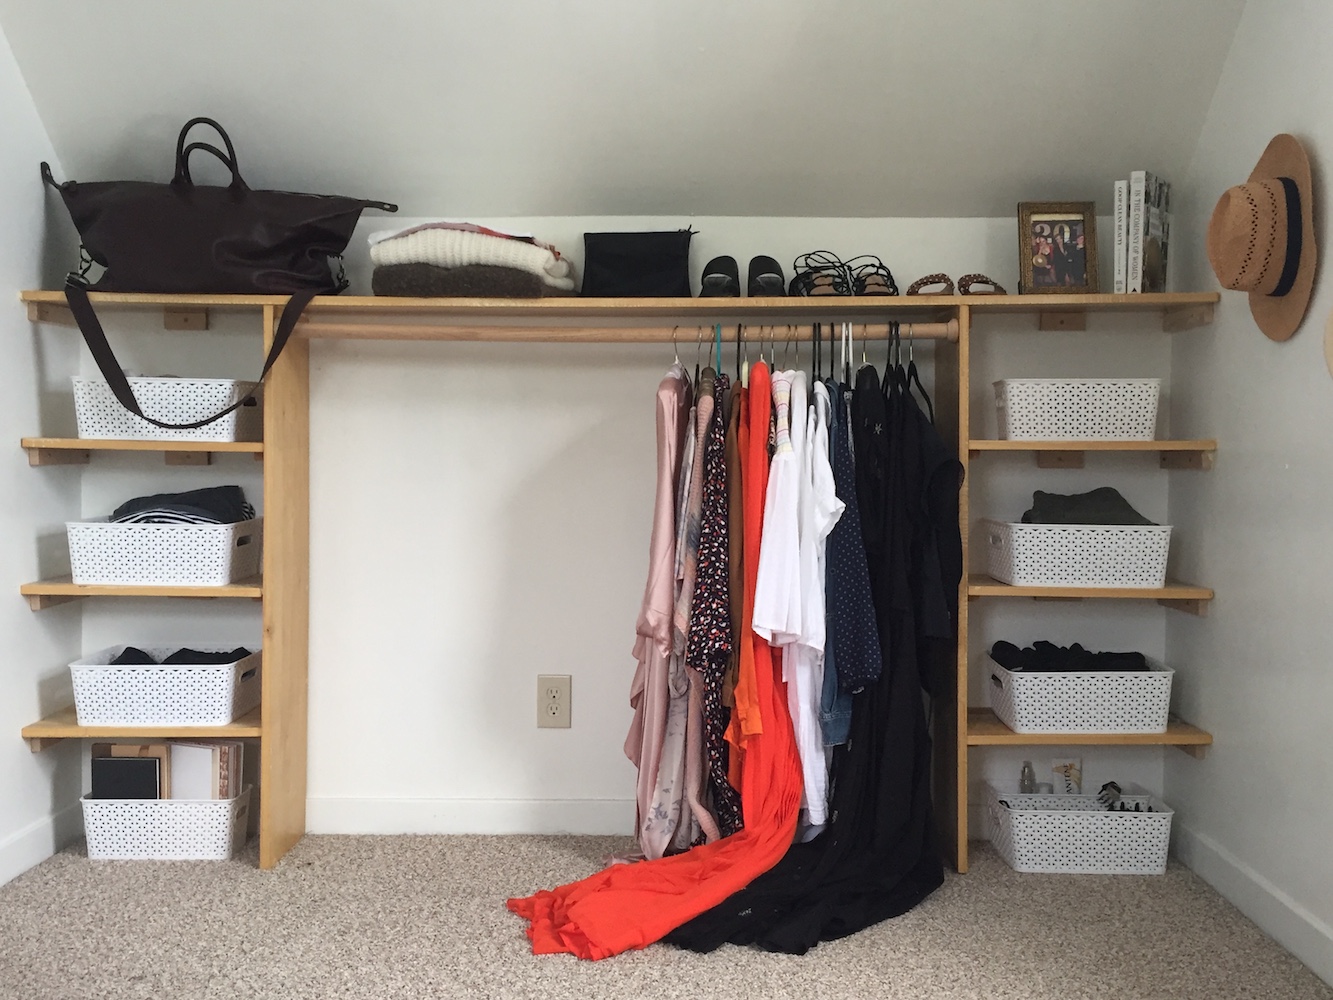
DIY Details: I measured and sketched the built-in storage shelves I was envisioning across the wall for my closet. Then I went to buy the wood. With help from my drawing, some handy family members and I worked together to cut my wood to size and install it.
DIY Dressing Room Step # 4: Create Your Masterpiece
It’s time to start putting all the final pieces together! Your dressing room dreams are at now your fingertips. The possibilities for your future DIY dressing room are endless, whether you paint the room or create custom storage solutions.
Now, add some accents and decor items to make your closet space truly reflective of your personal style. The final step is simply to move your clothes into their amazing new digs!
DIY Details: To make my DIY closet oasis complete, I added gold accents, artwork and furniture that I love. Some were items I pulled from a different room; others were purchased for the occasion.
You don’t have to be a celebrity or professional designer to create the closet space of your dreams. All it takes is a little inspiration and planning!