
Try Our 14-Day, All Natural Spring Cleaning Challenge
Here’s the good news: Winter doesn’t last forever. However, along with spring’s warmer temperatures and new blooms comes spring cleaning. It’s a seasonal ritual that is hard to escape. After all, there’s just something about spring that calls for a fresh, clean start. Yet who has time for deep cleaning? That’s where this spring cleaning challenge comes in.
Designed to make tidying quick and easy, our 14-day spring cleaning challenge takes only 25 or minutes or less each day. These spring cleaning tips tackle one area or zone at a time, helping you to put your home in order and maintain that order throughout the year. Even better, we’re only using natural items that you already have in your
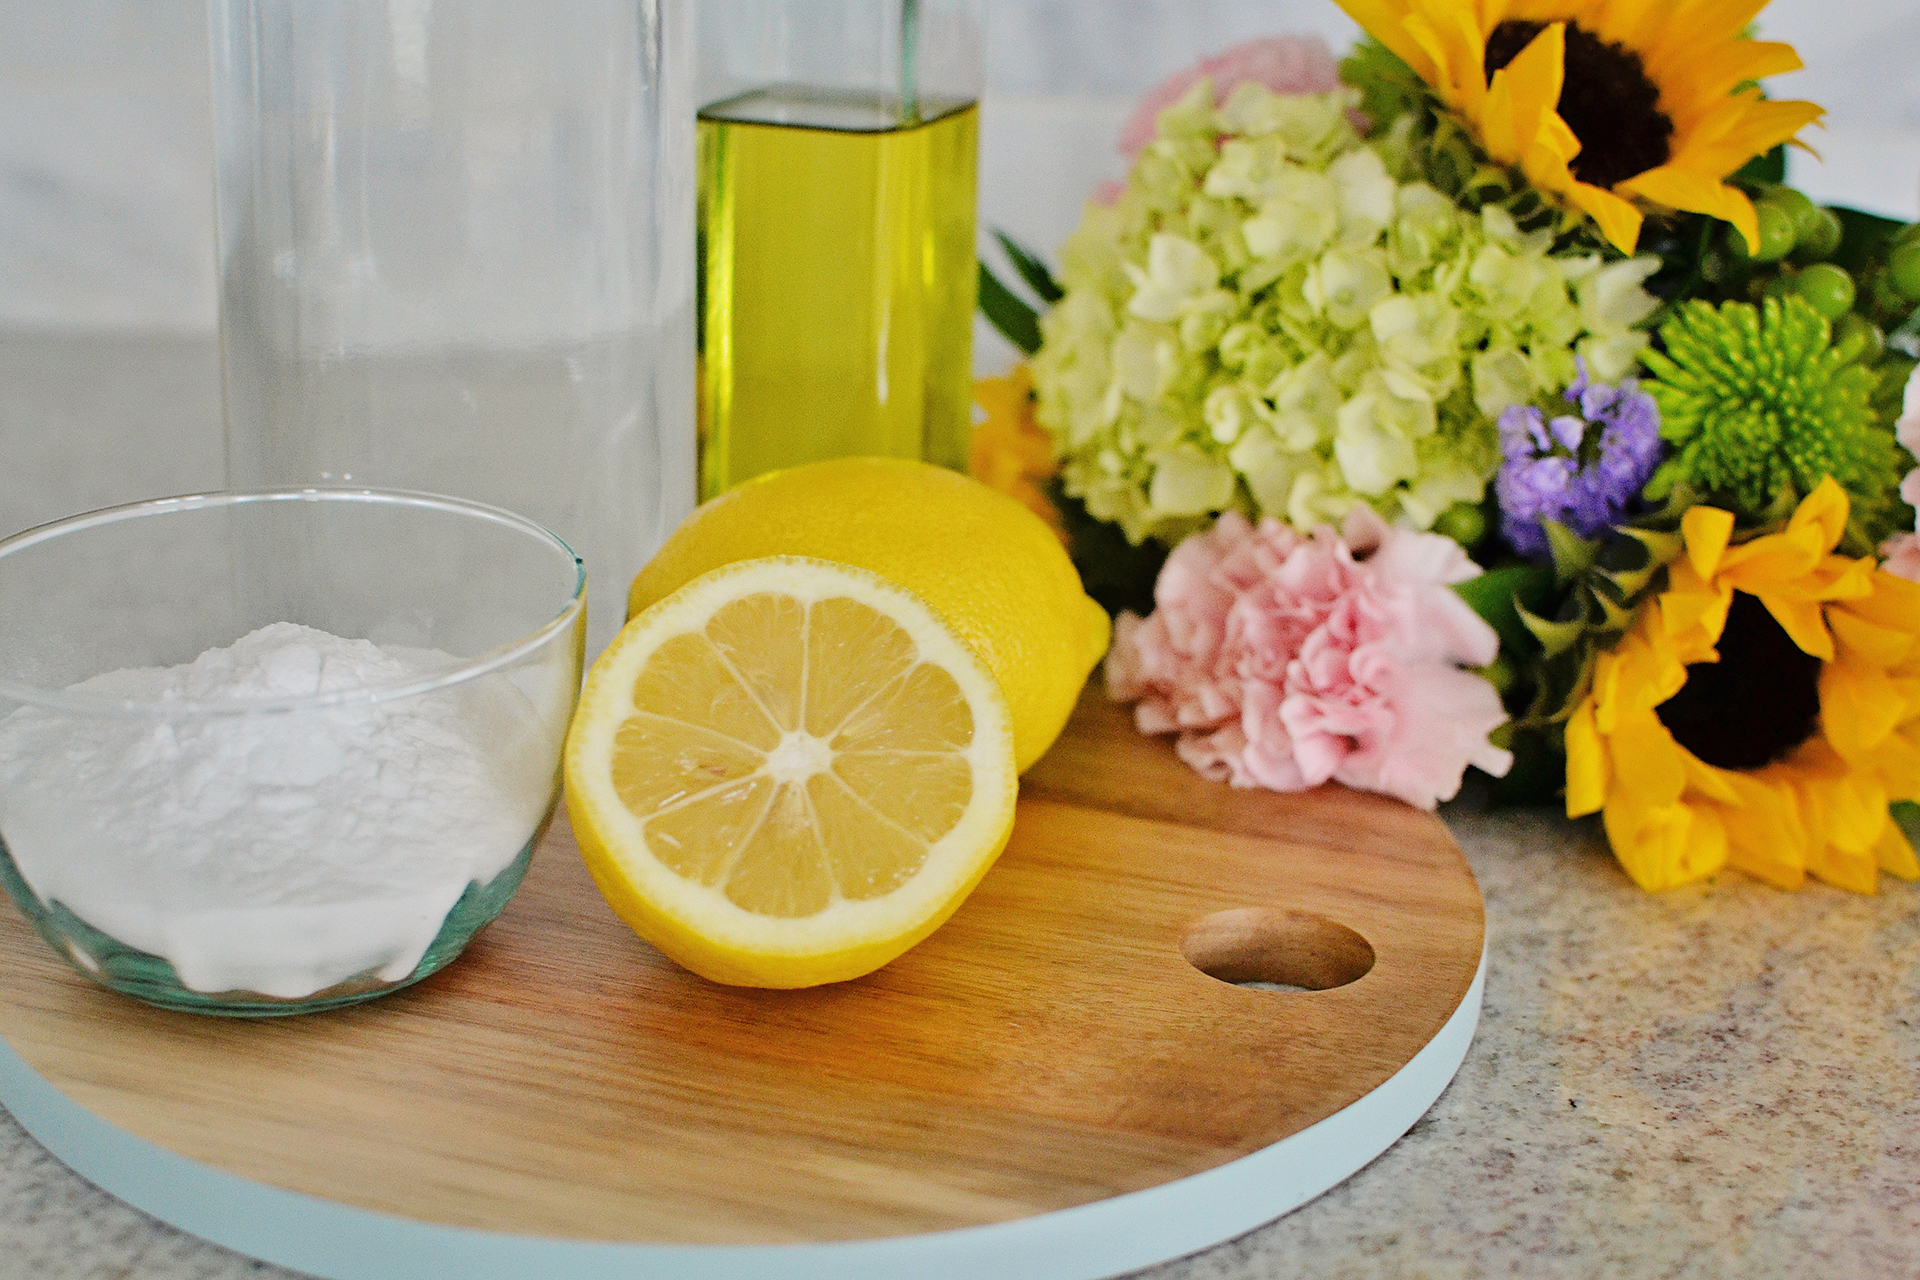
Even better, we’re only fusing natural items that you probably already have such as lemons, olive oil, vegetable oil, white vinegar, and baking soda— no harsh chemicals or toxic fumes.
With the amount of cleaning you can get done in twenty-five minutes, you will be able to keep your home in tip-top shape while still having time for the things you really want to do. So gather your cleaning supplies, set your timer, and let’s get started.
Up First: Day 1, Declutter Surfaces »

Day 1, Declutter Surfaces
You may be surprised to discover the difference decluttering makes. Just walk through your house, hanging up clothing that is scattered on chairs or on the floor, putting away the jumble of items on kitchen counters and on nightstands, removing piles of mail and papers from your desk. In a matter of minutes, your home goes from visually sloppy to neat.
Bringing along a laundry basket enables you to pick up items as you go from room to room, transporting them to the places they belong. This is the first and easiest way to restore a sense of order and neatness to your home. When you have only minutes to spare before guests arrive, decluttering is enough.
Maintenance
To prevent the clutter from returning, a few decorative baskets go a long way toward organizing those stray items, from papers and mail to remote controls and bedside paraphernalia. Providing a designated place for articles that would create disarray if allowed to accumulate, baskets keep everything readily accessible and keep your home in order.
Up Next: Day 2, Bathroom »
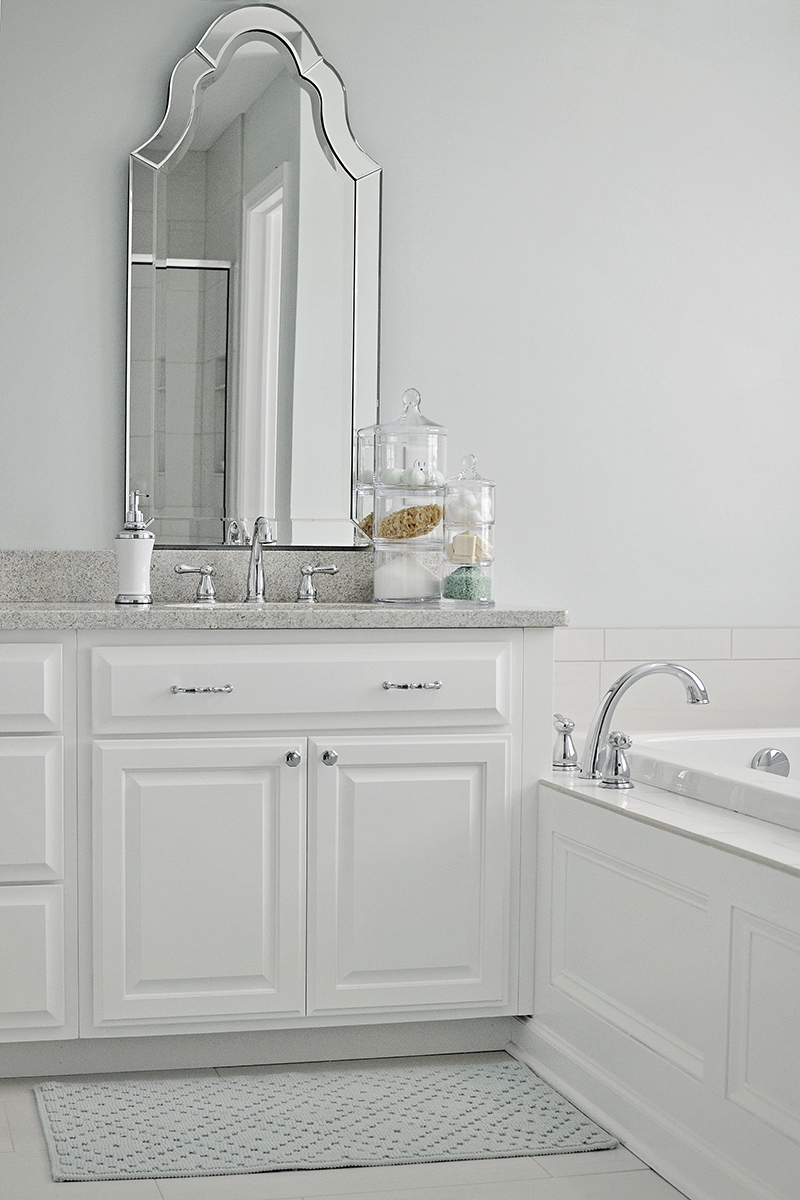
Day 2: Bathroom
The bathroom is the place seen by practically everyone who enters your home, making it the next area for cleaning. To put it in order in no time, begin with the toilet. Pour in a cup of baking soda and let it remain there while you clean the rest of the bathroom. Then move on to cleaning the sink, faucets, bathtub and shower with a baking soda paste made up of three parts baking soda to one part water. Just rinse with water for a dazzlingly clean bathroom. When you are finished, add a quarter cup of vinegar to that baking soda in the toilet, swish with a toilet brush and flush. Your bathroom is done.
Maintenance
Lemon juice will help to maintain your bathroom between cleanings. A swipe with half a lemon removes soap scum and cleans fixtures while a quarter cup of lemon juice works wonders in your toilet bowl. The fresh fragrance is delightful, too.
Up Next: Day 3, The Walls »

Day 3, Walls
Fingerprints, spatters and cooking odors are just the start when it comes to dirty walls, to say nothing of children’s artwork in the form of crayon drawings. To restore your walls, clean them with the baking soda paste mentioned earlier, followed by clear water to remove the baking soda residue. Alternatively, a quart of warm water with a quarter cup of vinegar in it will work just as well.
Maintenance
For spot cleaning, use the vinegar and water combination in a spray bottle. Just wipe clean with a sponge or cloth.
Up Next: Day 4, Wood Furniture »

Day 4, Wood Furniture
With everything decluttered, your tabletops suddenly become quite visible. This is when the dust that has settled on them becomes just as apparent. Using an old t-shirt, wipe them off, moving in one direction rather than back and forth. This removes the dust without putting it back, leaving those tabletops and other wood furniture gleaming.
Maintenance
To add an extra glow to the wood, spritz the tables with a bit of homemade furniture polish once a month. A quarter cup of lemon juice or distilled white vinegar along with a few drops of olive oil or jojoba oil make a fabulous polish.
Up Next: Day 5, Floors »
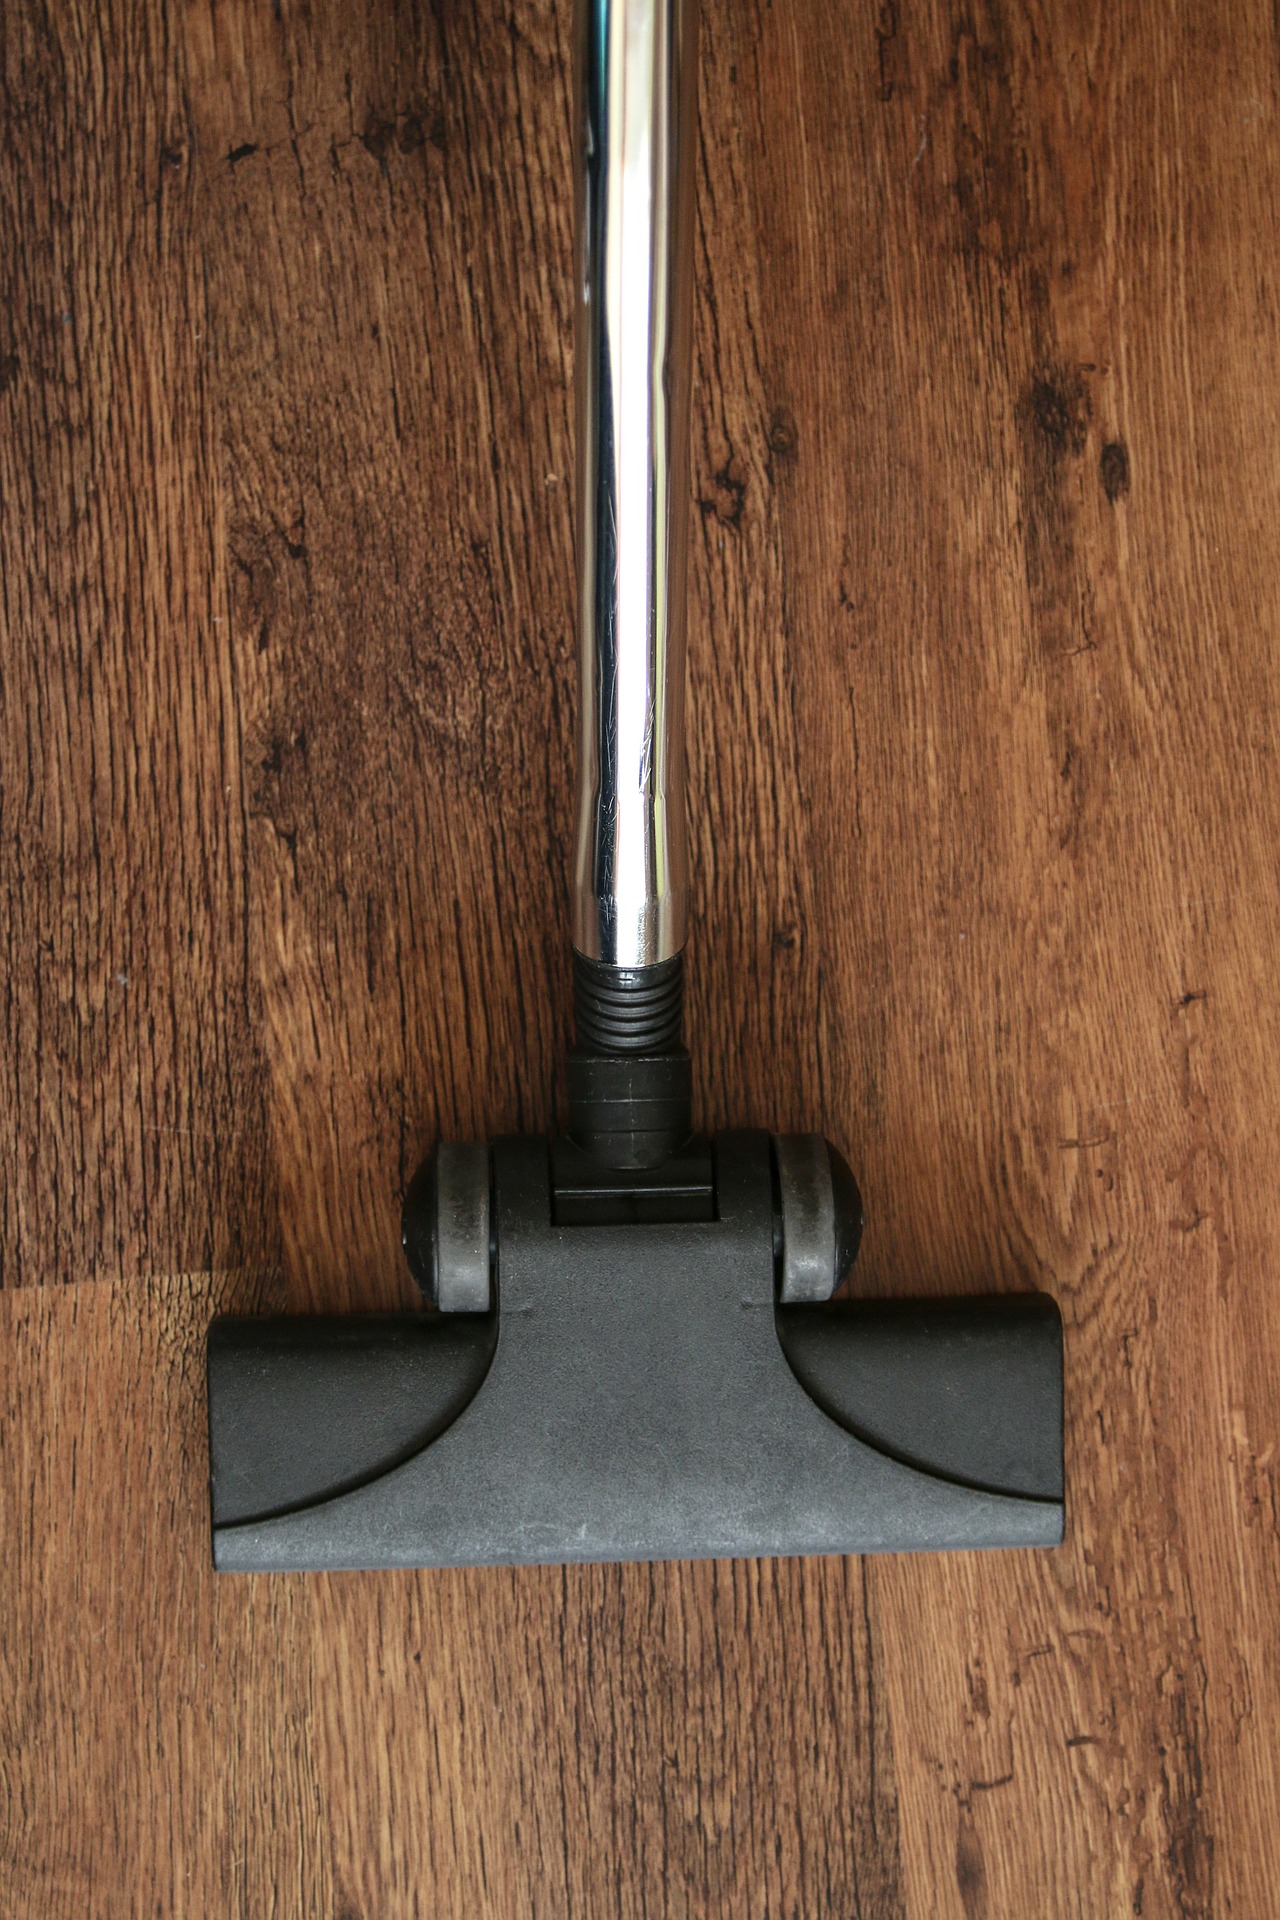
Day 5, Floors
A vacuum cleaner scours more than carpet. Removing grit from bare floors as well as dust from curtains and crumbs from upholstery, a quick sweep of the vacuum immediately makes your home appear cleaner. Use the hose and the nozzle attachment to make short work of all these tasks. If you have time, an equally quick swipe with a damp mop will remove any additional residue on floors.
Maintenance
Although daily vacuuming may be the ideal, twice per week will keep your home neat enough. For added freshness, sprinkle carpets and upholstery with baking soda, let it set for about 15 minutes and then vacuum.
Up Next: Day 6, Mirrors and Glass »

Day 6, Mirrors and Glass
Sparkling glass and mirrors flood your home with light. From glass tabletops to mirrors on the wall, use a lint-free cloth to remove fingerprints and dust from their surfaces without leaving streaks. Believe it or not, a dry cloth works wonders when glass or mirrors are merely dusty and not actually grimy.
Maintenance
Spraying any cleaning solution directly on mirrors can wet the backing, ultimately damaging the mirror. For dirtier glass or mirrors, spray a microfiber cloth with your own glass cleaner made up of a tablespoon of lemon juice in a quart of warm water. A half cup of white vinegar will add extra cleaning power. Afterward, a weekly swipe with a dry cloth will keep the brilliant shine on your glass and mirrors.
Up Next: Day 7, Windows »
Day 7, Windows
Once you have cleaned the glass and mirrors, the next logical step is windows. Using the same concoction of lemon juice and warm water that you devised for the glass and mirrors, spray the windows and wipe clean with a lint-free cloth. Folding the cloth in fours creates four clean working surfaces, making window cleaning fast and simple.
Maintenance
Maintaining crystal-clear windows is just a matter of wiping them with a dry cloth once a week.
On to Week 2: Day 8, Cabinet Doors »
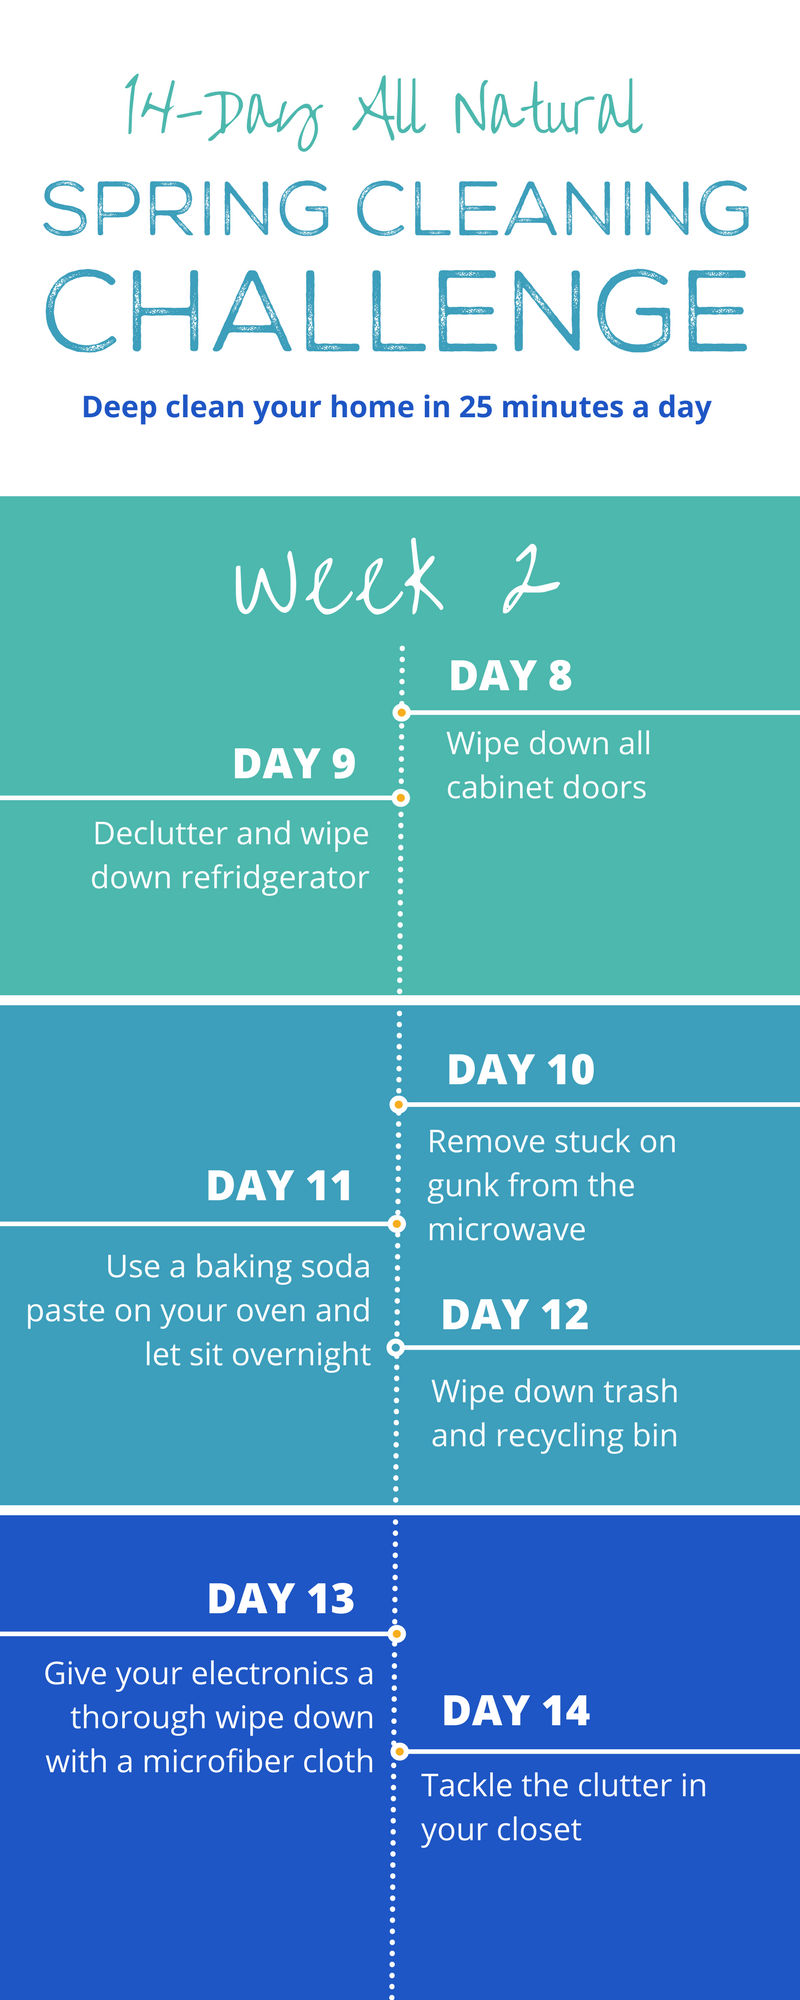
Day 8, Cabinet Doors
Now that we’ve tackled the most visible areas, let’s move on to those that aren’t necessarily noticed by guests but still need cleaning. You have already cleared your kitchen counters of extraneous items, so the next visible item is your cabinet doors. A mixture of two parts baking soda to one part vegetable oil will easily remove dirt and grime, especially surrounding the handle, which is usually where it is most noticeable.
Maintenance
A quick swipe with a damp cloth on a weekly basis will help to maintain clean cabinets.
Up Next: Day 9, Refridgerator »
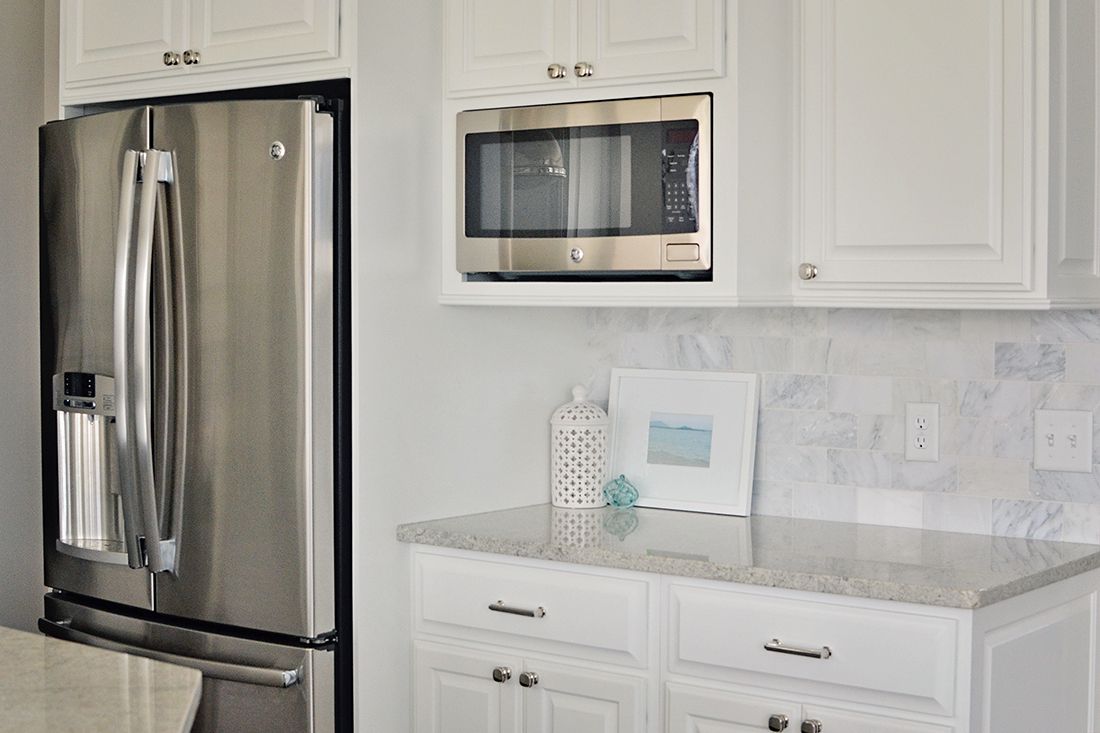
Day 9, Refrigerator
Often filled with forgotten and hidden items, refrigerators are frequently neglected when it comes to household chores. To make easy work of cleaning yours, throw away anything that is expired, nearly empty or is a leftover that is more than three days old.
Place the remaining items on the counter while you wipe the shelves and walls of the refrigerator with equal parts water and vinegar. Rinse with warm water then dry with a clean cloth.
Maintenance
The best way to maintain a clean refrigerator is to wipe up spills immediately and to be diligent about throwing away items. Check expiration dates weekly. Additionally, milk, leftover food and fruits and vegetables should be discarded after several days as they can deteriorate, creating a mess in your refrigerator. An open box of baking soda or half a lemon will keep it smelling clean.
Up Next: Day 10, Microwave »

Day 10, Microwave
After the refrigerator, is there any kitchen appliance used as often as the microwave? Of course, this means that food is often splattered on the walls and ceilings of the microwave. To remedy this, a two-minute microwave of a bowl filled with the same vinegar and water solution mentioned earlier will work. If you need extra cleaning power, add a few lemon slices. Be sure you let the mixture sit in the microwave for another 45 seconds before removing. Finally, just dip a sponge in the hot solution, and your microwave will wipe clean with virtually no effort.
Maintenance
Wiping out the microwave with a damp cloth after each use will keep it clean. For added freshness, occasionally microwave a bowl of water with a tablespoon of fresh lemon juice for one minute.
Up Next: Day 11, Oven »
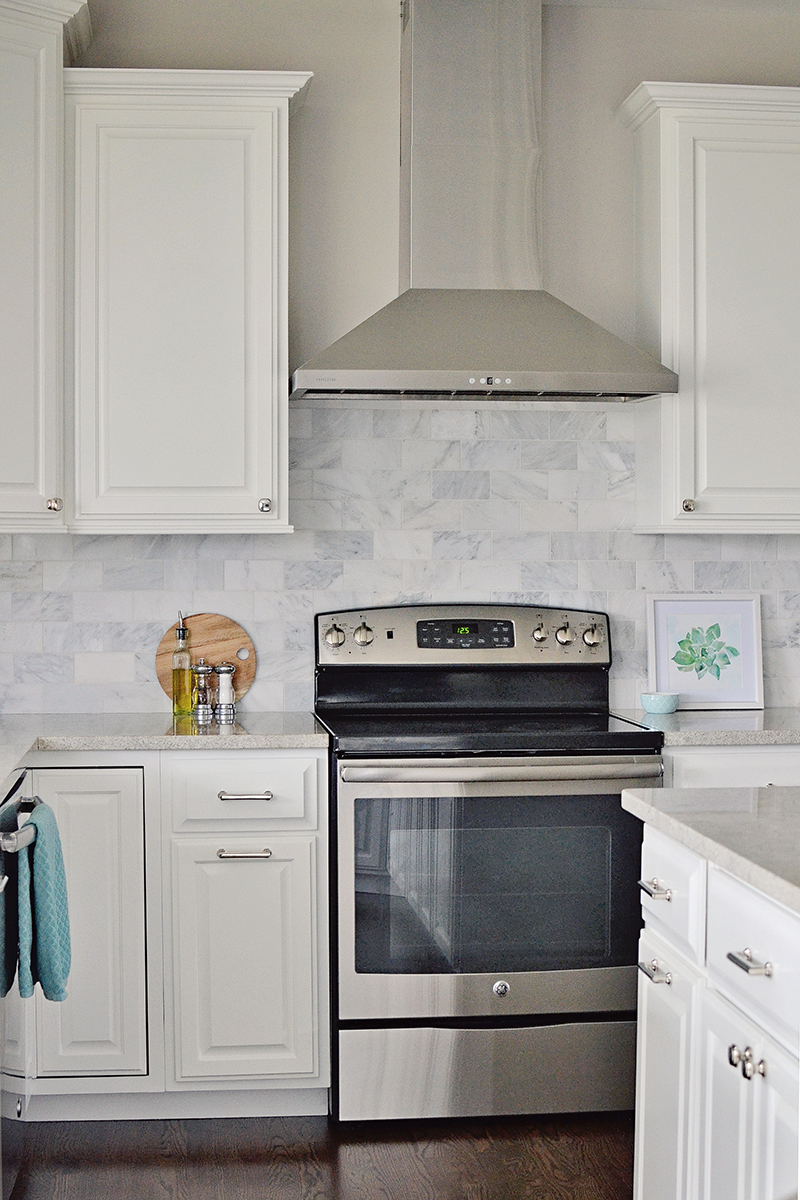
Day 11, Oven
Among the most dreaded household chores is cleaning the oven. The awful fumes and repeated scrubbing are enough to make you leave your oven dirty for years. However, we have an easy solution: baking soda and water. Whether you spray your oven with water and then pour on the baking soda or vice versa, the point is to create a thick paste. Leave it overnight, and you can wipe your oven clean with a damp sponge in the morning.
Maintenance
For your oven to remain clean, be sure to place a sheet of aluminum foil beneath your pans to catch drippings in the future. Of course, wipe up any spills immediately.
Up Next: Day 12, Trash and Recycling »
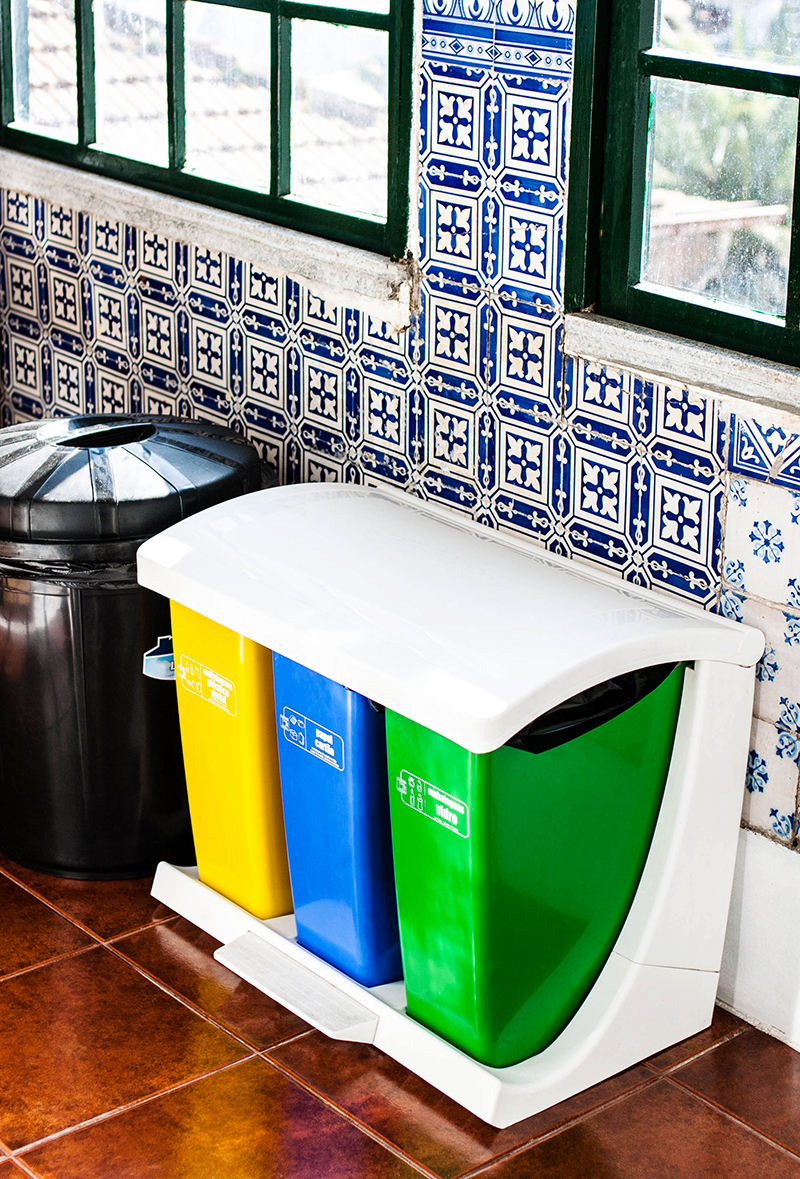
Day 12, Trash Can and Recycling Bin
It’s so easy for trash cans and recycling bins to become dirty as items spill or touch the surface as they are placed in them. A clean, damp sponge sprinkled with baking soda will do the trick, removing dirt and odors.
Maintenance
To keep the trash can and recycling bin smelling fresh, wipe the insides with a lemon from time to time. You can toss the used lemon or lemon peels into the trash as well for added freshness.
Up Next: Day 13, Television and Electronics »

Day 13, Television and Electronics
Dust often accumulates unseen on television screens and computer monitors. To restore a clear view, an equal mix of rubbing alcohol and distilled water will work as beautifully as any high-priced chemicals. Put the mixture in a spray bottle and spray a microfiber cloth — not the electronic device — and it will wipe clean in seconds. Use it on keyboards as well.
Maintenance
A quick spritz on a cloth once a week will keep your devices in pristine order.
Up Next: Day 14, Closet »

Day 14, Closet
Peering into a jumbled closet can be daunting. Where do you begin? Here’s the answer: Begin with the hangers. Buy the slimmest hangers you can find and hang them all backward in your closet. Having all the hangers alike automatically creates order, and the slim profile makes more room in your closet. After you wear each item, hang it facing forward. By the end of the season, the items still facing backward indicate they haven’t been worn. Donate them to charity or have a garage sale.
In the meantime, after hanging everything backward, organize the shelf above the rod. Your 30 minutes will be up and your closet will already look better. Save organizing shoes and bags for another day.
Maintenance
Having a designated spot for each item helps to keep your closet in order. For instance, if you have room, place a coat rack in your closet and hang purses on it. Store scarves in baskets or on tie racks. Keep shoes in inexpensive clear boxes. Hang like items together — shirts with shirts, pants with pants, etc. A little organization will keep your closet orderly.
That’s it. This is spring cleaning the easy way and the green way. Maintaining it is a simple matter of establishing routines. With these spring cleaning tips, your home will always be ready for guests, and you can relax in a neat and clean home. [wp-review]