Updated on 9/28/16 from an article originally published on 2/16/16.
Do you have bins and drawers full of photos from years gone by? Do you constantly get a “full storage” message on your phone because you’ve never downloaded hundreds of pictures? Does it take you longer than it should to find that one special picture for your child’s family history project? If you answered yes to any of these questions, take comfort in knowing you’re not alone.In 2006 Americans took more than 63 billion pictures. In 2015, we took more than 105 billion. That is a 66% increase in less than a decade…and that doesn’t even include the printed photos hidden in our closets. No wonder we are all so overwhelmed.
Organizing and preserving precious photographs is important, but often these tasks are set aside until “later.” But later rarely seems to turn into “now.”
This is scary because what if the worst should happen? If your home were to burn down, your print photos could be severely damaged or destroyed forever. If a thief were to break into your house and steal your laptop that’s not backed up, your photos of your child’s first trip to Disney World would be gone. Drop your phone in the bathtub and the pictures of your parents’ fiftieth-anniversary party will be unrecoverable.
See the theme here? Now is the time to get control of your photographs and create a way to preserve them. Here’s a 6 step process to get your photos in order.
Step 1: Decide Your Goal
The very first step to organizing your pictures is to figure out what your end goal is. Is it to preserve them for future generations? Is it to create a celebratory slideshow for your daughter’s graduation? Do you just want to be able to find those cute pictures of the kids to share on Throwback Thursday?
Whatever your final goal may be, give some thought to it now. It will help you prioritize your actions as you work through the organizing process.
Step 2: Gather Your Pictures Together
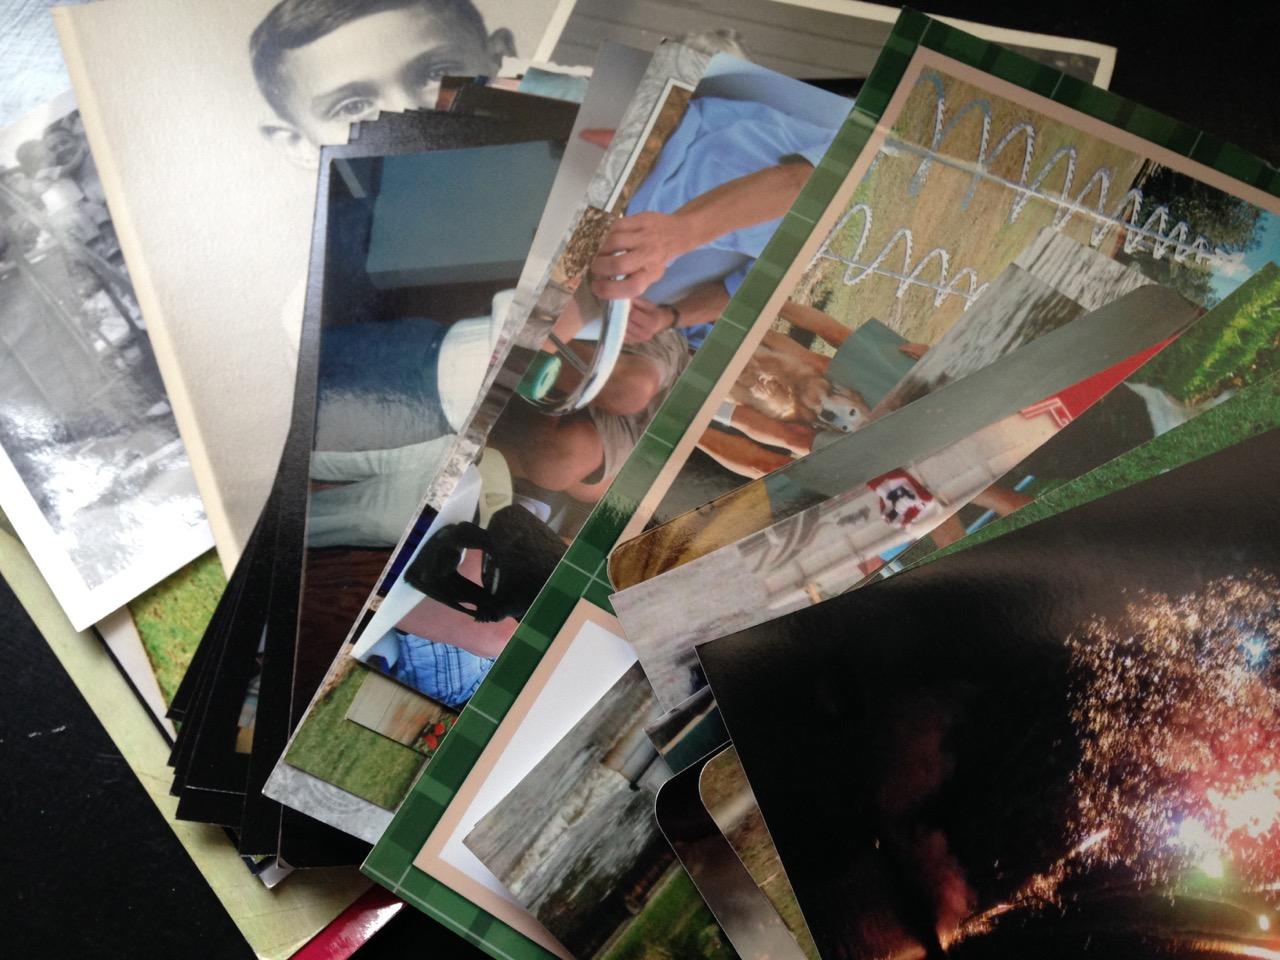
You can’t decide what your photo organizing process is going to be until you know exactly what you’re working with. Scour your house and find all your printed photos, including loose and framed pictures, photo albums and even slides and negatives.
As a certified personal photo organizer, I meet many people who have printed photos squirreled away in dresser drawers and in boxes in the closet or under the bed. Digital pictures can end up all over the place too. By getting everything together and putting all the pictures in one area, whether it be in your guest room or on your current laptop, you will be able to better evaluate what you have and what you need to do to reach your end goal.
Where should you look for your photos?
For printed photos, check the following locations:
- Photo albums
- Photo boxes
- Framed pictures
- Scrapbooks
- Plastic bins
- On the refrigerator
- Drawers
- Closets
- Under beds
- Jewelry Boxes
- Wallets
- File folders
- The safety deposit box or safe
- Undeveloped film
- All of the above in you relatives’ homes.
For digital photos, check the following:
- Cell phones (old, current and all family phones)
- Computer hard drive (old and current)
- External hard drives
- CDs and DVDs
- SD memory cards from digital cameras
- Tablets
- USB drives
- Cloud storage, such as iCloud, Shutterfly, Dropbox, Flickr, etc.
Gather them all into one place in your house, such as your home office or the unused dining room table. It may happen that you feel overwhelmed as you see all of your printed pictures together. I encourage you to take a deep breath and soldier on. After all, a visual history of your family’s past and present is worth preserving for future generations.
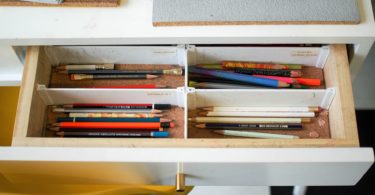
Step 3: Gather Your Tools
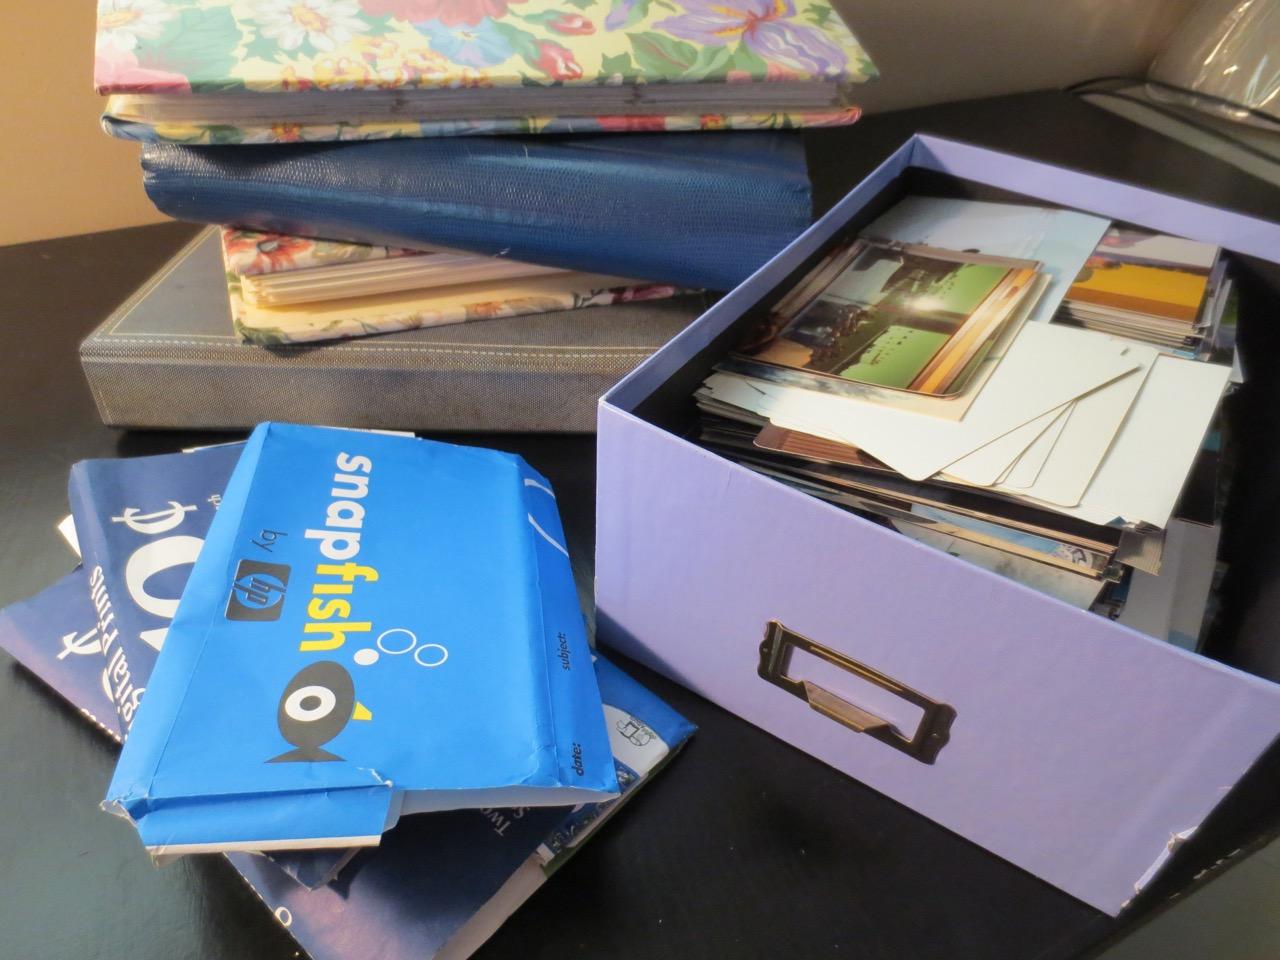
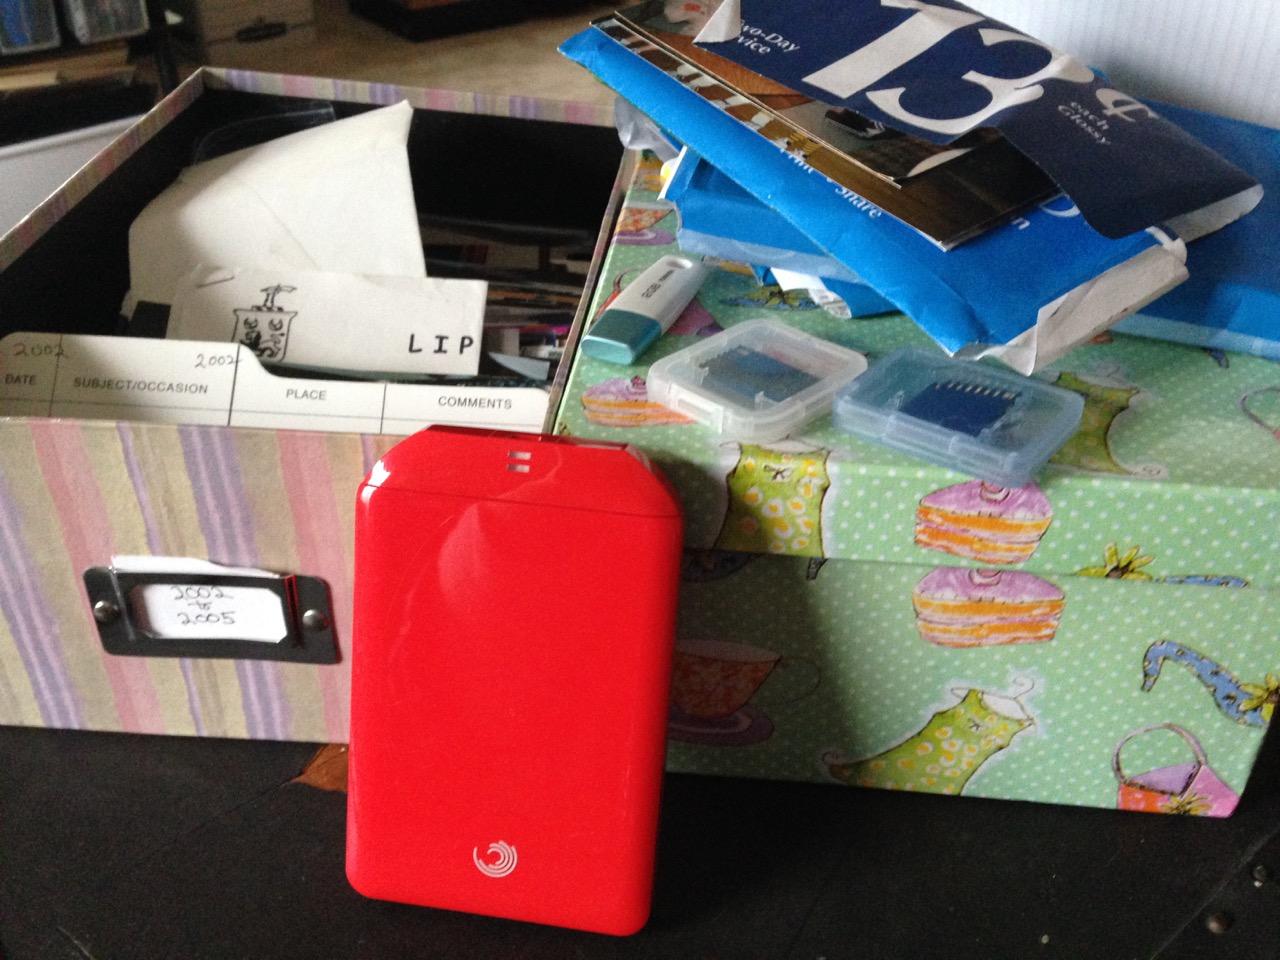
It is always helpful to prepare yourself with the proper tools. Start with photo-safe photo storage boxes, which are archival quality, meaning acid and lignin free. These will help protect your loose pictures from the damage that can be caused by light, as well as the not photo-safe chemicals found in developing envelopes and older photo albums. Stay away from plastic storage containers as these can trap moisture, which is a big photo no-no.
Other handy photo organization tools include:
- Photo-safe pencils for writing on the backs of pictures,
- photo-safe sticky notes and index cards for sorting,
- dental floss for removing photos from old magnetic albums,
- dust rags,
- cotton gloves for handling pictures, and
- rubber cement pickup for removing adhesive residue from the backs of pictures.
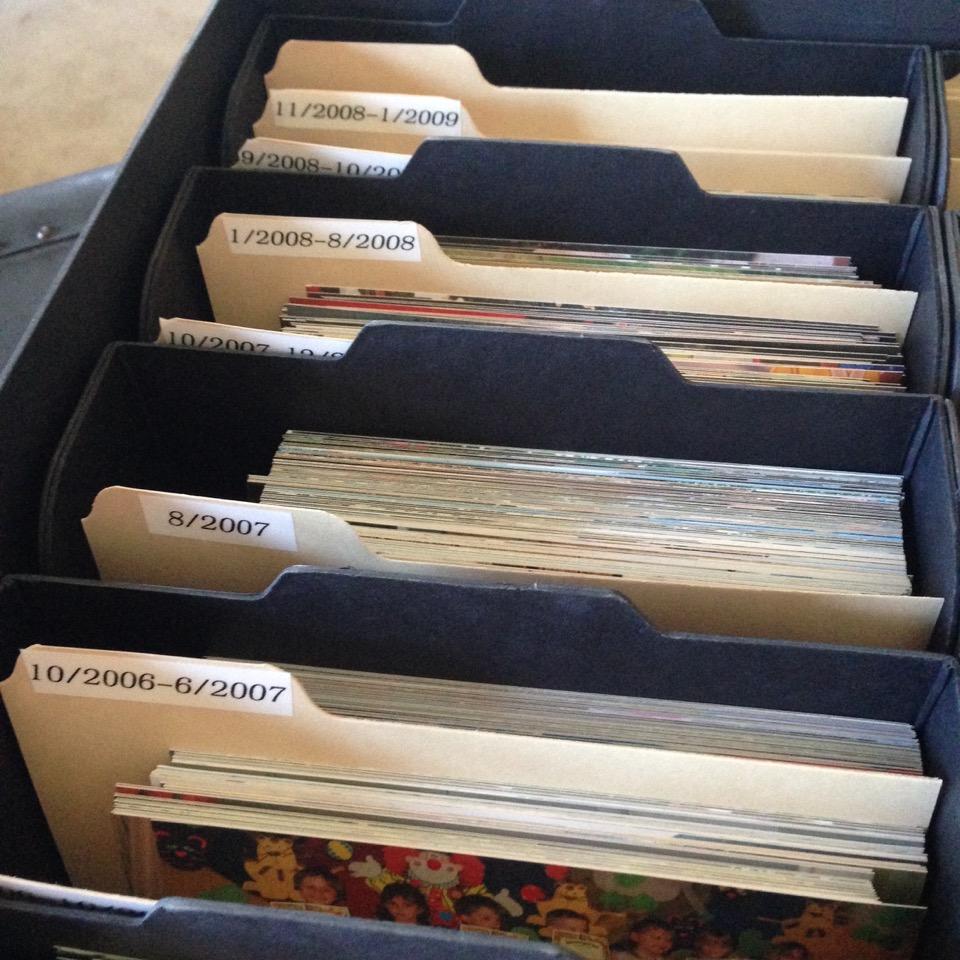
Step 4: Sort Your Photographs
Start putting some order to the chaos by sorting your photographs.
One of the most common ways to do this is chronologically. If you don’t know the exact dates of pictures, you can often find clues such as printer’s codes on the backs of the pictures, a receipt attached to the developing envelope or even the hairstyles of the people in the photo.
Don’t worry if your chronological sorting is not perfect. You can always tweak it later. You can also sort by themes such as vacations and birthdays or by person.
Sort directly into your photo boxes if possible. Remove pictures from developing envelopes and plastic bags. Also keep the negatives with the photographs. They will be helpful in the next step. Take the time now to toss any duplicate prints and blurry shots.
This is a good time to decide what you are going to do with your intact photo albums. If your albums include those pesky magnetic albums so popular from the 1960s until the 1990s, I highly recommend you remove the pictures. These albums are slowly destroying your precious pictures.
Some albums may need to stay intact, like the black paper ones from your grandmother in which she chronicled your family history. If you do remove the pictures from your albums, sort these photos into the boxes as well. You can always put them back into an album later.
Step 5: Scan Your Pictures
Your pictures are part of the beloved record of your family’s life. By scanning and digitizing the photos, you are creating a backup copy of the prints and creating a method to more easily share and enjoy your pictures in this digital age.
If you have negatives and slides, it is helpful to find a scanner that will scan them as well. If you have printed photos and the negatives that go with them, it’s better to scan the negatives; they will give you a truer color and clearer picture.
If you have decided to keep your albums intact, you can use a small, portable scanner such as the Flip-Pal to scan the pages without damaging the albums.
Bonus: 6 Ideas for Using and Preserving Digital Photos
- Share them on social media.
- Create a digital photo book.
- Make a video slideshow for an important occasion.
- Give your mom a digital frame as a gift.
- Print your favorite digital prints for a special photo album.
- Have a favorite family photos printed on a canvas for display in your home.
Step 6: Enjoy Your Photographs Again
Now that you have organized your pictures and created digital copies, it’s time to reap the rewards of your hard work. Take your favorite pictures, have them framed and display them in your home. Instead of recreating bulky photo albums, use the new digital versions to create slimmer photo books. Use a digital picture frame to enjoy your pictures all day long.
If organizing all your photographs seems too overwhelming or too time-consuming for you, consider hiring a personal photo organizer. You can find one near you through the Association of Personal Photo Organizers.