If you need more storage and would love to update a laundry room, consider a makeover that won’t break the bank. Building DIY laundry room wall cabinets doesn’t take much time or money to tackle. Keeping this project under $100 will take some creativity, but it can be done.
The project may require repurposing what you already have or thrifting items from local yard sales or discount stores. Whether you decide to readjust out-of-reach shelves or find a perfect cabinet at a yard sale, you’re on your way to creating something unique and functional.
Do laundry room cabinets need to match kitchen cabinets?
No, you do not need to have matching cabinets in your laundry room and kitchen. Many newly built homes will have cabinets that match, but this practice is done to remain cost-effective. No one will bat an eye at having different cabinets in between the two rooms. Instead, focus on a style that best suits your needs and keeps you within budget.
Do laundry room cabinets increase home value?
While adding cabinets to your laundry room will certainly increase the appeal of the space, it’s not likely to add much monetary value to your home. Since a laundry room is typically smaller in size, you’re unlikely to see a significant increase in the value of your home. That’s why attempting to keep this project low-cost is best, as you won’t see a great return on your investment but will have an attractive location that could entice potential buyers.
Related Article: 21 Essential Things to Do Before Selling Your House
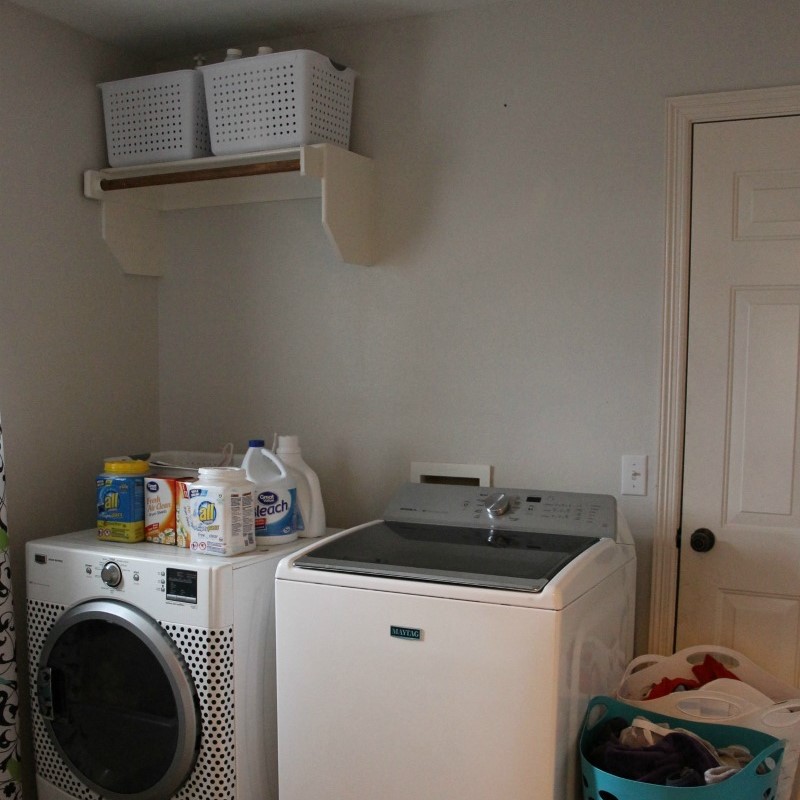
Before adding laundry room wall cabinets
Supplies and Tools for Building Laundry Room Cabinets
To tackle this project, you’ll need a few supplies. Shop around to find the lowest cost to remain within budget and use tools you already have in your arsenal. Ask friends or family to borrow anything you don’t already own, or see if they have some items they can send your way to repurpose. Depending on the space you’re working with, some of these supplies and tools may not be required.
Supplies:
- Cabinet
- Trim
- Storage bins
- Pint of cabinet paint
- Paint roller
- Caulk
- Painter’s tape
- Cabinet plywood
- 1-inch nails
- 2 ½ inch wood screws
- Wood filler
- Chalkboard paint
- 2×4 board
- White printable sticker paper
Tools:
- Stud finder
- Drill
- Nail gun
- Leveler
- Crowbar
- Sander
- Safety protection (safety glasses, mask, etc.)
Step 1: Remove Barriers
Using a crowbar, gently remove any shelving already in place. Fill in any holes or scuff marks, then paint over the area as needed. The new cabinets and cubbies will cover most of this area, so there’s no need for perfection.
Step 2: Mark the Studs
Use a stud finder to mark the studs on the wall with a pencil. This step is crucial because cabinetry is heavy. You want to make sure you are using the studs to secure it to the wall.

Step 3: Mark the Cabinet Placement
Use a leveler to mark the line where the bottom of the cabinets will be. Ensure the washer lid will clear the cabinets so you don’t run into trouble after installation.
What depth are the wall cabinets for a laundry room?
Laundry room upper cabinets are typically 12–14 inches deep. This recommended depth allows for ample room for storage and adequate head space above the washer and dryer.
How tall should a laundry wall cabinet be?
A laundry wall cabinet can be between 24–48 inches tall, depending on your available space. The cabinet should be positioned at least 18 inches above the washer and dryer to give enough space to open any top-loading machines easily.
Should laundry room cabinets go to the ceiling?
Installing DIY laundry cabinets that reach the ceiling is the best way to maximize your storage space. However, the cabinets don’t need to be this tall if it doesn’t suit your needs. If you have high ceilings or don’t want the cabinets that tall, you don’t have to have them go up that high.
Step 4: Hang the Cabinet
Using wood screws, hang the cabinet on the wall. This step may be a three–person job as you’ll need two people to hold the cabinet sturdy and straight, as the third person handles the screwing.
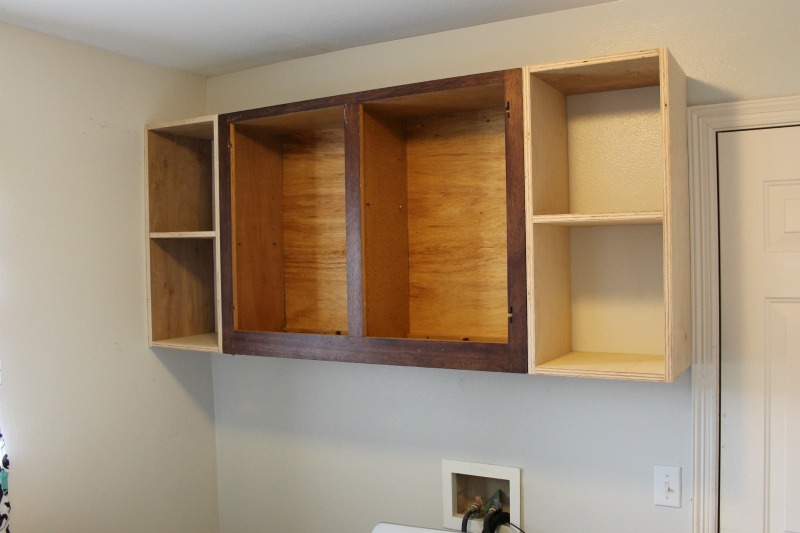
Step 5: Build Cubbies
If you use a cabinet without cubbies and want to include them, now is the time to build them. The size and number of cubbies will vary based on your laundry room storage needs. If you plan to use totes for the cubbies, you want to build them to fit whatever cubby you have.
Cubbies can be assembled using a nail gun. You can also use a nail gun to attach them to the hanging cabinet. Ensure the fit is snug for safety purposes.
Related Article: 5 Tips to Shorten Your Laundry Routine to 20 Min a Day
Step 6: Build a Folding Table
Building a folding table over your dryer can be a convenient asset to your laundry room. While you have the power tools out, construct a support frame using 2x4s. Attach these two pieces to the walls using wood screws and a leveler to ensure they’re straight.
If building a folding table over your dryer won’t work, Steven Randel from Houzz recommends, “If you have a top loader and want folding and workspace, you can add counters next to the appliances or elsewhere in the room.”
Step 7: Support the Cabinet
On the side away from the wall, build a support piece using a piece of cabinet plywood. Then, lay another piece of cabinet plywood across the top and nail it into place using a nail gun.
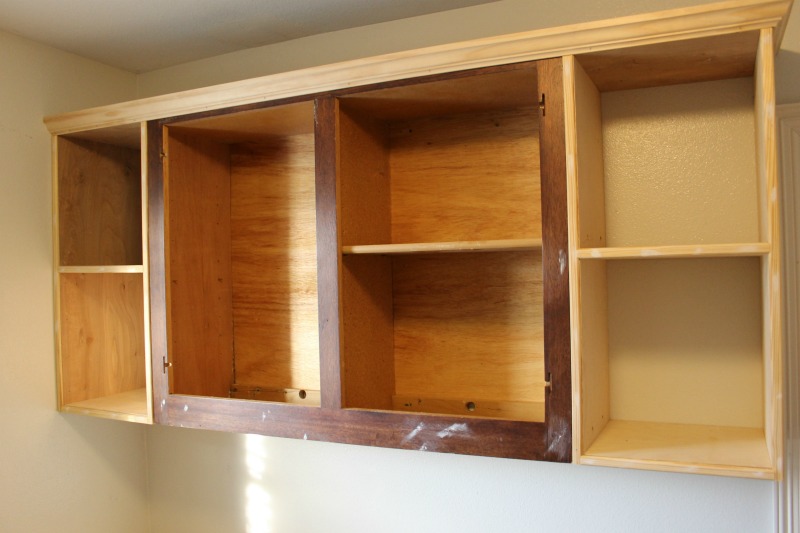
Step 8: Add Trim
Add trim along the front of the cubbies, and then add crown molding (optional) across the top of the cabinets. You can also place trim around the folding table and along the back and sides.
Next, you’ll caulk any spot where the wood trim meets another piece of wood. Caulk along the wall and underneath the cabinets. Fill any dings or small nail holes with wood filler. Let everything dry and sand as needed.
Step 9: Paint
Now it is time to paint. Choose paint colors that will blend well with the space. It may take two to three coats of paint to cover everything. You can use a primer before painting if you need to.
Ensure you remove the cabinet doors while painting for a cleaner paint job. Lay the doors on cardboard or a drop cloth as you paint each side.
PRO TIP: Use white foam roller brushes when painting cabinetry or furniture. They work well and always result in a nice smooth finish without any brush strokes.
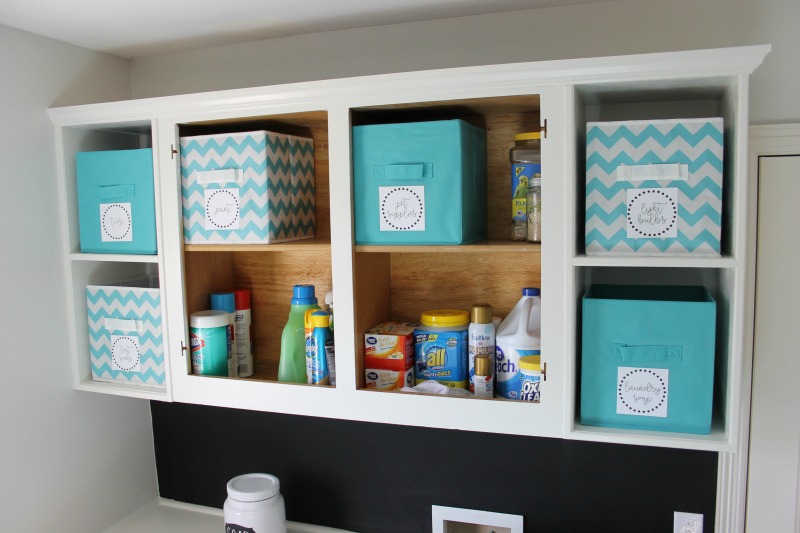
Step 10: Organize Your Laundry Room
While letting the paint dry between coats, take the opportunity to organize your laundry room. Throw out items you don’t need and group together items you do. Determine where you’ll place cleaning supplies, how many laundry baskets you’ll need, and consider your open shelves storage options.
Download our free printable laundry room labels to stay organized. Print out the labels on printable sticker paper and then cut them using a paper trimmer. Remove the backing and stick them to the front of your storage containers. Most printable sticker paper isn’t permanent, so you can change them out anytime you need to.
Related Article: How to Build a DIY Wooden Crate for Extra Storage at Home
Step 11: Hang the Cabinet Doors
The paint on the cabinet doors will likely take longer to dry than the cabinet. Once the doors and the cabinet are completely dry, hang the doors to the cabinet.
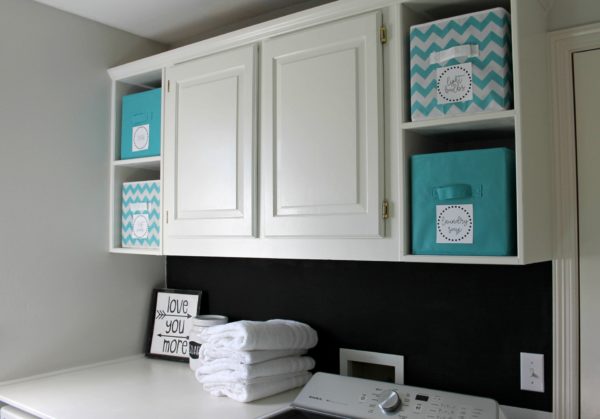
With a little bit of out-of-the-box thinking, some frugal shopping, and a few supplies, you could transform your laundry room. Now, not only is your space more organized, but it’s more aesthetically pleasing as well.
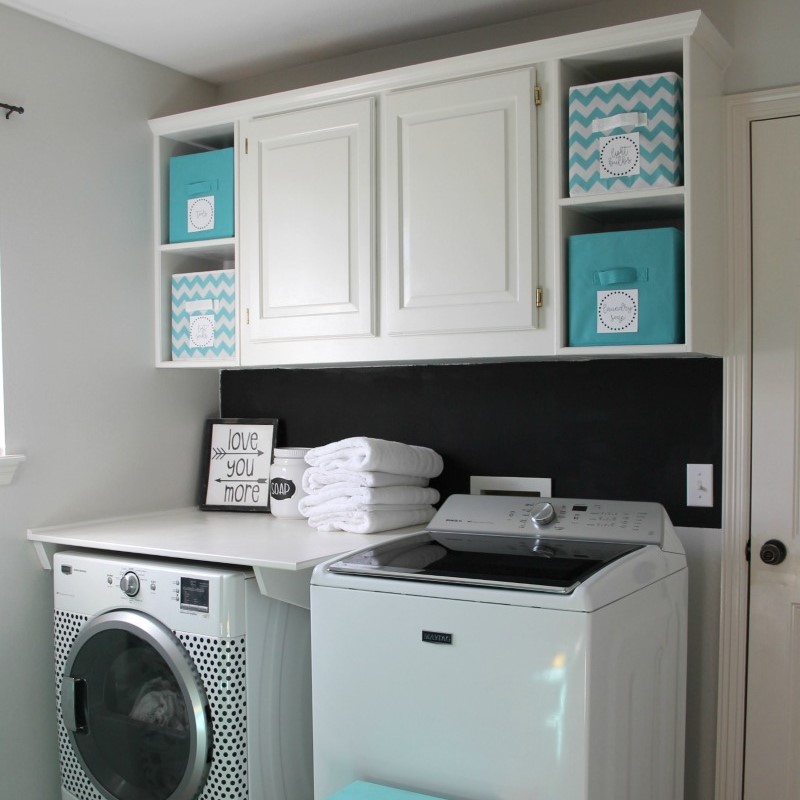
After adding laundry room wall cabinets
This post originally appeared on the Life Storage Blog on 2/20/17 and was revised on 6/19/23 to provide new information.